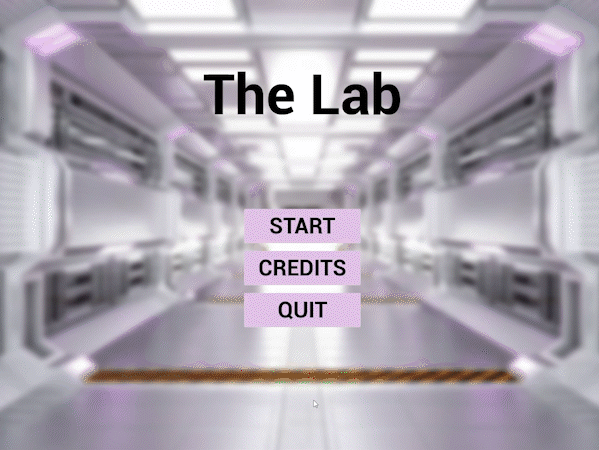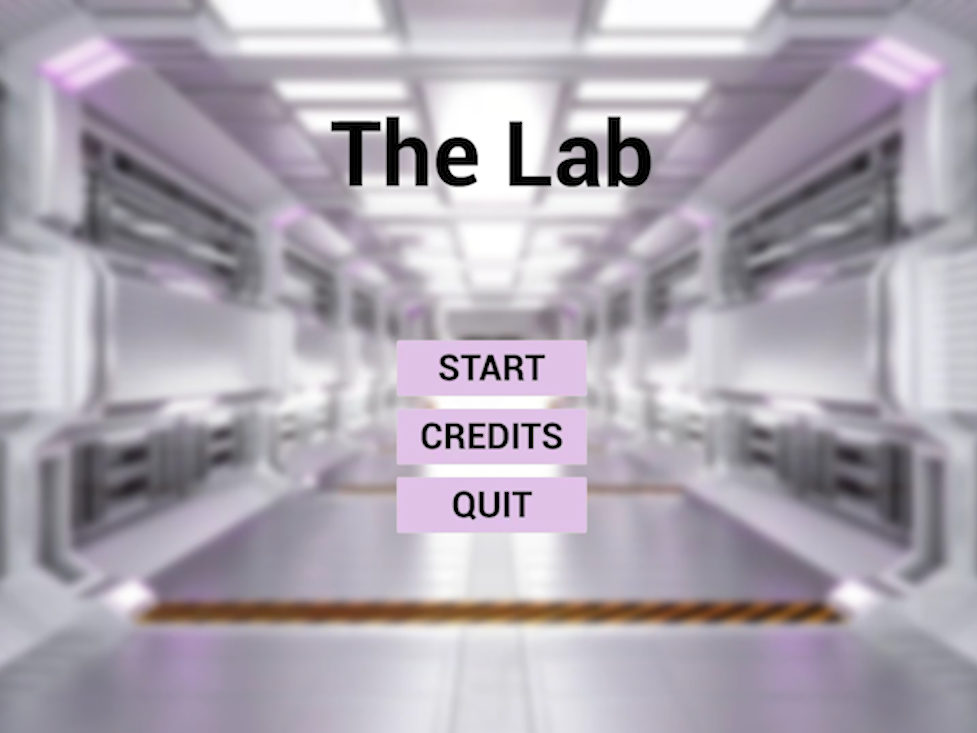
Starting screen
Trailer
Gameplay
General information
Team
Artists: Anh Dao, Anastasyi Hristov and Kevin Nijkamp
Designers: Emma Balduk and Bradley Kok
Engineers: Maurits Dijkman and Luuk Schrijver
Development time
2 weeks
Project information
Introduction
This project was made at the start of the third term of the first year at CMGT. At the start of every term, we have a 2 week project where we work together with the other roles (artists, designers and engineers combined in different teams). This project was called Project Lift Off. Together with 6 other people I was in a team. 3 artists, 2 designers and 2 engineers.
Creating an idea
When we started with the project, we knew that the game had to be an arcade game. We researched existing arcade games and came up with different ideas. We hesitated between two themes, racing or beat 'm up. After we had sorted everything out, we democratically chose the beat 'm up theme.
Setting up the project
Setting up the project
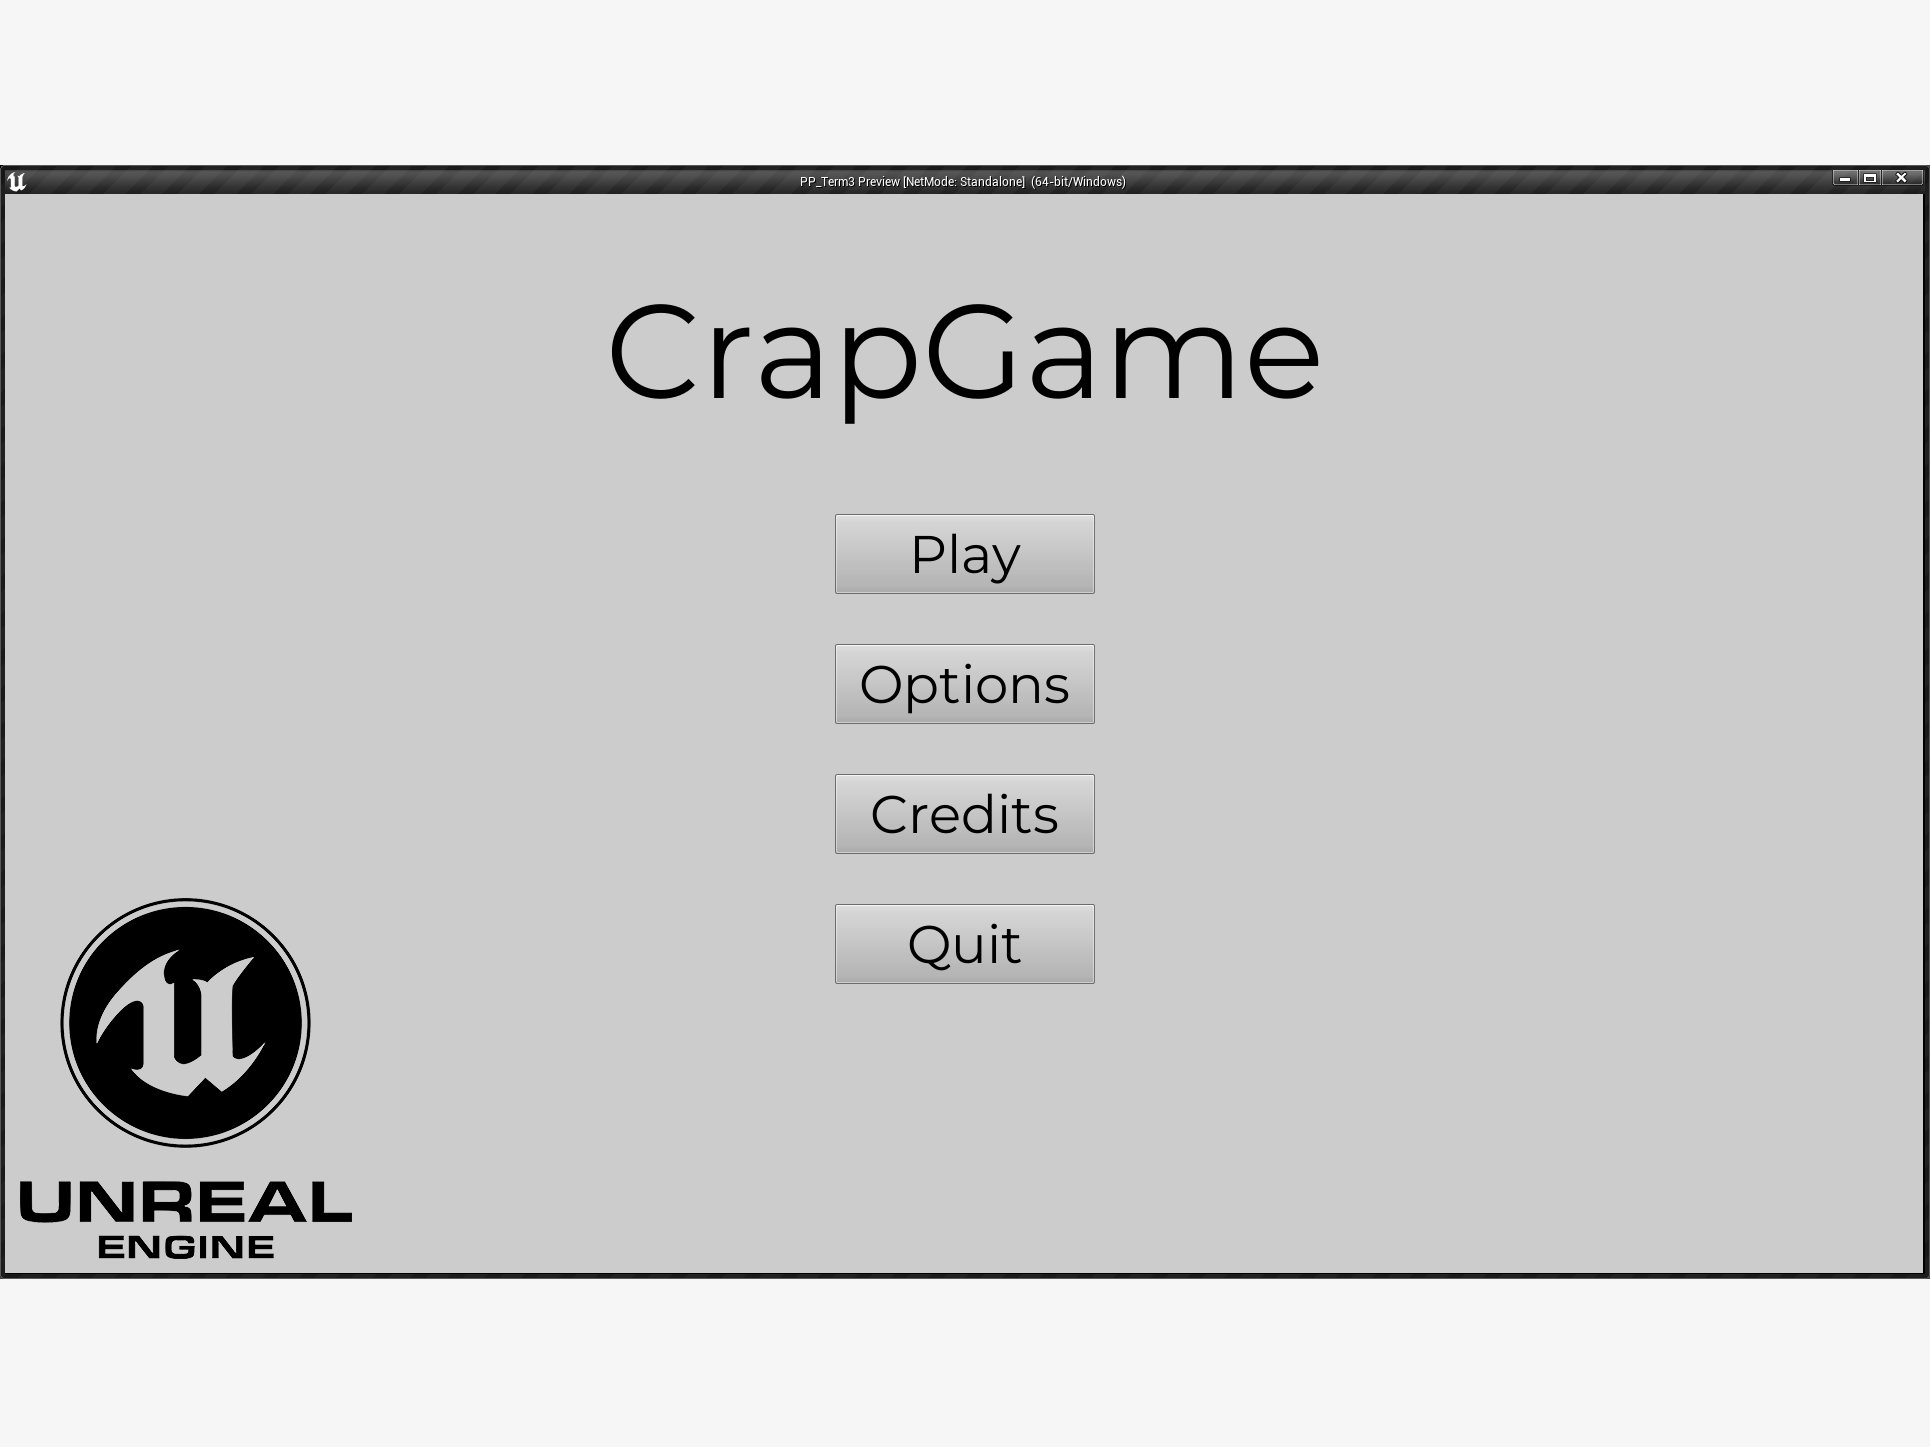
We started making a menu, the other engineer had no experience with that, so I had to do that by myself. I started with adding some buttons and link them to different scenes. After that, I added some response to the buttons. When you hover over a button, it would change color. We now had a working start, credits and quit button. In the temporary level, I added two figures. One is the player and the other one the enemy. I added some basic functions as pause, unpause, player animation, a player healthbar and a border. The pauses in the video is when I pressed the pause button.
During the project
When I started with implementing the placeholder images and really started coding, we first discussed the specifications of the images with the artists. We decided to use a screen resolution of 1440x1080 pixels, that fits with the size of arcade screens. We chose for 72 pixels/inch with 8 bit color depth. We also did not want a lot of empty space around objects, unless the image covers the whole screen. If there is a lot of empty space, it will interfere with the collisions (it will look like two object are not colliding, but because of the empty space, they are).
When we discussed the specifications of the images, we received some placeholder images. I added them to the script and adjusted the animations. I also added a block for the player to jump on. For the collision of the blocks, I checked if the player collides with the block. If this is the case, the player gets teleported back to his previous pixel. For the player and enemy collision, I checked if the image of the player collides with the image of the enemy. If that is the case, 1 health is taken from the player. If the player has 0 health, he is dead and will see a game over screen. The player could also press space bar to punch. In that state of the project, the punch was only an animation and did nothing else (like damage).
Movement through level
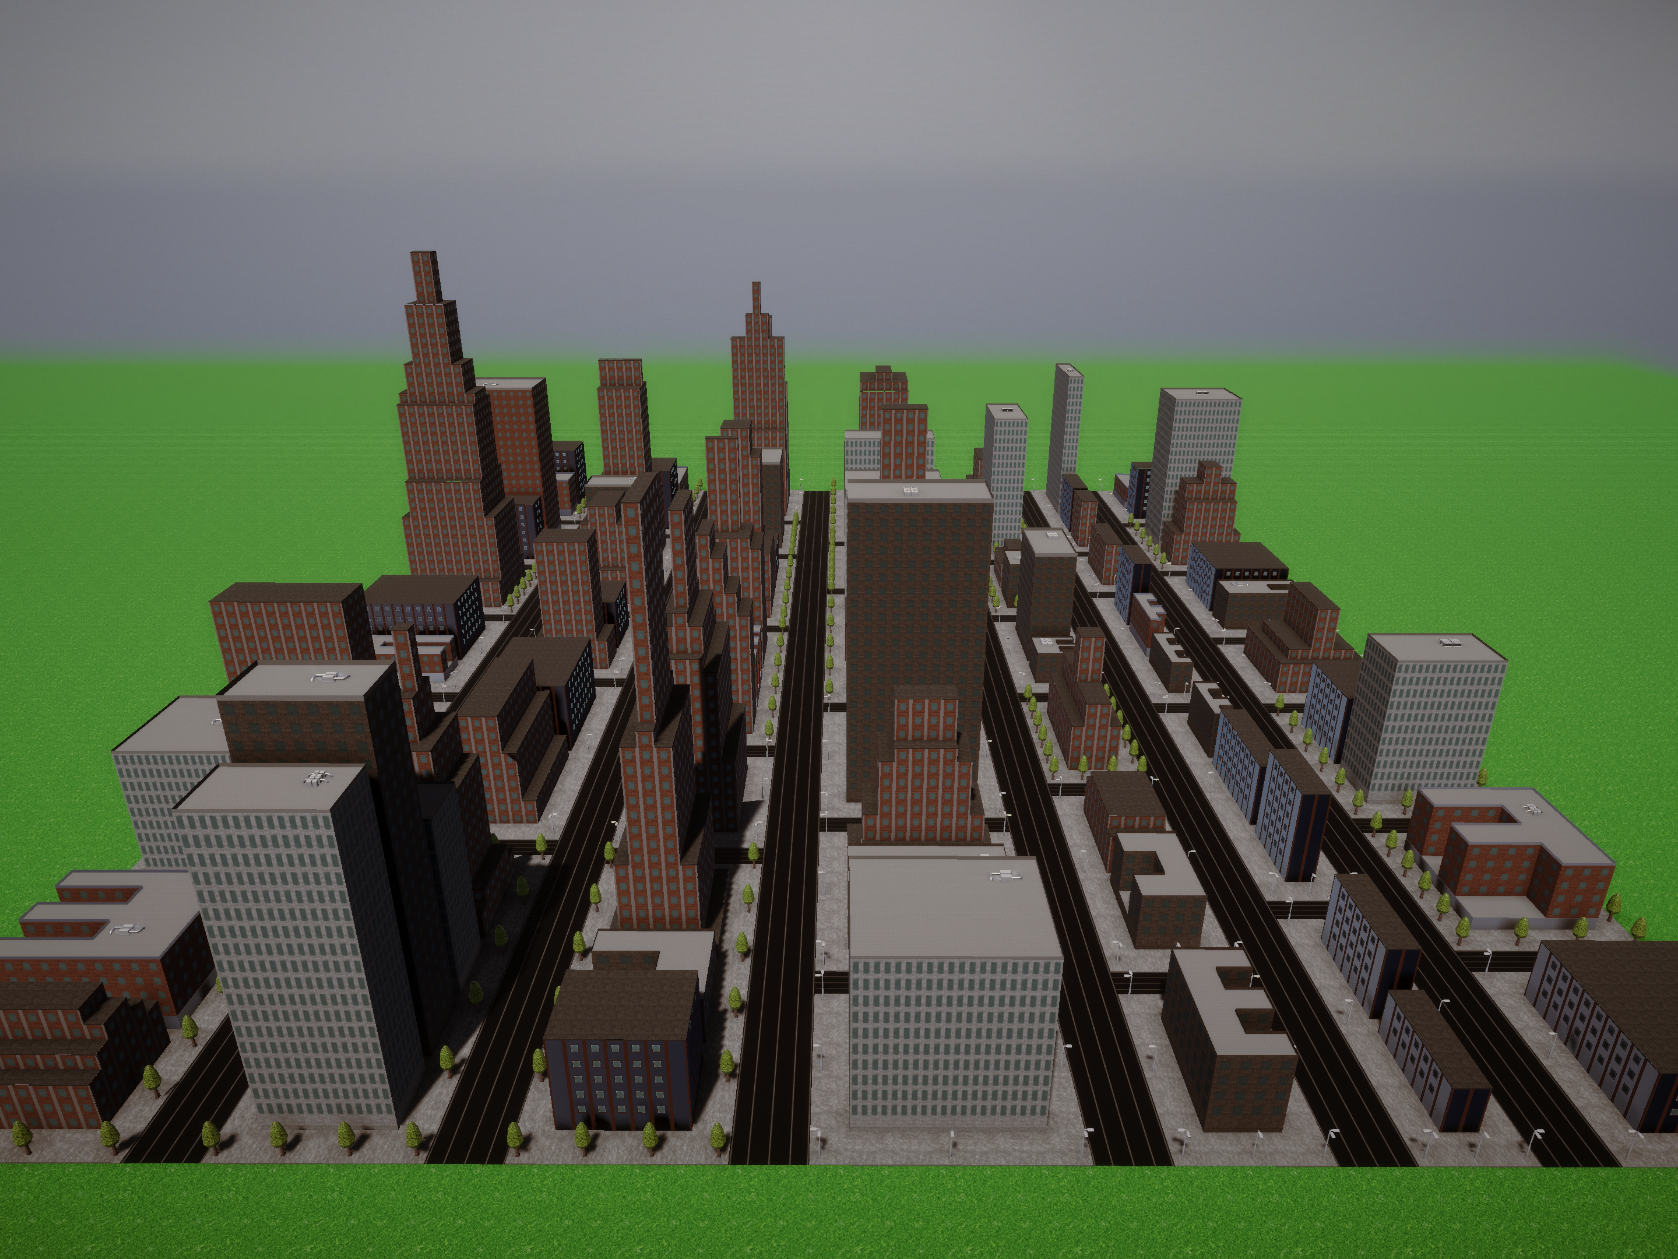
The next step in our planning was to add a background and be able to move through the level. When we were coding this, I added separate colliders for the player and enemies. The collider was just an square which I made invisible. If the two images collided, the corresponding code was executed. Creating a level where the player can move trough was a challenge. We did not code it before, so it was trial and error. We wanted that the player could move through the level.
Bad movement through level
Bad movement
At first, I coded that the level moved around the player. But that was not good and looked very bad. I only adjusted the background, so the moving enemies were very buggy and looked not good.
Good movement through level
Good movement
After making my head clear with a walk outside, I started coding the level movement on a whole different way. I made a level class and added the objects of the first level in that class. This way, I could move the whole level (including the enemies and other objects). For the movement of the enemies, I added a minimalX and a maximalX to the script. When you spawn an enemy, you give the x and y coordinates where the enemy has to spawn en the minimal and maximal x coordinates where the enemy has to walk. This way, the enemies could walk outside of the screen and keep a certain walk pattern.
Movement states
For the first time, I made use of the state function in C#. For the player, I had 4 different states; none, walk, jump and attack. When the player presses A or D, the walk state of the player gets active. The animation of the player walking gets played. The same goes for the jump and attack. If the player presses W, the jump state gets activated and if the player presses the space bar, the attack state gets activated.
I have used the state function a lot with the final boss. The final boss has different special attack; shooting grenades, shooting bullets, spawning enemies and raise a shield. I looped the different states until the final boss is dead. The shooting grenade state controls the shooting grenades animation and spawning the grenades into the level. When the grenades exploded, the next state of the boss got activated. In this case the shooting state. And so on until the boss is dead.
Final boss fight
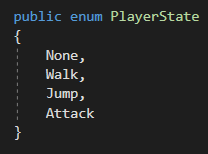
Player States
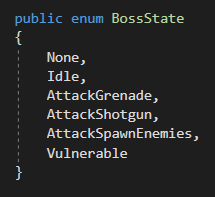
Boss States
Conclusion & What could be better?
I had a fun time with creating and coding this project. I had a good connection with the other engineer. I learned a lot of new things, for example the level movement and the states function. The code was clean and organized. A thing that I am proud of is the spawning of an object (player, enemy, collidable block, final boss). That is because the designers could easily spawn enemies and place blocks. They could already indicate the coordinates and the position between where the enemies had to move. It may sound like something you already do anyway, but I thought it was cool.
There are a few things that could be better. One is the global functions. To easy acces booleans, integers or floats from different classes, I added a Globals class to the main MyGame class. That is an cheap way and is not very good, because they are public and others can also acces or change them. The second thing that can be better is the cooperation with the other engineer. The other engineer would switch to designer after this project. he didn't like the engineer role and wasn't really good at it either. He was actually there for mental support throughout the project. He didn't do a lot of coding, so I basically coded the whole project. That I coded mostly could also be me, I like to do things myself. That's partly because I had already given the other engineer a few tasks and he couldn't code them. So I decided it's the best to do it myself (and save time correcting his coding).
Apart from these two things that could have been better, it was a very nice project and I am very proud of the end result. The game looks good and also functions well in terms of code.
At the end of a project, you can give someone in your team a green card, this person will get a whole point on top of the final grade. The green card is a gift from your team in recognition of what you have done during the project. In this case I was the person that received the green card. Our team had a final grade of 7.4/10 and, because I had a green card, had a final grade of 8.4/10.