Tasks Undertaken
Model and Environment Updates
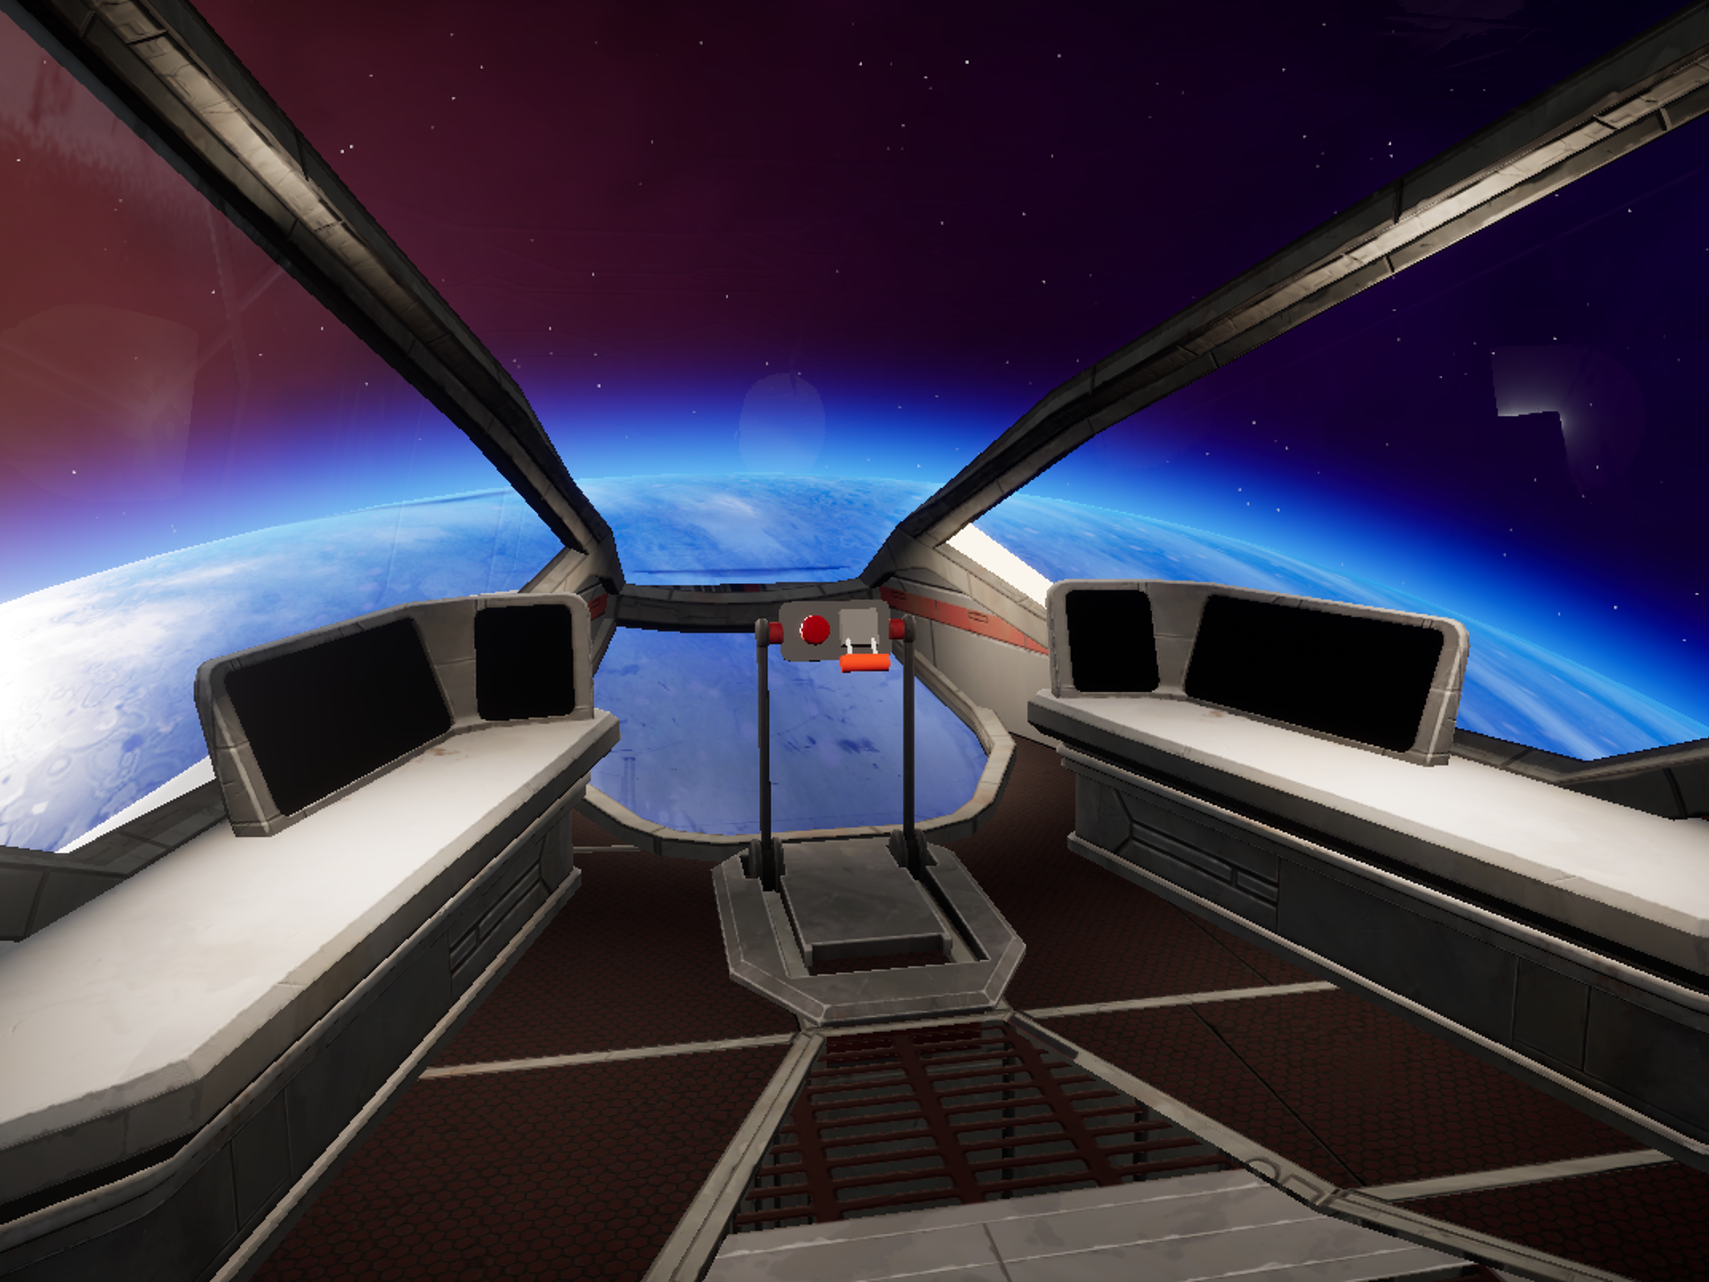
- Imported new spaceship model and door.
- Added a moving door blueprint to the spaceship.
- Added walls to the bow & shooting range.
Gameplay and Interaction Enhancements
- Added input action for enabling the pause menu.
- Added a katana that can slice through objects.
- Updated slicing mechanics with max time, sphere radius, and multi-object slicing capability.
- Created flick and throw switch, and a button with a lifting cap.
- Implemented networking for levers and buttons.
Level and UI Design
- Added sandbox level with various features like enemy AI, menus, and shooting range setup.
- Created a test level for the buttons and levers.
Code and Project Management
- Updated project and studio name.
- Organized post-processing, folders, and contents for buttons and levers.
- Enabled SM6 for rendering and Nanite for static meshes.
AI and Interaction Mechanics
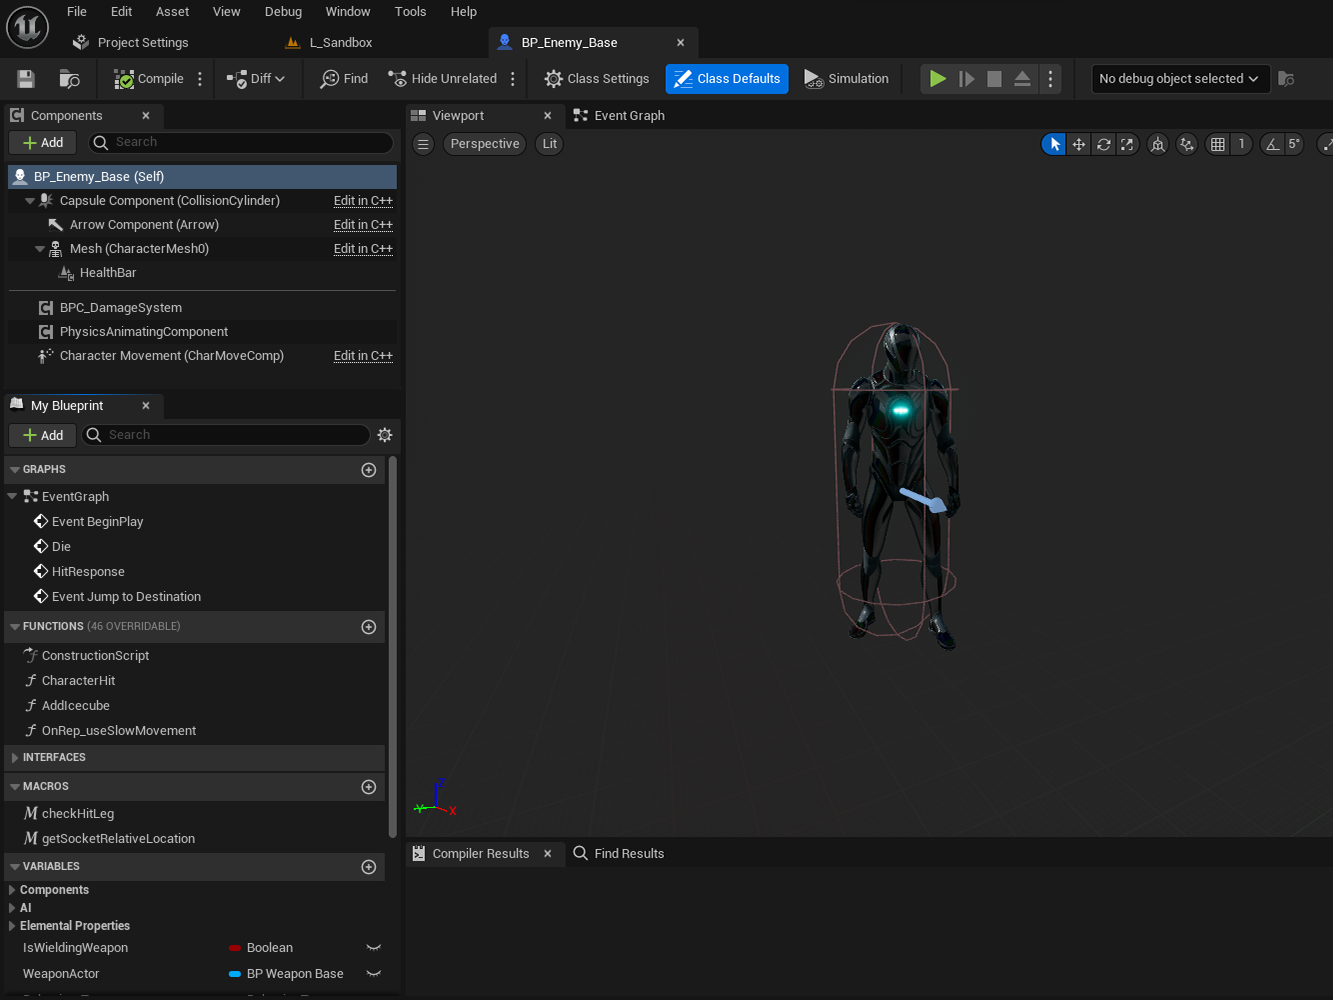
- Made enemy AI capable of jumping on and off boxes.
- Added a blueprint for a chest with an opening lid.
Technical Improvements
- Fixed issues with sliding door timeline and mesh interaction after slicing.
- Improved line and sphere visuals for widget pointer.
- Removed outdated code and set the sandbox as the default map.
-------------------------------------------------------------------------------------------------------------------------------
Double Diamond
Discover
In the initial phase, the focus was on discovering and understanding the elements required for the project. This involved importing a new spaceship model and door, as well as adding a sandbox level where we could test different features.
Define
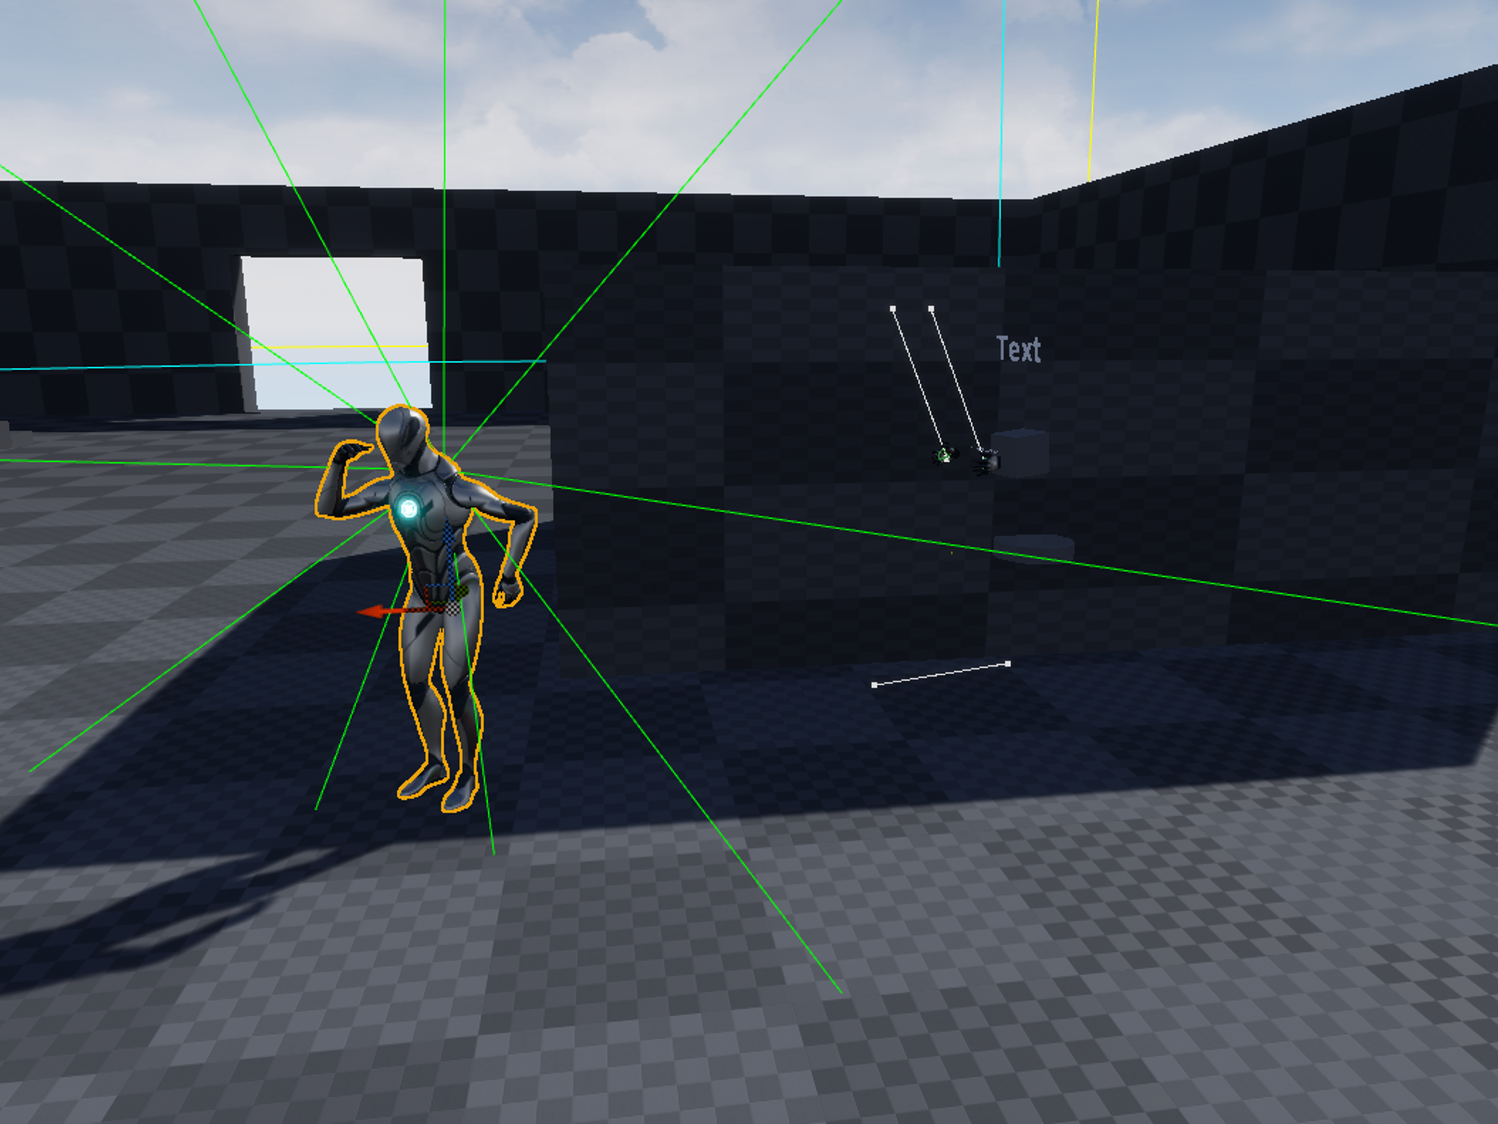
Moving into the definition phase, key components were established to shape the project. This included the addition of a moving/sliding door blueprint (Figure 5), creation of input actions for menu buttons, and updating slicing mechanics with specific parameters. The implementation of interactive features like flick and throw switches, buttons with and without lids (Figure 1 & 2), networking for levers and buttons, and a slicing katana (Figure 6) were also part of this phase. Additionally, improvements were made to enemy AI behavior, allowing them to jump on and off platforms (Figure 3 & 4). A blueprint for a chest with an interactable opening lid was created to enhance interactive elements.
Develop
With a clear understanding of the project goals and features, the development phase commenced. A sandbox level was added, showcasing various features such as enemy AI, menus, and a shooting range setup. To test specific elements, a dedicated level for buttons and levers was created, ensuring a focused development approach. Although, these were later also added to the sandbox.
Deliver
In the final phase, efforts were directed towards delivering a polished and organized project. Updates included a change in project and studio names, organization of post-processing, folders, and contents related to buttons and levers. Technical enhancements, such as enabling SM6 for rendering and Nanite for static meshes, were implemented. Issues with the sliding door timeline, mesh interaction, and katana were fixed, and visual improvements were made, such as enhancing line and sphere visuals for the UI pointer. To streamline the project, outdated code was removed, and the sandbox level was set as the default map. This phase represented the culmination of the development process, with the project ready for deployment.
-------------------------------------------------------------------------------------------------------------------------------
Research
Last week, I mostly spend my time on creating the slicing katana with the slice procedural mesh component. Most of my research consisted out of trial and error. Apart from that, Tycho was once again my buddy in times of need.
People
- Tycho Tuitert: General feedback, discussions and help when I didn't understood something. I got this feedback throughout the whole week.
Internet
- Slice Procedural Meshes: https://docs.unrealengine.com/5.3/en-US/BlueprintAPI/Components/ProceduralMesh/SliceProceduralMesh/
- How to slice meshes: https://youtu.be/cJArwFqm3XY?si=6CfNpSV3z2J-Zwig
- Other approach on how to slice meshes: https://youtu.be/oIdKxYYQBdw?si=fDasQX_L7Y4l1KYX
- How to make the enemy AI jump: https://youtu.be/IeqiBjPeqjw?si=KOGoLF7HZ1v1CIwH
-------------------------------------------------------------------------------------------------------------------------------
Reflections and Learning
This week was filled with new learning opportunities. I got to do research on Procedural Slice Meshes, AI jumping, buttons, levers, and made a sandbox level for testing.
The hardest part of the slicing, was getting the right slicing angle (Plane Normal and Plane Position). This was kind of hard, since the sword is probable rotating while the player is slicing. For example, it will hit with a straight angle, but than rotate a bit. The player want to slice along the rotated line, but the code will register the straight line from start (since this is where the code gets triggered). We ended up deciding to stick with the main code (registering slicing on collision).
Getting the correct calculation for the AI to jump with the perfect velocity was quite hard. But I have done my best and came up with what I have now. The AI sometimes glitches when reaching a NavLink, that is very confusing and frustrating. I think it is sufficient for the current state of the project, but I plan on improving it in the future!
-------------------------------------------------------------------------------------------------------------------------------
Figures
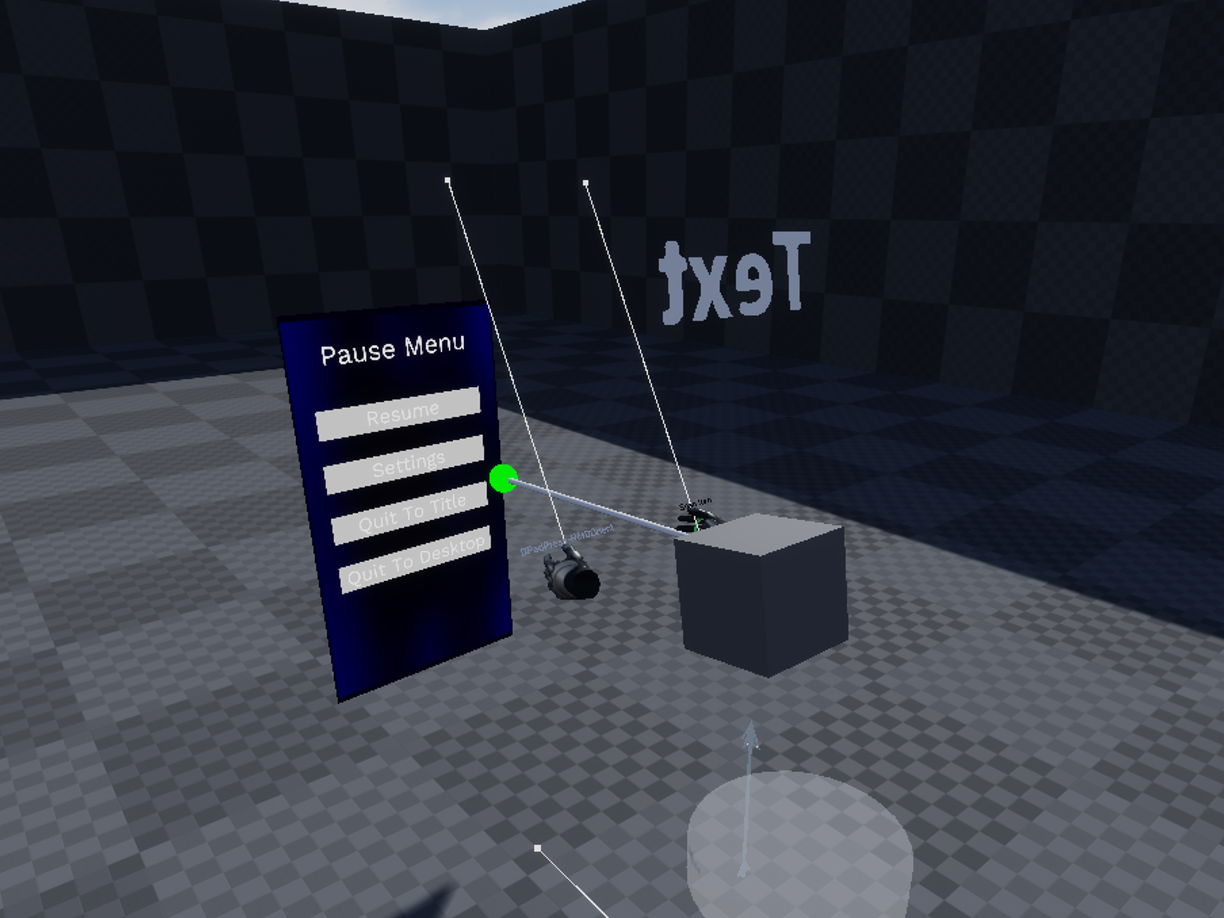
Figure 1 - Example of levers, buttons and crate in the Sandbox
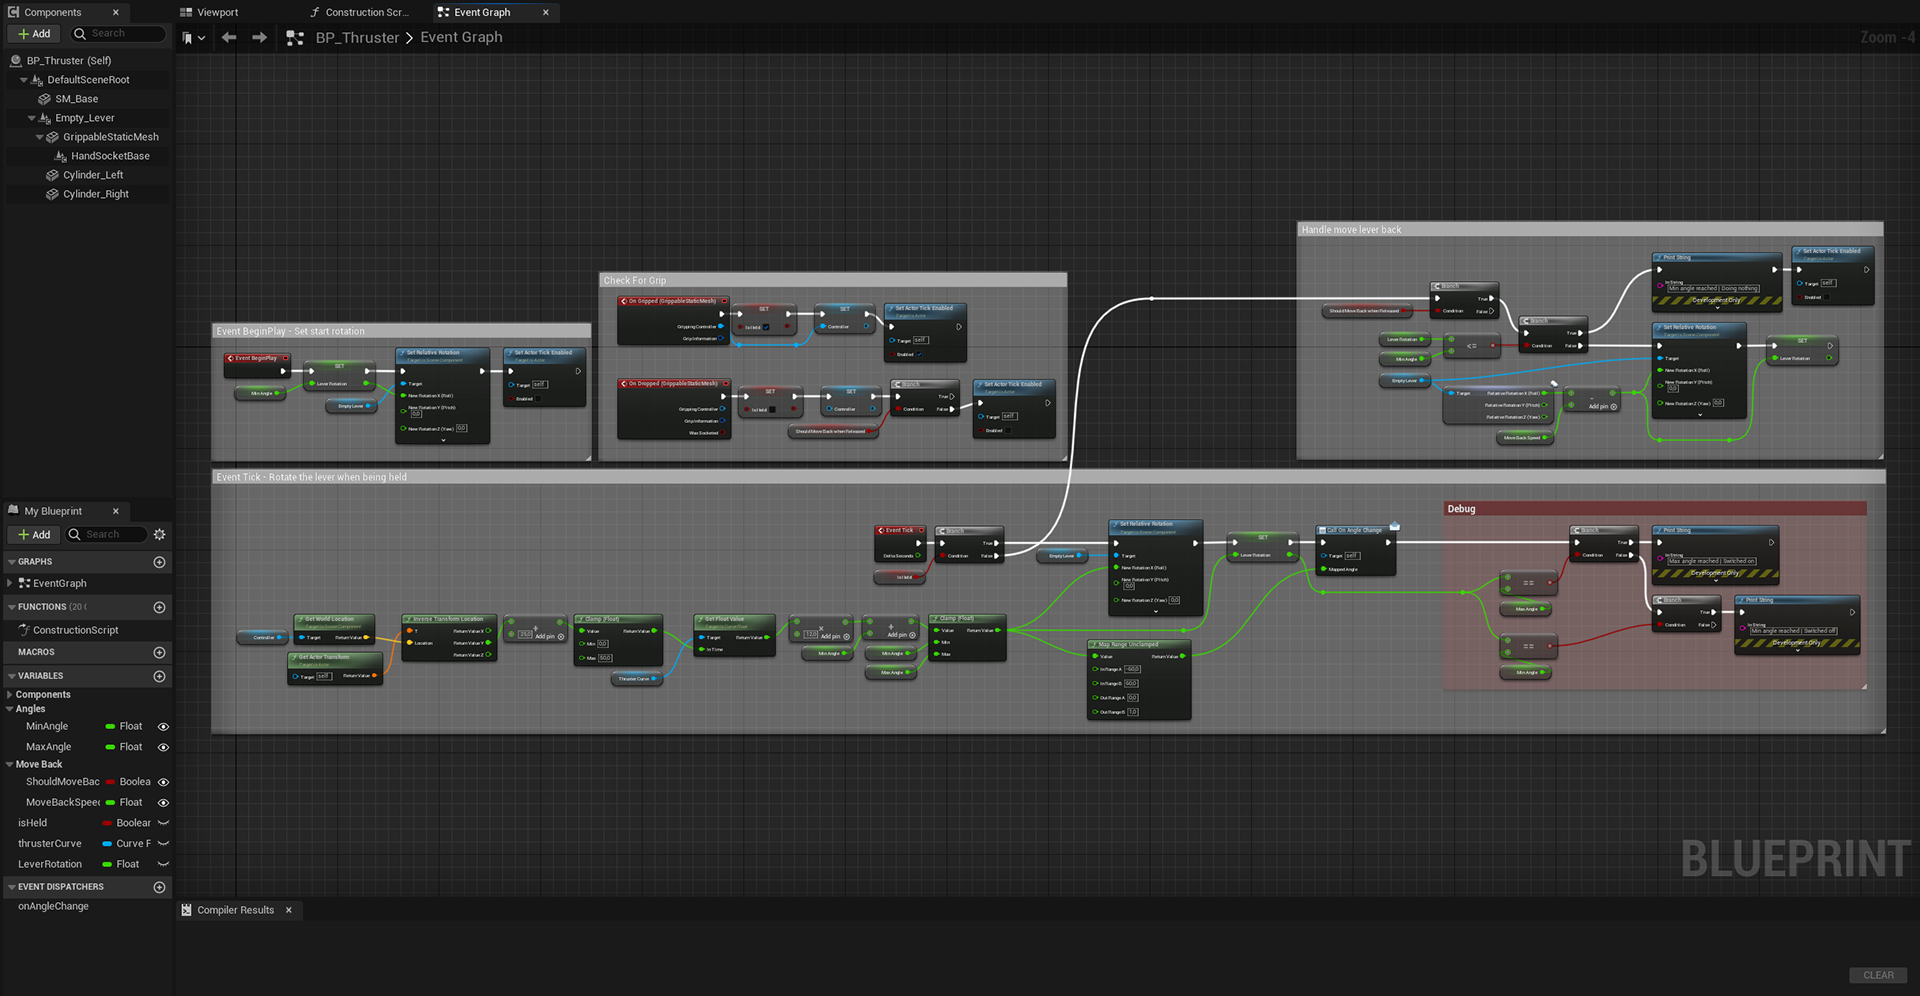
Figure 2 - Blueprint of the custom thruster lever
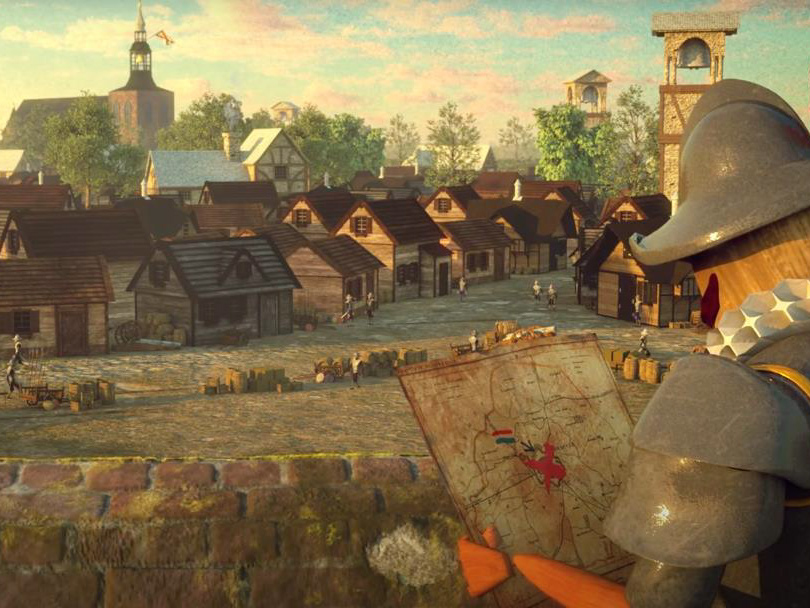
Figure 3 - Showcase of the AI jumping

Figure 4 - NavLinks (jump points) in the scene view
Figure 5 - Sliding door
Figure 6 - Slicing katana