Introduction
Throughout the IMT&S project, research played a crucial role in establishing a streamlined workflow and expediting progress, as opposed to relying solely on trial and error. This endeavor delved into various topics, extensively covered in blogs, many of which were new to me and necessitated background research.
This post aims to shed light on the most significant subjects addressed. While some may appear trivial, they consumed considerable research time, making them noteworthy as insights that could prevent similar challenges in the future. This post serves to bridge the research gaps from previous IMT&S posts, an aspect vital for the thorough documentation required by IMT&S standards.
-------------------------------------------------------------------------------------------------------------------------------
Methods
Throughout the IMT&S period, diverse research methods were employed, primarily revolving around desk research and experimentation.
Desk research involved categorizing various tutorials, referencing forum posts, and utilizing Unreal's documentation extensively. Experimentation, on the other hand, involved attempts to resolve issues through trial and error or by referencing code/blueprints within the engine. The latter method, being code/blueprint-specific, is mentioned only when it successfully addressed a problem, as it cannot be explicitly sourced.
The third research method encompasses aspects of both 'Observation' and 'Interview', although technically, they manifest as play-tests. We conducted playtesting sessions with individuals from our target audience, including strangers and in-house participants (who align with our target demographic). While these playtests unveiled numerous issues, not all required extensive research, and therefore, only those necessitating further investigation are detailed here.
I implemented the double diamond methodology for the majority of the project, complemented by the integration of design thinking across the entire project scope. This blog is mostly in a chronologically format, starting of with research I did at the start of the project. My blogs, on the other hand, are more focused on the Double Diamond method. The discussed topics in this post keep the general structure of the Double Diamond method (from stating the problem to the final solution (if there was one)).
-------------------------------------------------------------------------------------------------------------------------------
Research
This research will focus on the most critical challenges, exploring both successful resolutions and instances where solutions remained elusive. Even for the unresolved issues, I find it essential to highlight them, given their significance in shaping my experience with Unreal Engine and serving as robust research points. While I aim to provide references for the majority of sources consulted in each research post, certain sources, either unused or lacking substantive solutions, will be omitted from the discussion.
Menu Widgets
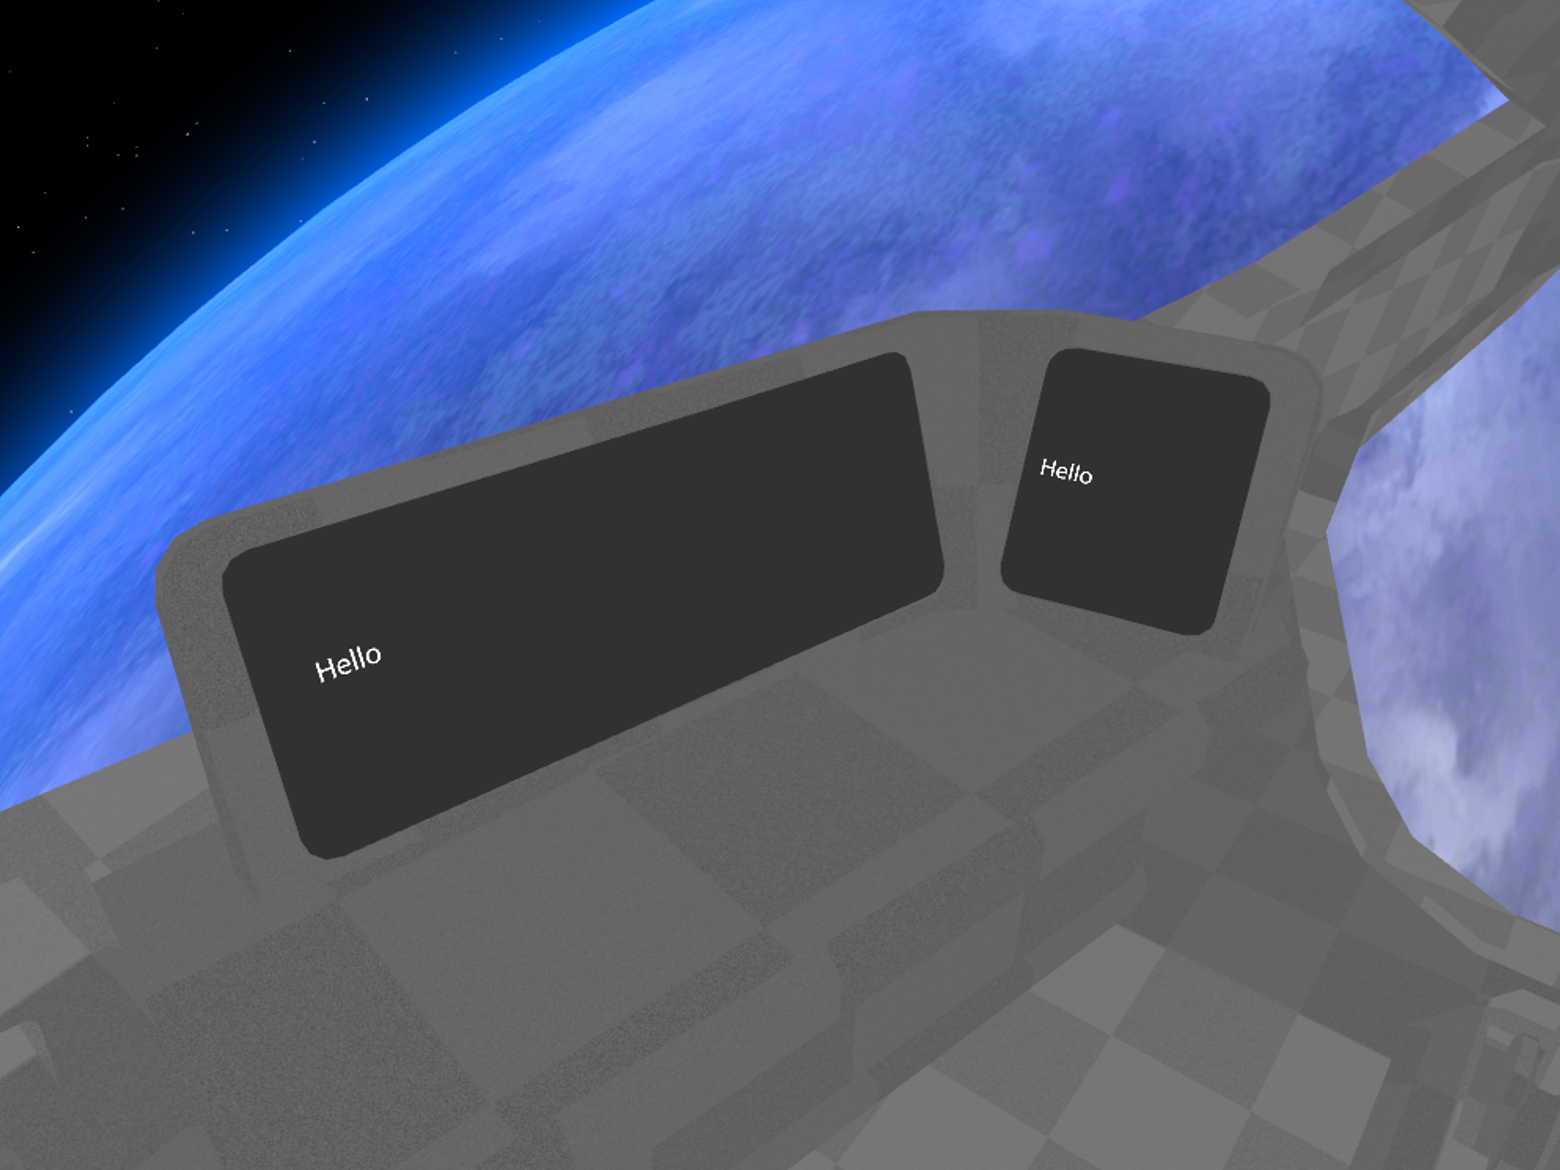
Creating a main menu widget in Unreal Engine 5 was a significant learning journey for me, involving the integration of buttons, dropdowns, and connecting them to code functionalities. My exploration began with referencing tutorials like the one provided by [1], which guided me in understanding the fundamental process of creating a main menu. Additionally, I delved into the official Unreal Engine documentation on widget creation [2], enhancing my comprehension of how widgets operate within the engine.
To implement buttons and dropdowns in the main menu, I followed the insights gained from the mentioned tutorial [1]. The tutorial not only covered the basics but also provided a structured approach to incorporating interactive elements into the user interface. I utilized this knowledge to design an intuitive and user-friendly main menu interface.
Connecting the visual elements to code functionality was a crucial step in making the main menu interactive and responsive. Following the tutorial [1] provided insights into this aspect, but I also referred to the Unreal Engine documentation on creating widgets [2] to ensure a comprehensive understanding.
The process involved trial-and-error, experimenting with different approaches until I achieved the desired functionality. Debugging techniques, including the use of print statements and iterative adjustments, played a pivotal role in identifying and resolving issues during the implementation.
While creating the main menu widget, I encountered challenges like wrong UI scaling and no button responses, requiring a combination of problem-solving skills and a deep dive into Unreal Engine's widget system. Ultimately, the result is a functional and aesthetically pleasing main menu widget that effectively links visual elements to underlying code functionalities.
Saving and Loading data & Setting Quality Levels
Learning how to implement saving and loading data, along with setting and managing graphics settings, and executing hardware benchmarks in Unreal, marked a substantial part of my learning journey. I extensively relied on the following sources, each playing a crucial role in acquiring the necessary knowledge:
Saving and Loading Data
I began by studying the official Unreal Engine documentation on saving and loading games [3]. This comprehensive guide provided valuable insights into handling data persistence, crucial for maintaining user settings and preferences across sessions. Additionally, I referenced the tutorial on CouchLearn [4], which offered further knowledge and practical insights into saving and loading data in Unreal Engine 5. This additional source contributed to a more well-rounded understanding of the topic, enriching the overall learning experience.
Running Hardware Benchmarks
To incorporate the functionality of running hardware benchmarks, I referred to the Unreal Engine documentation on the Blueprint API for hardware benchmarking [5]. This source elucidated the process of initiating and utilizing hardware benchmarks within the engine, contributing to a holistic understanding of performance optimization.
Setting Quality Level Through Blueprints
Implementing changes to graphics settings and adjusting quality levels programmatically involved referencing the Unreal Engine documentation on setting quality levels through blueprints [6]. This source served as a guide for manipulating graphics settings dynamically based on user preferences or system capabilities.
The learning process included a combination of theoretical understanding from the documentation and hands-on experimentation within Unreal Engine. I engaged in practical application, experimenting with blueprint scripting to implement the learned concepts effectively. Debugging and iterative adjustments were crucial in ensuring the robustness and reliability of the implemented features.
In conclusion, the integration of saving and loading data, management of graphics settings, and execution of hardware benchmarks in Unreal Engine 5 required a multidimensional approach, blending theoretical knowledge from the documentation with practical implementation and troubleshooting. The result is a cohesive system that enhances user experience by providing customizable settings and ensuring optimal performance based on hardware capabilities.
Enemy AI & Retargeting IK-rig
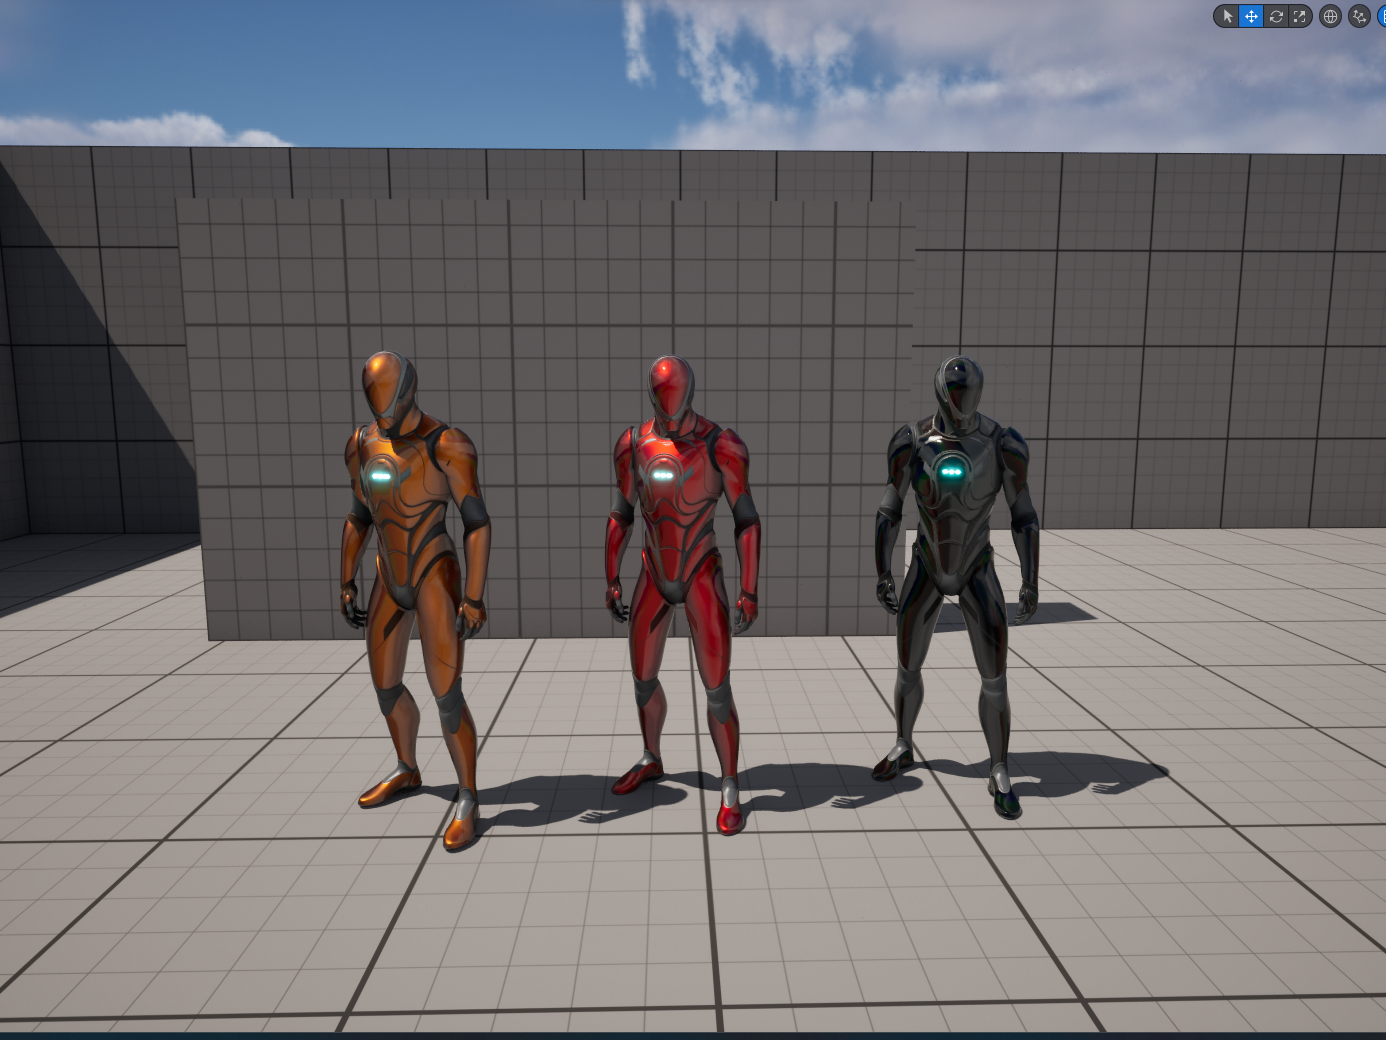
My exploration into creating an enemy AI, utilizing AI Perception and behavior trees, and implementing animations from Mixamo into Unreal with a custom retargeter for the Mixamo rig to the Unreal mannequin rig, was a comprehensive learning experience. The following sources played pivotal roles in gaining insights into these aspects:
AI Perception and Behavior Trees
Understanding the fundamentals of AI Perception and behavior trees was crucial, and the official Unreal Engine documentation on AI Perception [7] provided a solid theoretical foundation. Complementing this, I referred to a video tutorial on how behavior trees work [8], which offered practical insights into the implementation of decision-making processes for AI entities.
Implementing Enemy Roaming
A critical aspect of enemy AI behavior is the ability to roam around the level effectively. To achieve this, I followed a tutorial [9] that elucidated the process of making an enemy roam around a level scene dynamically. This resource served as a practical guide in applying behavior tree concepts.
Mixamo Animation Import and Retargeting
Importing animations from Mixamo into Unreal and creating a retargeter for the Mixamo rig to the Unreal mannequin rig required a combination of theoretical understanding and practical implementation. I followed a tutorial [10] that provided step-by-step guidance on making an Inverse Kinematics (IK) rig retargeter, crucial for ensuring seamless animation compatibility between different rigs.
The learning process involved experimenting with AI Perception settings, behavior tree configurations, and animation import procedures. Debugging and iterative adjustments were integral to refining the enemy AI behavior and ensuring smooth animation retargeting.
In conclusion, the journey to create a robust enemy AI system, integrate AI Perception and behavior trees, and successfully import and retarget animations from Mixamo to Unreal involved a blend of theoretical knowledge acquisition and hands-on experimentation. The culmination is an AI-driven system with dynamic behaviors and animation compatibility, enhancing the overall immersive experience within the game.
Mesh Slicing & Enemy Jump
Delving into the intricacies of slicing meshes with a melee weapon and enabling the enemy AI to perform jumps was an intriguing learning experience. My approach was guided by various sources that provided valuable insights into these specific aspects:
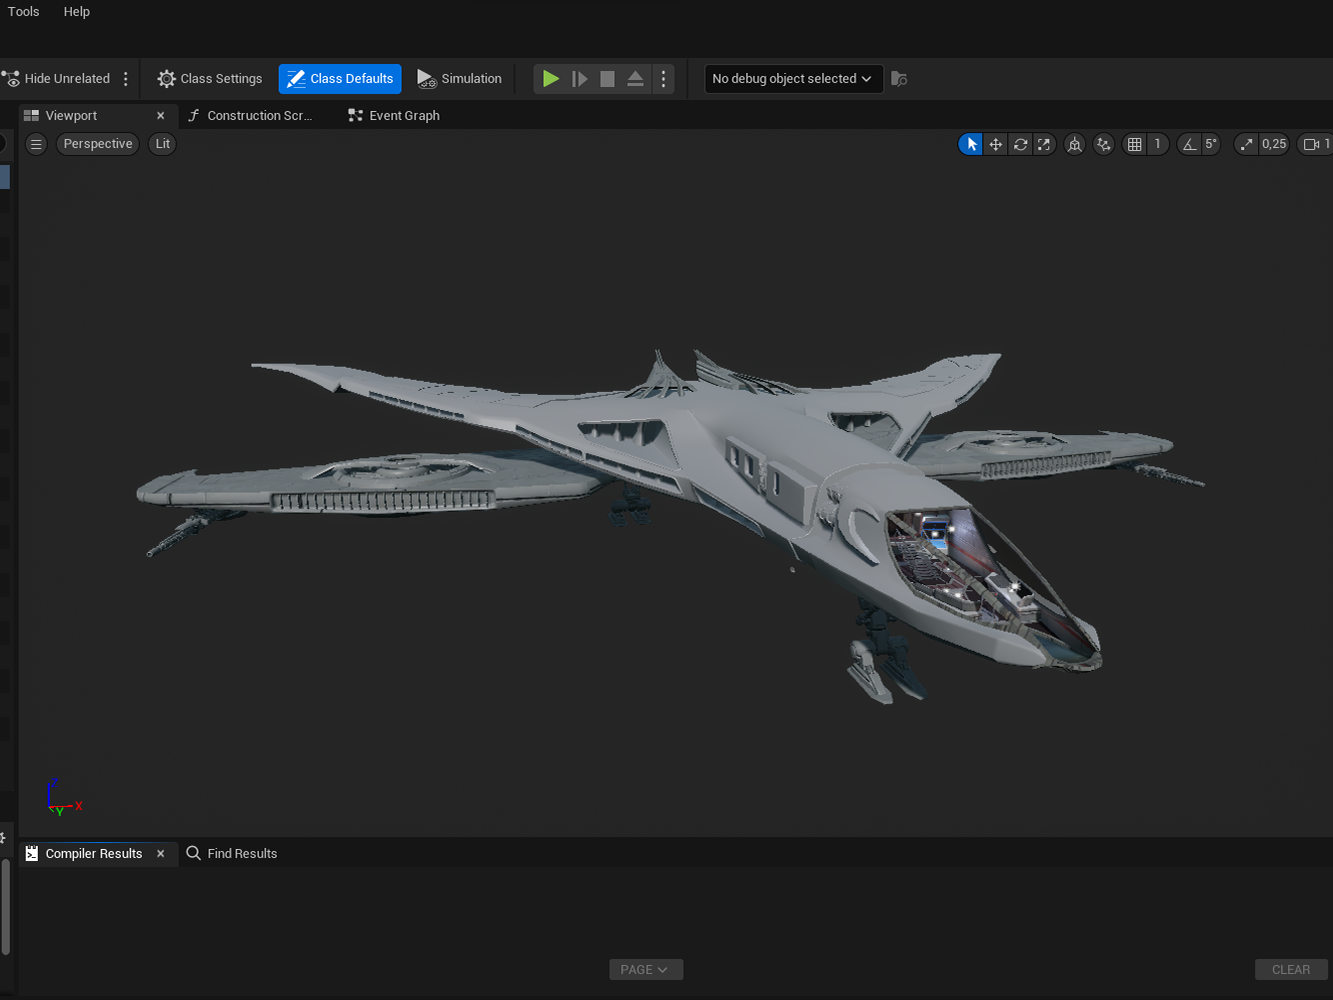
Slice Procedural Meshes
Understanding the Unreal Engine's built-in functionality for slicing procedural meshes was fundamental. The official documentation on how to slice procedural meshes [11] offered a comprehensive overview of the engine's capabilities in this regard. It laid the groundwork for the procedural mesh slicing process, a crucial aspect when implementing a slicing mechanic with a melee weapon (in this case a katana).
Mesh Slicing Tutorials
To gain practical insights into mesh slicing techniques, I referred to video tutorials that showcased different approaches. The tutorial [12] provided a step-by-step guide on mesh slicing, offering a practical demonstration of the process. Another tutorial [13] presented an alternative approach to mesh slicing, providing additional perspectives and techniques to achieve the desired effect. I eventually chose to use the method from the first tutorial [12].
Implementing Enemy AI Jumps
Enabling the enemy AI to perform jumps required a dedicated exploration into AI behavior. I followed a tutorial [14] that outlined the basics of making the enemy AI jump, offering a foundation for incorporating dynamic movements into the AI's repertoire. Additionally, a tutorial on a better jumping function [15] provided insights into refining the jumping mechanics for a more realistic and correct jump velocity.
The learning process involved hands-on experimentation, applying the concepts outlined in the sources to create a cohesive and functional system. Debugging and iterative adjustments were essential in fine-tuning both the mesh slicing and enemy AI jumping mechanics.
In conclusion, the journey to implement mesh slicing with a melee weapon and enable the enemy AI to jump was enriched by a combination of official documentation, diverse tutorial sources, and experimentation through trial & error. This holistic approach resulted in a well-integrated system, enhancing the interactive and dynamic aspects of the game.
Hosting, Joining & Advanced Sessions
Navigating the intricacies of integrating server hosting, joining, and incorporating advanced (Steam) sessions into the main menu was a substantial aspect of my learning journey. The insights gathered from the following sources were instrumental in understanding and implementing these functionalities:
Understanding Advanced (Steam) Sessions
A crucial aspect of incorporating multiplayer functionality involved comprehending advanced (Steam) sessions. The forum thread on the Advanced Sessions plugin [16] provided valuable community-driven insights into the intricacies of this plugin. This forum discussion served as a practical guide for understanding and implementing advanced session features, offering solutions to potential challenges.
Examining VRE Template Blueprints
Practical application and understanding of hosting and joining a server were enhanced by dissecting the blueprints from the VRE template. Examining the blueprint structure allowed for a hands-on exploration of how the hosting and joining processes were implemented. This direct examination provided insights into the blueprint structures and logic flow, essential for translating theoretical knowledge into practical application and add it to the main menu.
The learning process involved a combination of theoretical understanding, community insights, and hands-on exploration within Unreal Engine. Debugging and troubleshooting were integral to refining the integration of server hosting, joining, and advanced (Steam) sessions.
In conclusion, the journey to integrate server functionalities into the main menu was enriched by consulting community insights and dissecting practical blueprints. This comprehensive approach resulted in a robust and well-integrated system, enhancing the multiplayer experience within the game.
Async Loading & Level Streaming through C++
Exploring the intricacies of adding asynchronous level loading and streaming, initially through a plugin and later through the creation of a custom C++ class, was a significant aspect of my learning journey. The following sources played key roles in gaining insights into these processes:
Async Level Load Core Explanation
To grasp the fundamental concepts of asynchronous level loading, I referred to a core explanation provided in a video tutorial [17]. This source laid out the foundational principles, helping me understand the asynchronous loading process and its importance in optimizing game performance.
Async Level Load Plugin
To implement asynchronous level loading, I initially explored the capabilities of an Async Level Load Plugin available on the Unreal Engine Marketplace [18]. This plugin served as a practical starting point, providing a streamlined solution with a loading screen. The documentation and functionalities of this plugin offered valuable insights into the implementation of asynchronous level loading.
Loading and Unloading Levels
Delving deeper into the intricacies of loading and unloading levels using level streaming in C++, I referred to the official Unreal Engine documentation [19]. This source served as a comprehensive guide, outlining the essential steps and best practices for incorporating asynchronous level loading directly through custom C++ code.
The learning process involved experimenting with the plugin to understand its functionalities and then gradually transitioning to creating a custom C++ class for asynchronous level loading. Debugging, troubleshooting, and iterative adjustments were crucial during this transition to ensure a seamless integration. Especially with an encountered bug that caused the whole project to recompile, instead of just the changed file.
Furthermore, as part of the learning journey, I explored adding level streaming to the created asynchronous level C++ class. The official documentation [19] on loading and unloading levels using C++ served as a valuable reference, guiding me in extending the functionality of the custom C++ class to incorporate level streaming seamlessly.
In conclusion, the progression from understanding core concepts through a plugin to creating a custom C++ class for asynchronous level loading and subsequently integrating level streaming was a comprehensive learning experience. The combination of video tutorials, marketplace plugins, and official documentation enriched my understanding, resulting in a well-rounded knowledge of these advanced Unreal Engine features.
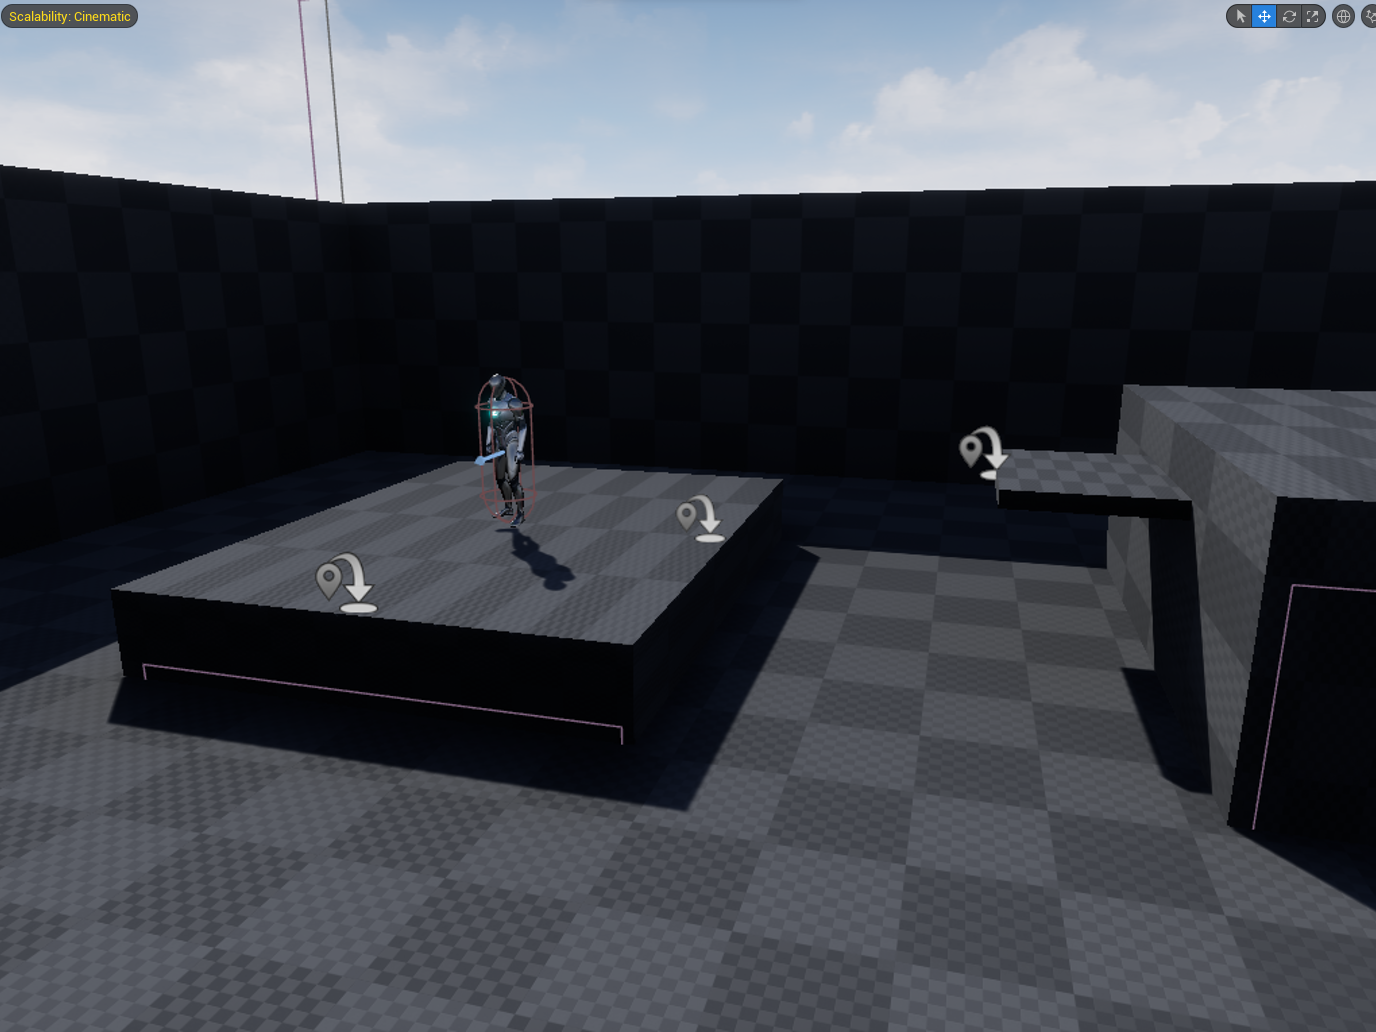
New Enemy AI
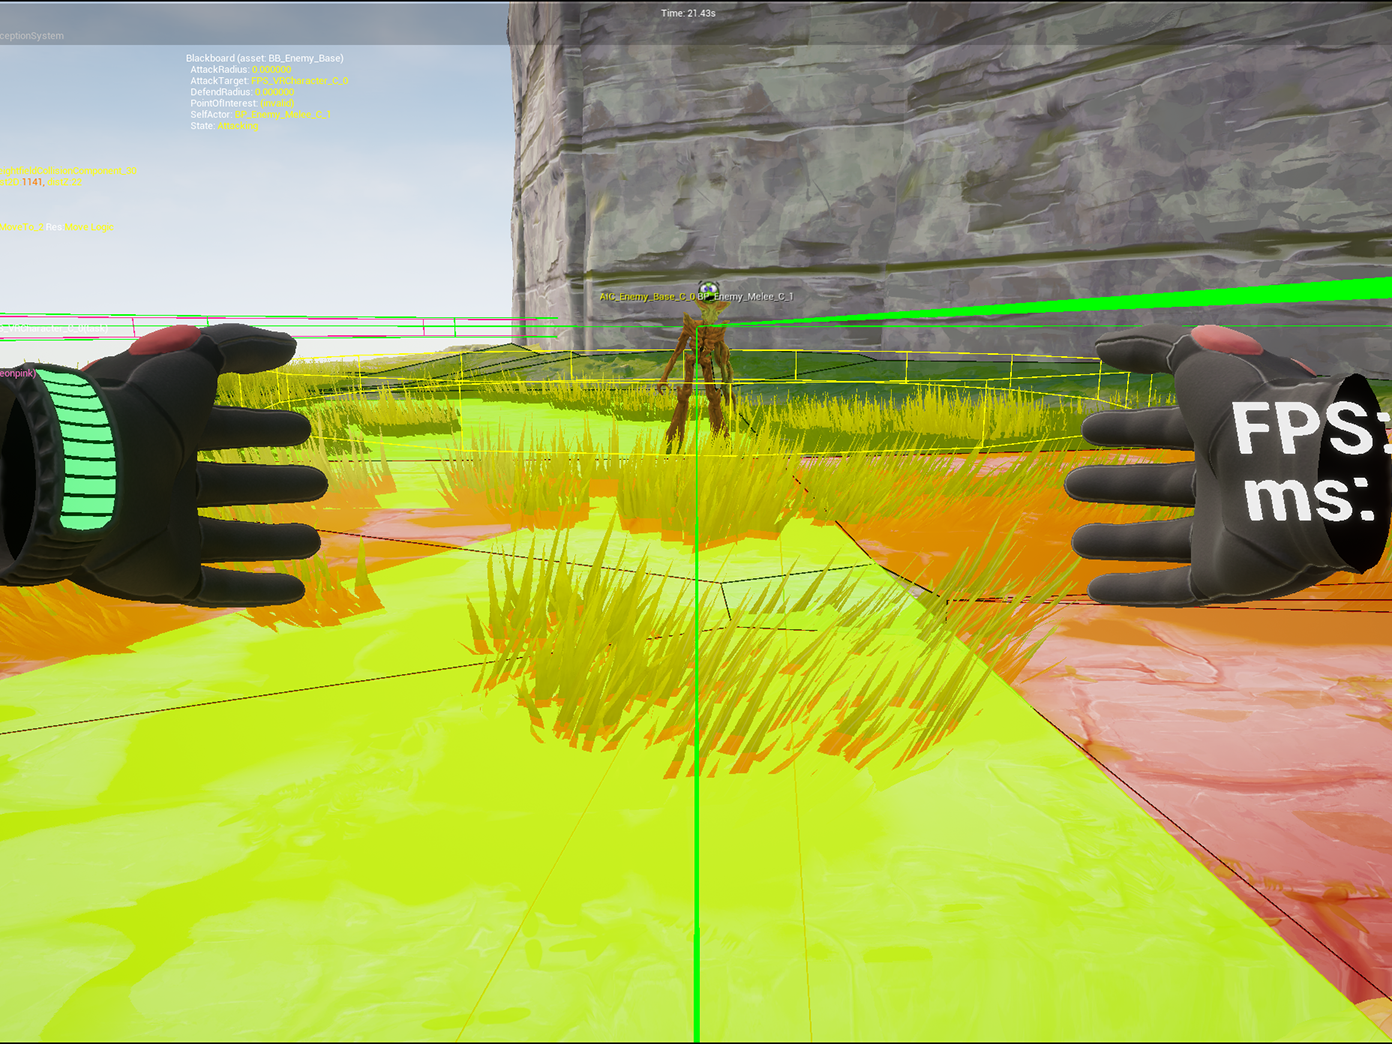
Developing an advanced enemy AI system, encompassing various aspects such as behavior trees, patrolling, states, perception, EQS (Environment Query System), different enemy types, ranged enemy behavior, seeking, AI jumping, and calculating the optimal throw velocity for the ranged enemy, was a comprehensive and rewarding learning journey. The following sources were instrumental in gaining insights into these intricate AI functionalities:
Smart Enemy AI Tutorial Series
To establish a strong foundation in creating intelligent enemy AI, I followed the Smart Enemy AI Tutorial Series on YouTube [20] and a separate video from the same channel [21]. The first ten videos in this series provided a step-by-step guide to implementing behavior trees, patrolling, state management, perception, and different enemy types. This series was pivotal in understanding the fundamentals of creating a sophisticated and responsive AI system.
How to Use Suggest Projectile Velocity
For the specific task of calculating the best throw velocity for the ranged enemy, I referred to a tutorial on how to use the Suggest Projectile Velocity function [22]. This video tutorial offered practical insights into determining the optimal velocity for projectiles, ensuring accurate and effective ranged enemy behavior.
The learning process involved not only following tutorials but also experimenting, iterating, and troubleshooting to implement these AI features seamlessly. Each topic, from patrolling to ranged enemy behavior, required a blend of theoretical understanding and practical application.
In conclusion, the combination of the tutorial series and targeted video tutorial provided a comprehensive understanding of creating a diverse and intelligent enemy AI system. The knowledge gained from these sources empowered me to implement behavior trees, perception, and various AI behaviors effectively, contributing to a dynamic and challenging gaming experience within the game.
Anti-Aliasing Methods (TSR vs MSAA)
Exploring various anti-aliasing methods for VR in Unreal Engine, incorporating the NVIDIA plugin for improved Temporal Super-Resolution (TSR), and conducting a comparative analysis between TSR and MSAA was a nuanced research endeavor. The following sources were instrumental in gaining insights into these advanced rendering techniques:
NVIDIA Plugin (and TSR) Documentation
The primary reference for understanding and implementing Temporal Super-Resolution (TSR) in Unreal Engine was the official NVIDIA documentation [23]. This comprehensive resource provided a detailed guide on getting started with the NVIDIA plugin, emphasizing the integration of TSR to enhance the visual fidelity in VR.
Research on Forward Shading with MSAA
To comprehend the nuances of Forward Shading with Multi-Sample Anti-Aliasing (MSAA), I consulted the Unreal Engine documentation on Forward Shading [24]. This source offered a deep dive into the rendering technique of Forward Shading, exploring its compatibility with MSAA, shedding light on its implications for anti-aliasing in VR environments, and suggesting points for improvements.
Research on Anti-Aliasing and Upscaling
The broader context of anti-aliasing and upscaling in Unreal Engine was explored through the official documentation [25]. This resource provided insights into various anti-aliasing methods and their integration with upscaling techniques, contributing to a holistic understanding of rendering optimizations in VR.
The research process involved studying the documentation, experimenting with the NVIDIA plugin and TSR implementation, and conducting performance and visual quality assessments. Comparing TSR with MSAA required hands-on experimentation, leveraging the knowledge gained from both the NVIDIA documentation and Unreal Engine resources.
In conclusion, the integration of advanced anti-aliasing techniques for VR in Unreal Engine was enriched by consulting authoritative documentation from NVIDIA and Unreal Engine itself. This multidimensional approach facilitated a comprehensive understanding of rendering optimizations, allowing for an informed comparison between different anti-aliasing methods.
-------------------------------------------------------------------------------------------------------------------------------
Results & Reflection
Upon reflection, I find satisfaction in the comprehensive coverage I achieved during the IMT&S period. The exploration of various facets within Unreal Engine (5) has equipped me with invaluable insights that will undoubtedly shape my future utilization of the platform. While this research blog may not delve into every intricate detail, it underscores the significance of research in addressing both simple and complex issues faced by a programmer.
A noteworthy takeaway from this experience is the effectiveness of the "experimentation" research method. While challenging to articulate it in text, it proved instrumental in problem-solving throughout the project. I am happy with the diverse range of research methods employed, contributing to a well-rounded approach.
In hindsight, I acknowledge that playtesting, particularly with unfamiliar participants, could have played a more substantial role. Recognizing the valuable insights they provide, I aim to prioritize user testing, especially with strangers, in the future and upcoming half year, making it a focal point for my graduation project.
It's essential to acknowledge that not every issue addressed in this research document found a conclusive solution. This resonates with the reality that, despite my best efforts, research may not always yield a definitive answer. Embracing such instances as crucial learning opportunities is important for the research process.
Overall, I am very content with the end result of this project. The research undertaken has been instrumental, especially considering my initial lack of experience in developing games within Unreal Engine (5) at the start of IMT&S. The end result reflects the progress I made and serves as a testament to the significance of dedicated research in the realm of game development.
-------------------------------------------------------------------------------------------------------------------------------
Sources
Menu Widgets
Saving and Loading data & Setting Quality Levels
Enemy AI & Retargeting IK-rig
Mesh Slicing & Enemy Jump
[11] https://docs.unrealengine.com/5.3/en-US/BlueprintAPI/Components/ProceduralMesh/SliceProceduralMesh/
Hosting, Joining & Advanced Sessions
Async Loading & Level Streaming through C++
[18] https://www.unrealengine.com/marketplace/en-US/product/async-level-load-plugin-with-loading-screen
New Enemy AI
Anti-Aliasing Methods (TSR vs MSAA)