Lecture Assignments
Assignment 1
During this session, we tested our application for physically prototyping a website (testing what we made for 5.2 Group Assignment - Physical MVP, first iteration. Compared to the earlier proof of concept we had in Session 6, we now had a more complete setup: a box containing the individual UI cards, together with an instruction sheet/manual (see Figures 1, 2, and 3).
Tycho and I had mainly worked on the programming side of the application, which is the core of our project. We had already tested the system at home, but this session was important because we needed to see how it worked in practice with other people. Since the other teams had left after the short presentations, we could only test it within our own group. Fortunately, that was still allowed and even encouraged.
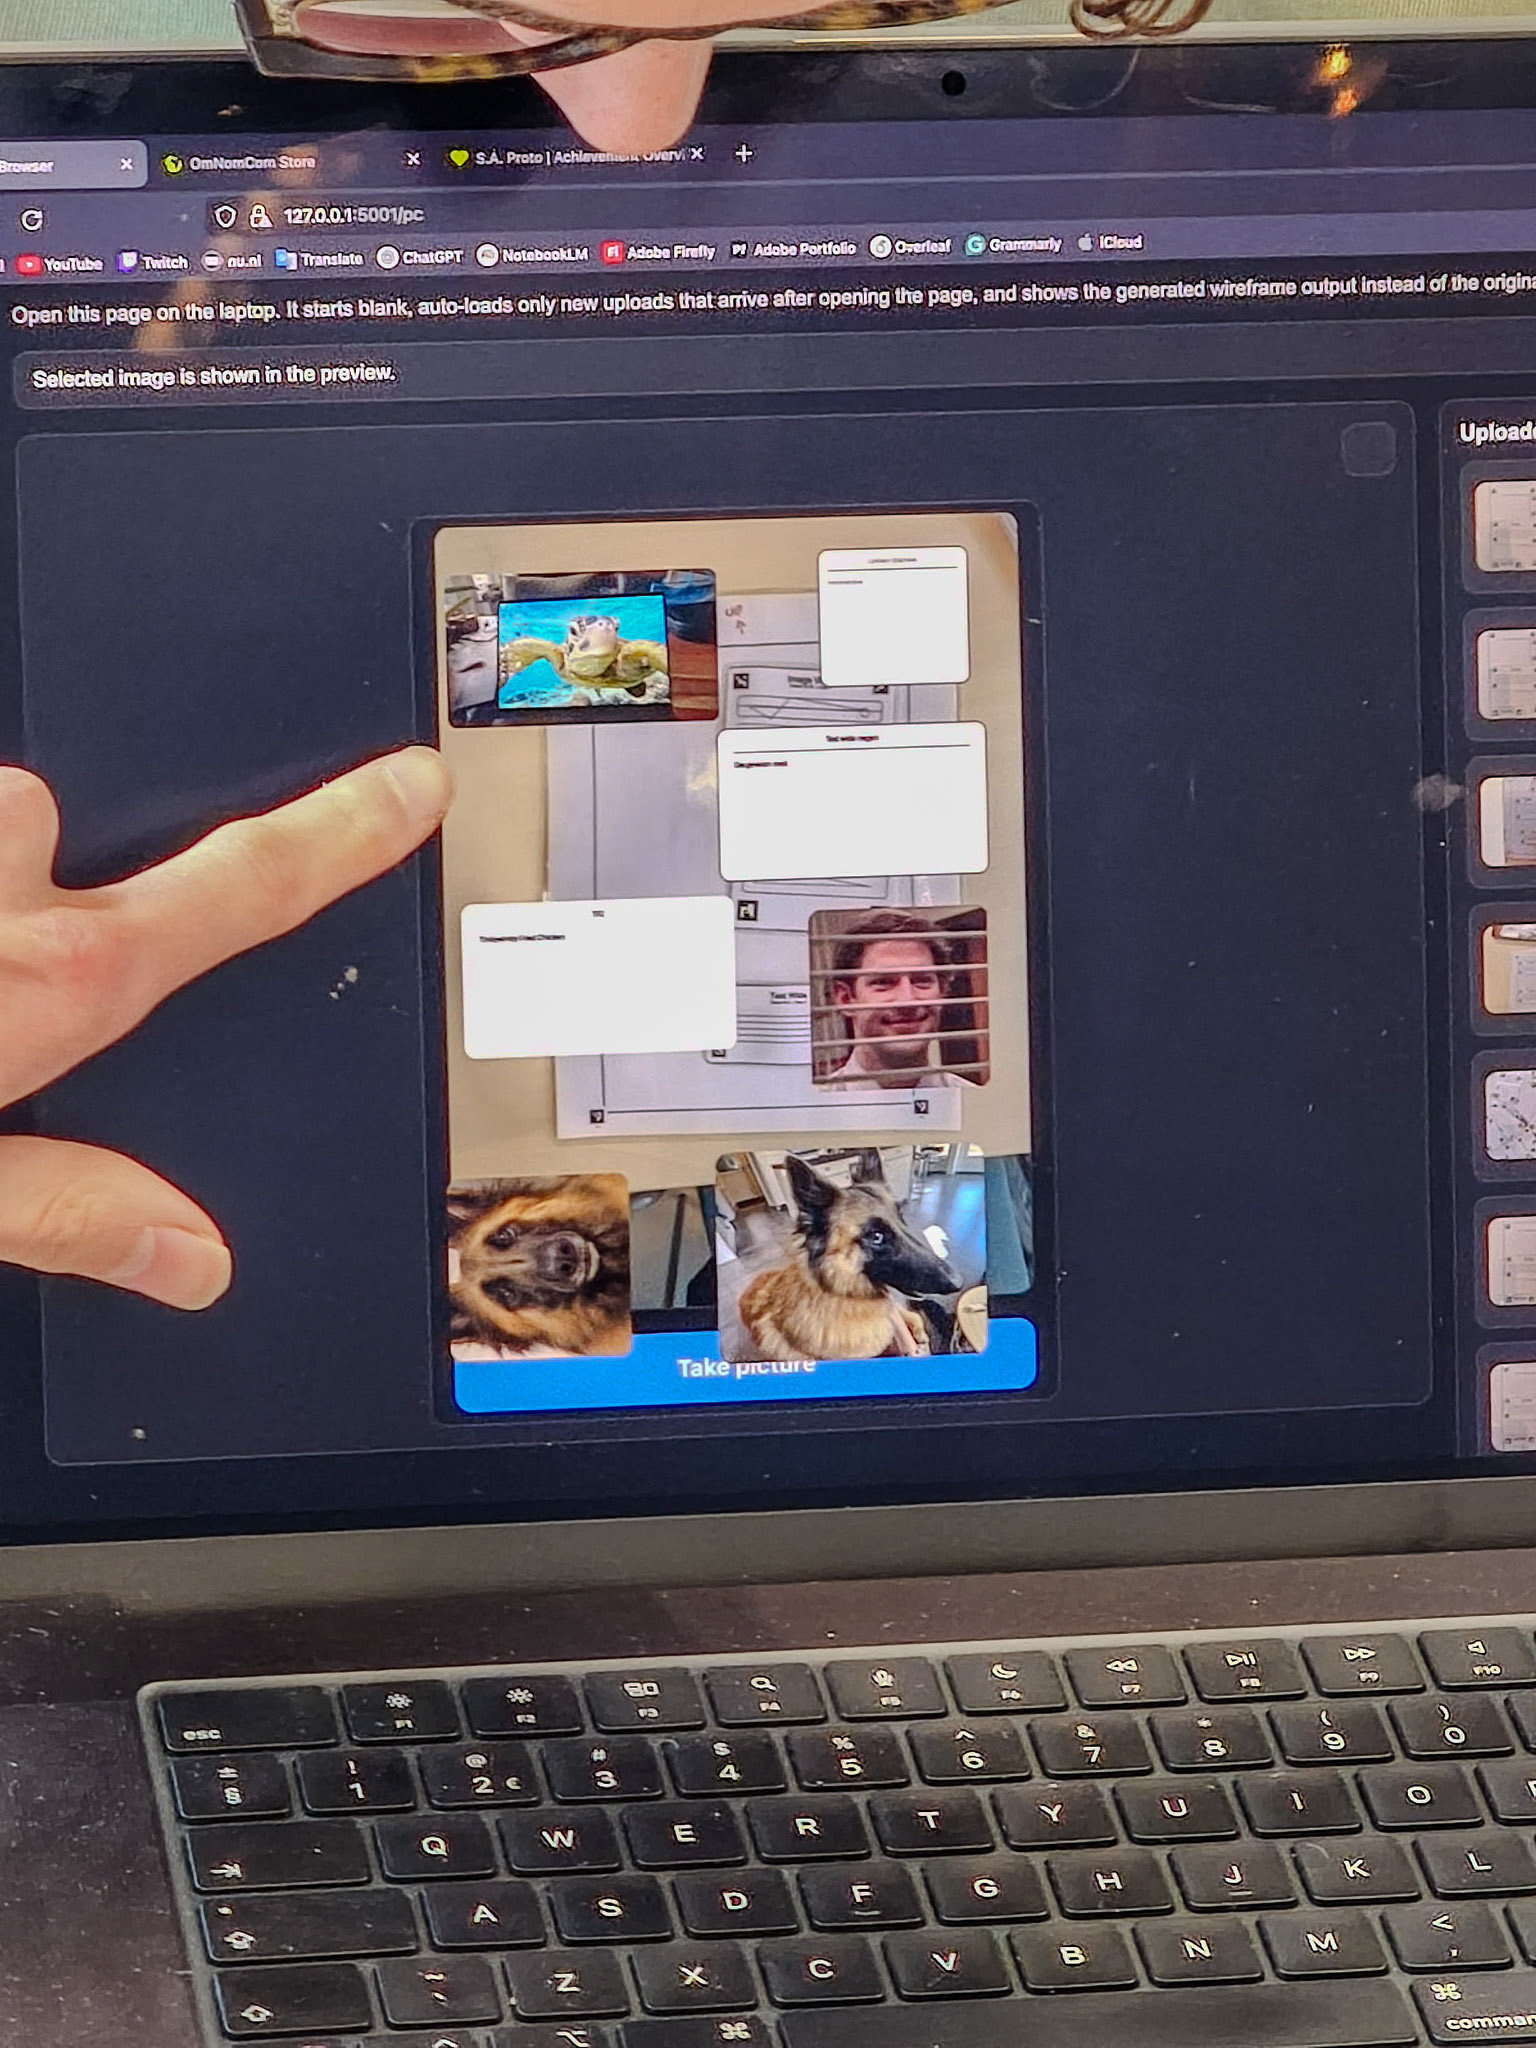
Figures 4, 5, and 6 show us using the application with the box, the A4 sheet, and the separate UI cards. Figures 7 to 13 show the mobile view of the application. In this interface, the user scans the paper with the UI cards on it. The ArUCo markers are detected automatically and linked to the corresponding UI code and placement on the website (see Figures 7 and 8). After that, the user can adjust elements such as colour, text, or image content (Figures 9, 10, and 11). Once a photo is taken, it is sent to the laptop, where the UI elements are automatically placed on the webpage. When the user changes the content of a UI element and saves it, that update is immediately reflected in the digital version. This can be seen in Figures 12, 13, 14, 15, 16, and 17.
Before starting the test, we clearly defined the setup and the roles. Bas acted as the facilitator, Ewoud and the rest of the team were the observers, and Tycho and I were the participants. Informed consent was given beforehand. Ewoud documented the process, and afterwards we evaluated what worked well and what could still be improved. We then took those insights with us into Session 8, the final session. This test setup was useful because it separated facilitation, participation, and observation, which made it easier to focus not only on whether the system worked technically, but also on how the onboarding, materials, and workflow supported tinkering in practice.
For me, the most useful part of this session was that it allowed us to test the full system in practice rather than only at home. At home, the focus was mainly on whether the code worked. During this session, we could evaluate the complete tinkering setup: the materials, the instructions, the scanning process, and the connection between the phone and laptop. That made the project feel much more concrete and also showed which parts of the workflow and interaction still needed refinement.
Overall, the goal of the test was largely achieved. We wanted to see how well all parts of our tinkering playground worked together in practice, and this session gave us a clear first impression of that. It showed that the concept worked, while also giving us useful input for improvement before the final session.
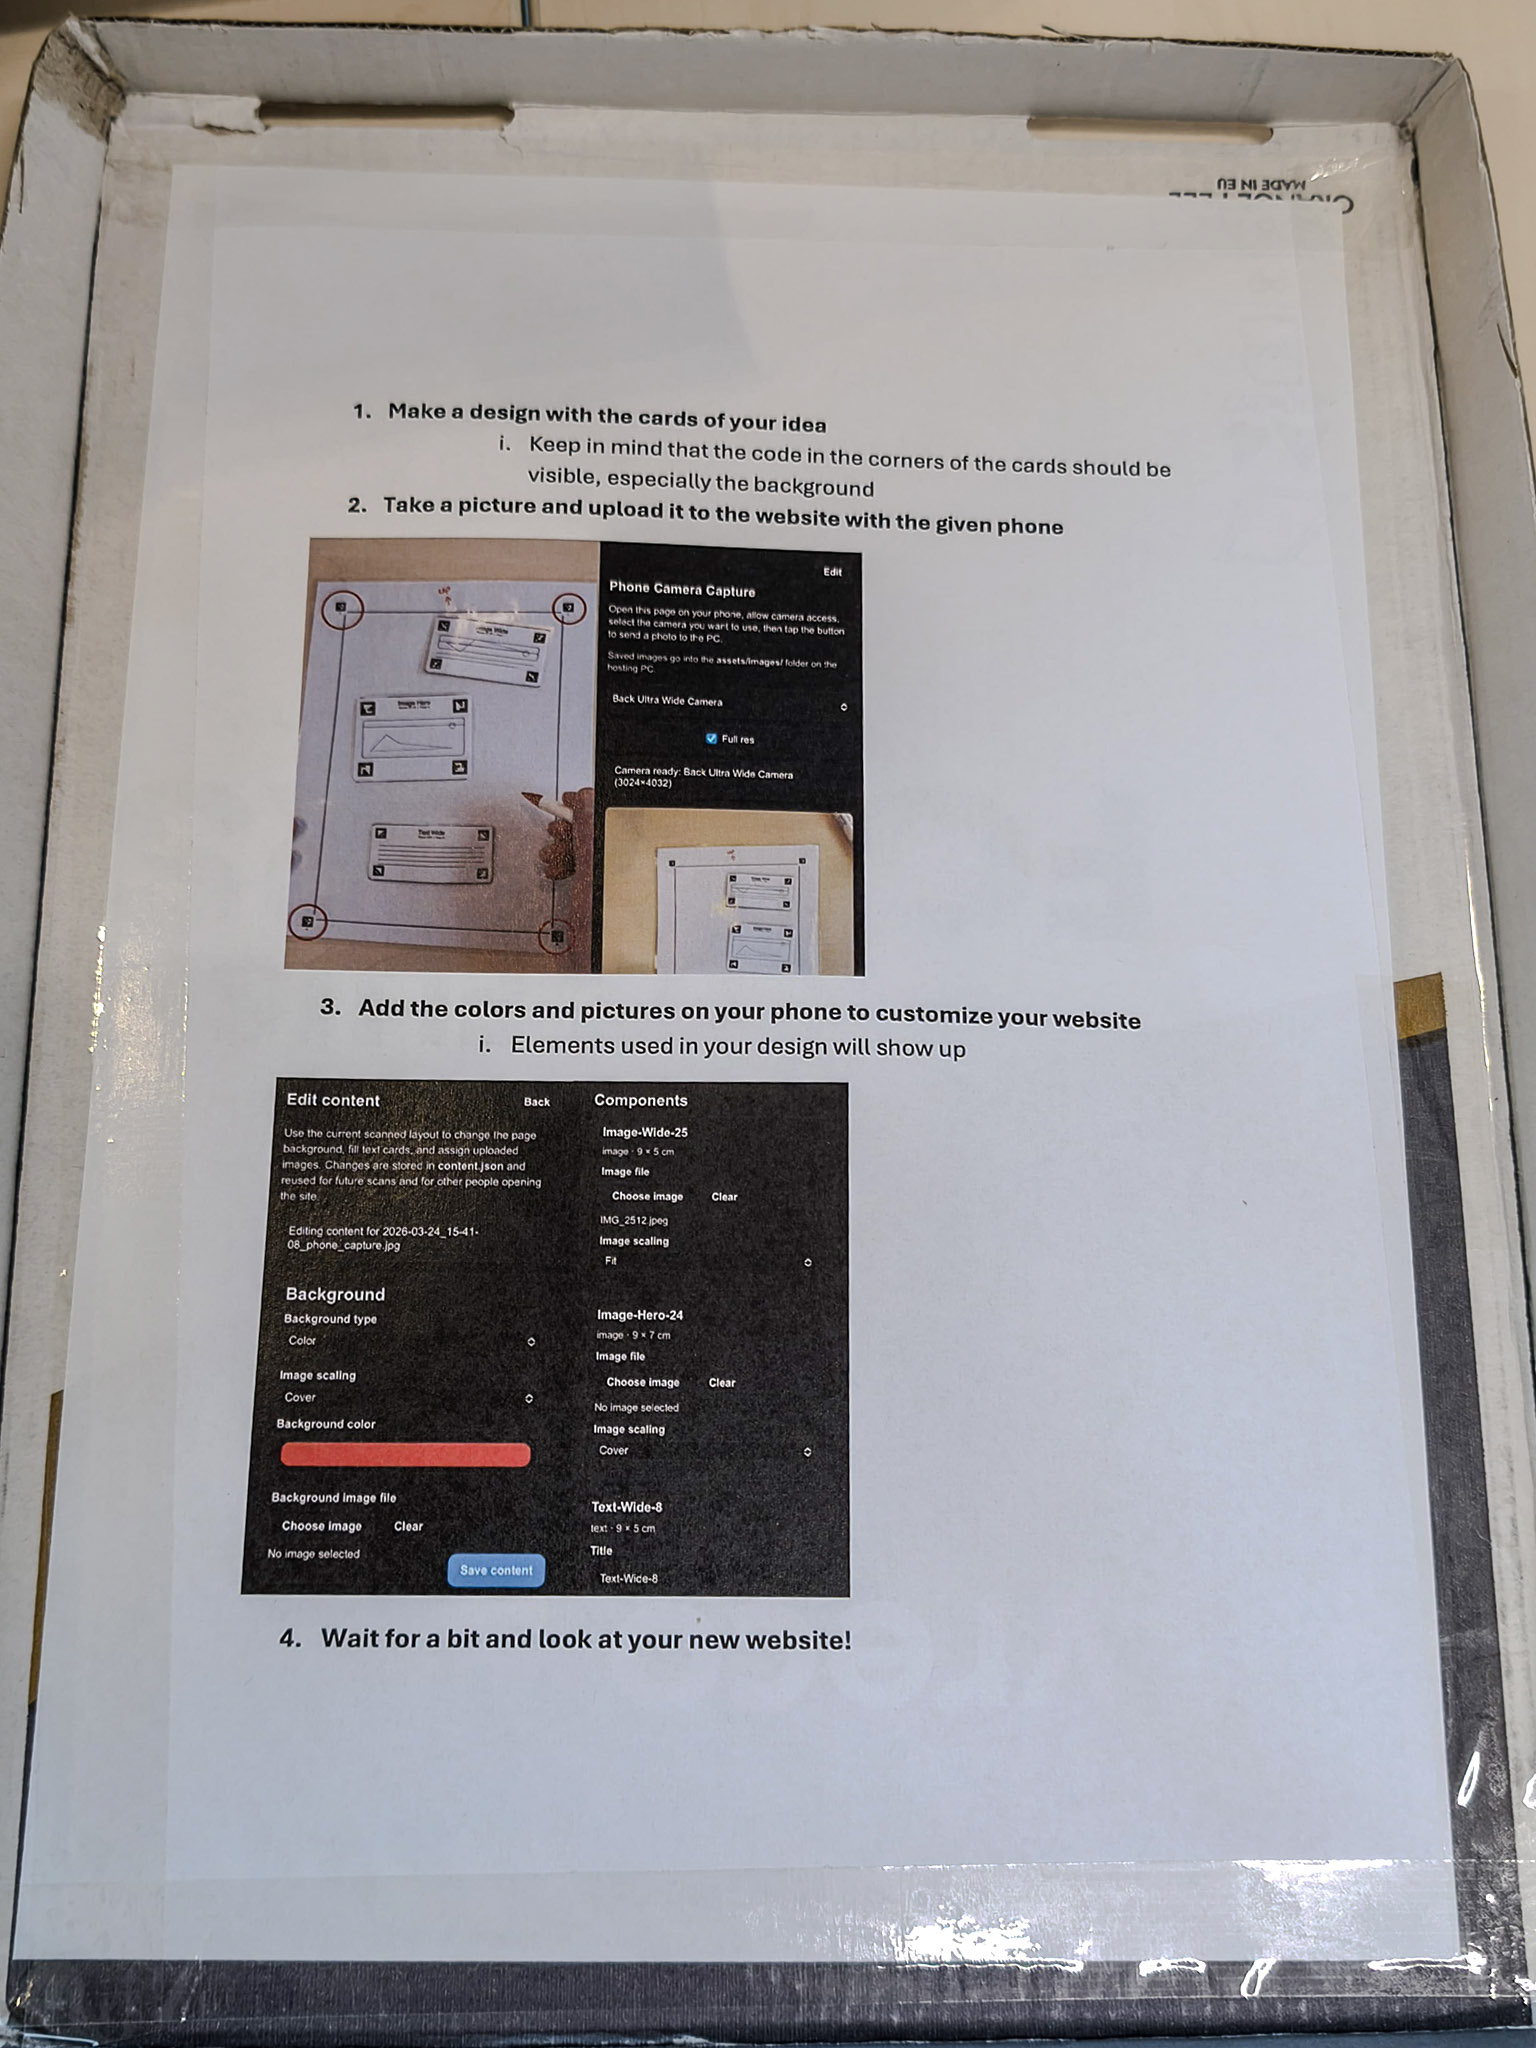
Figure 1. The instructions.
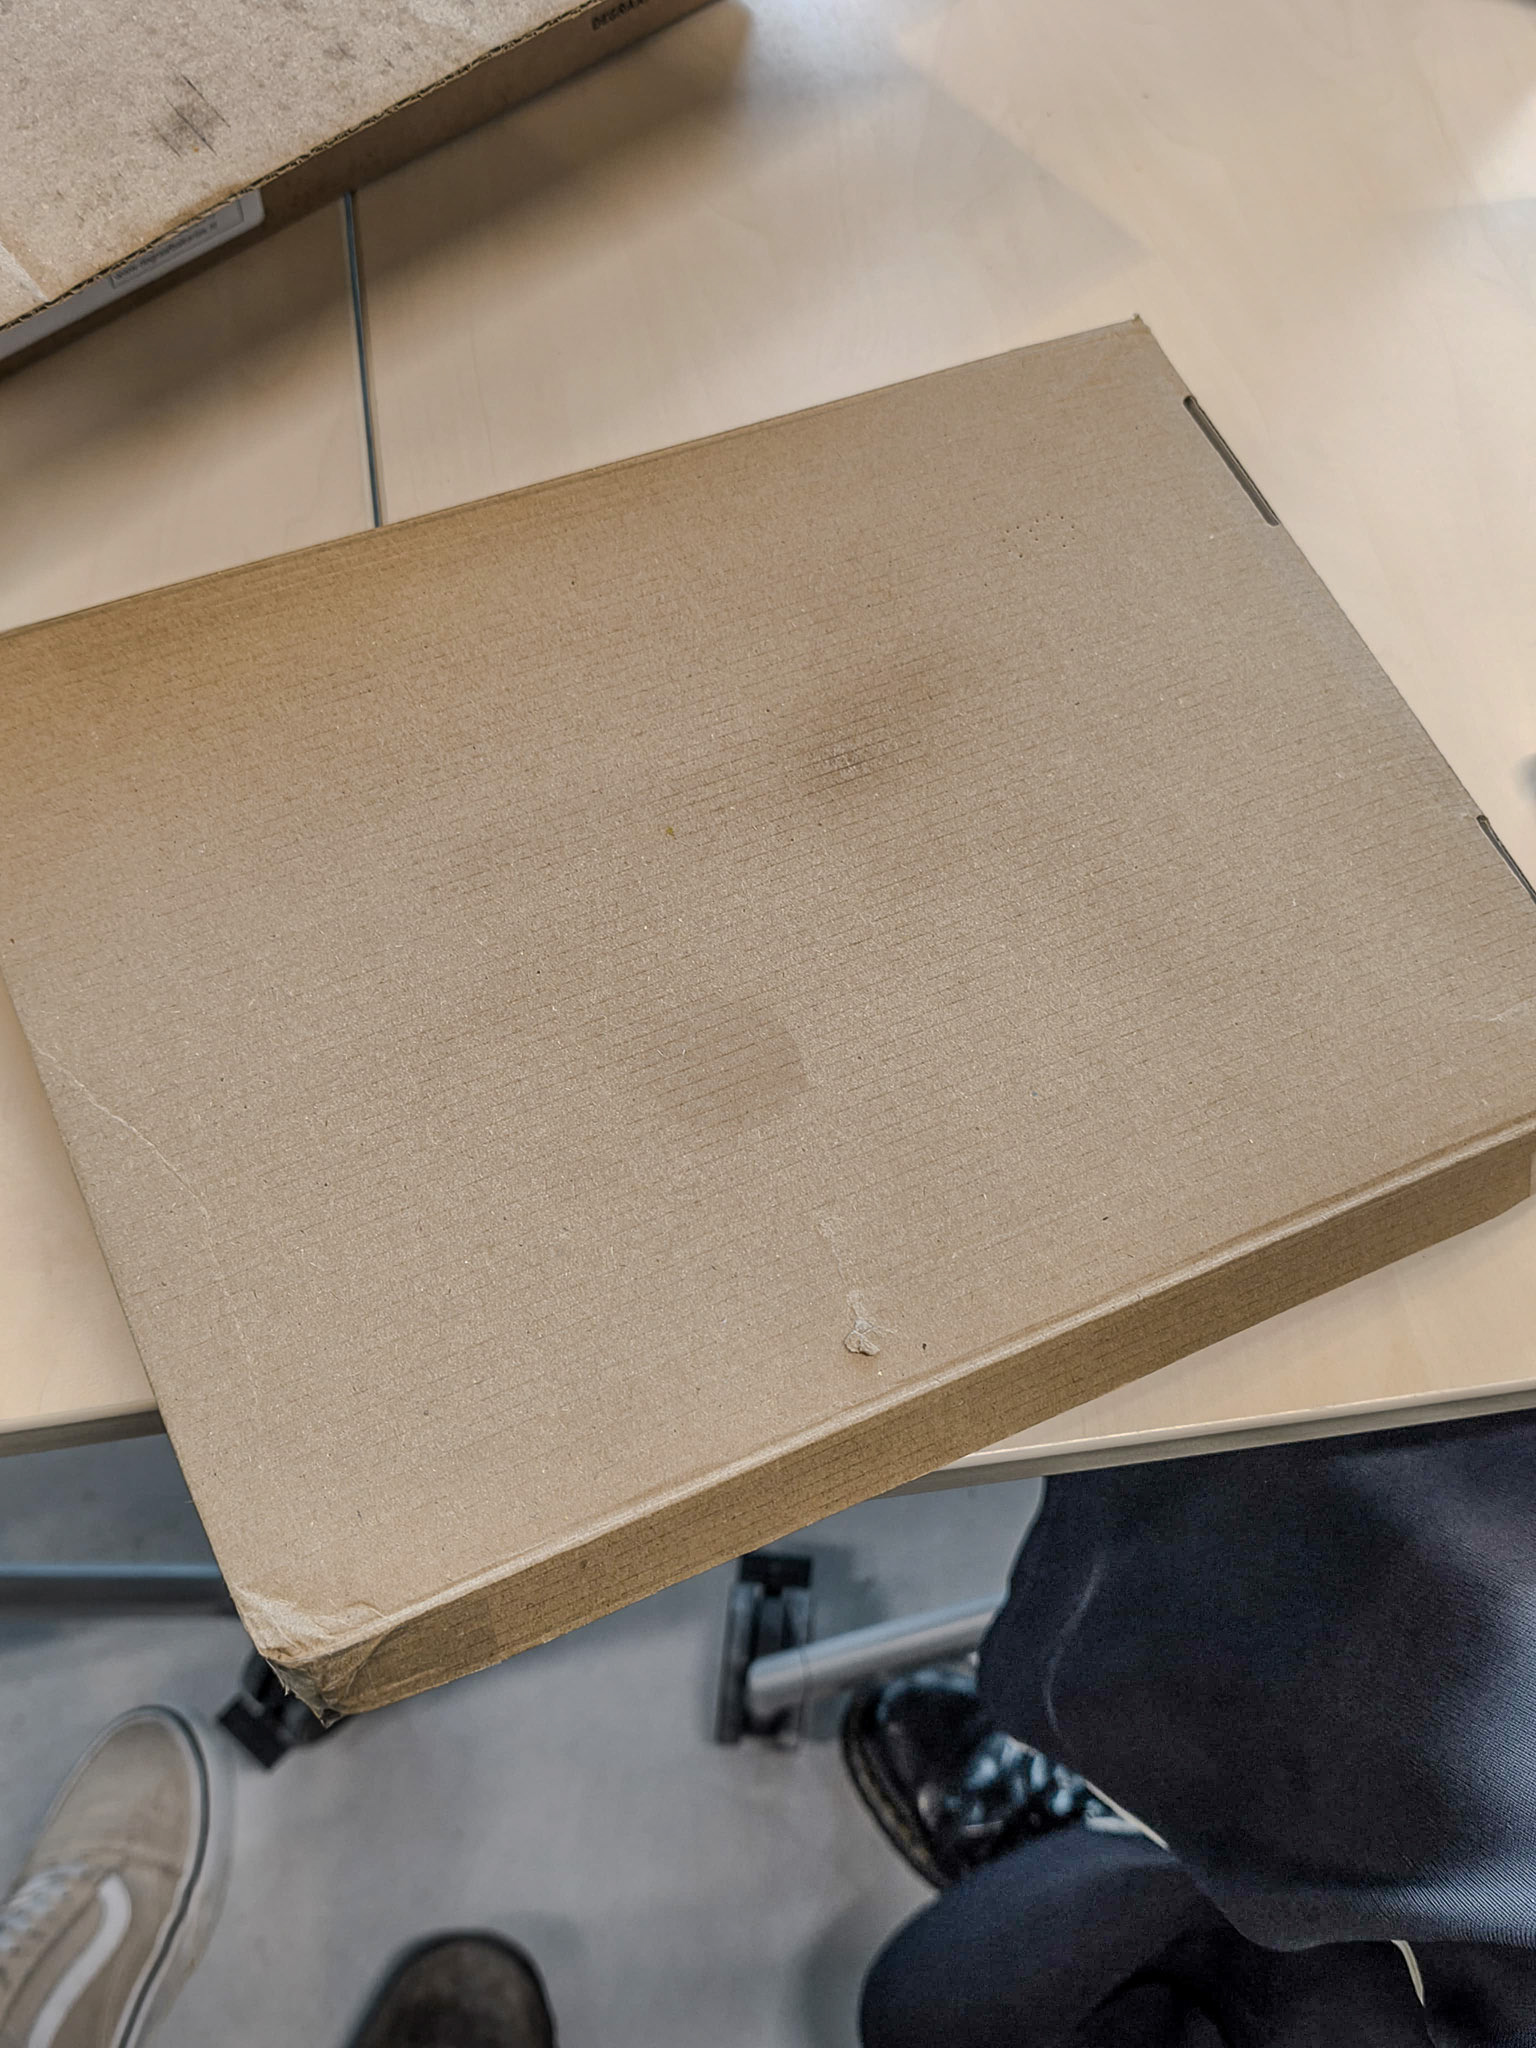
Figure 2. The box.
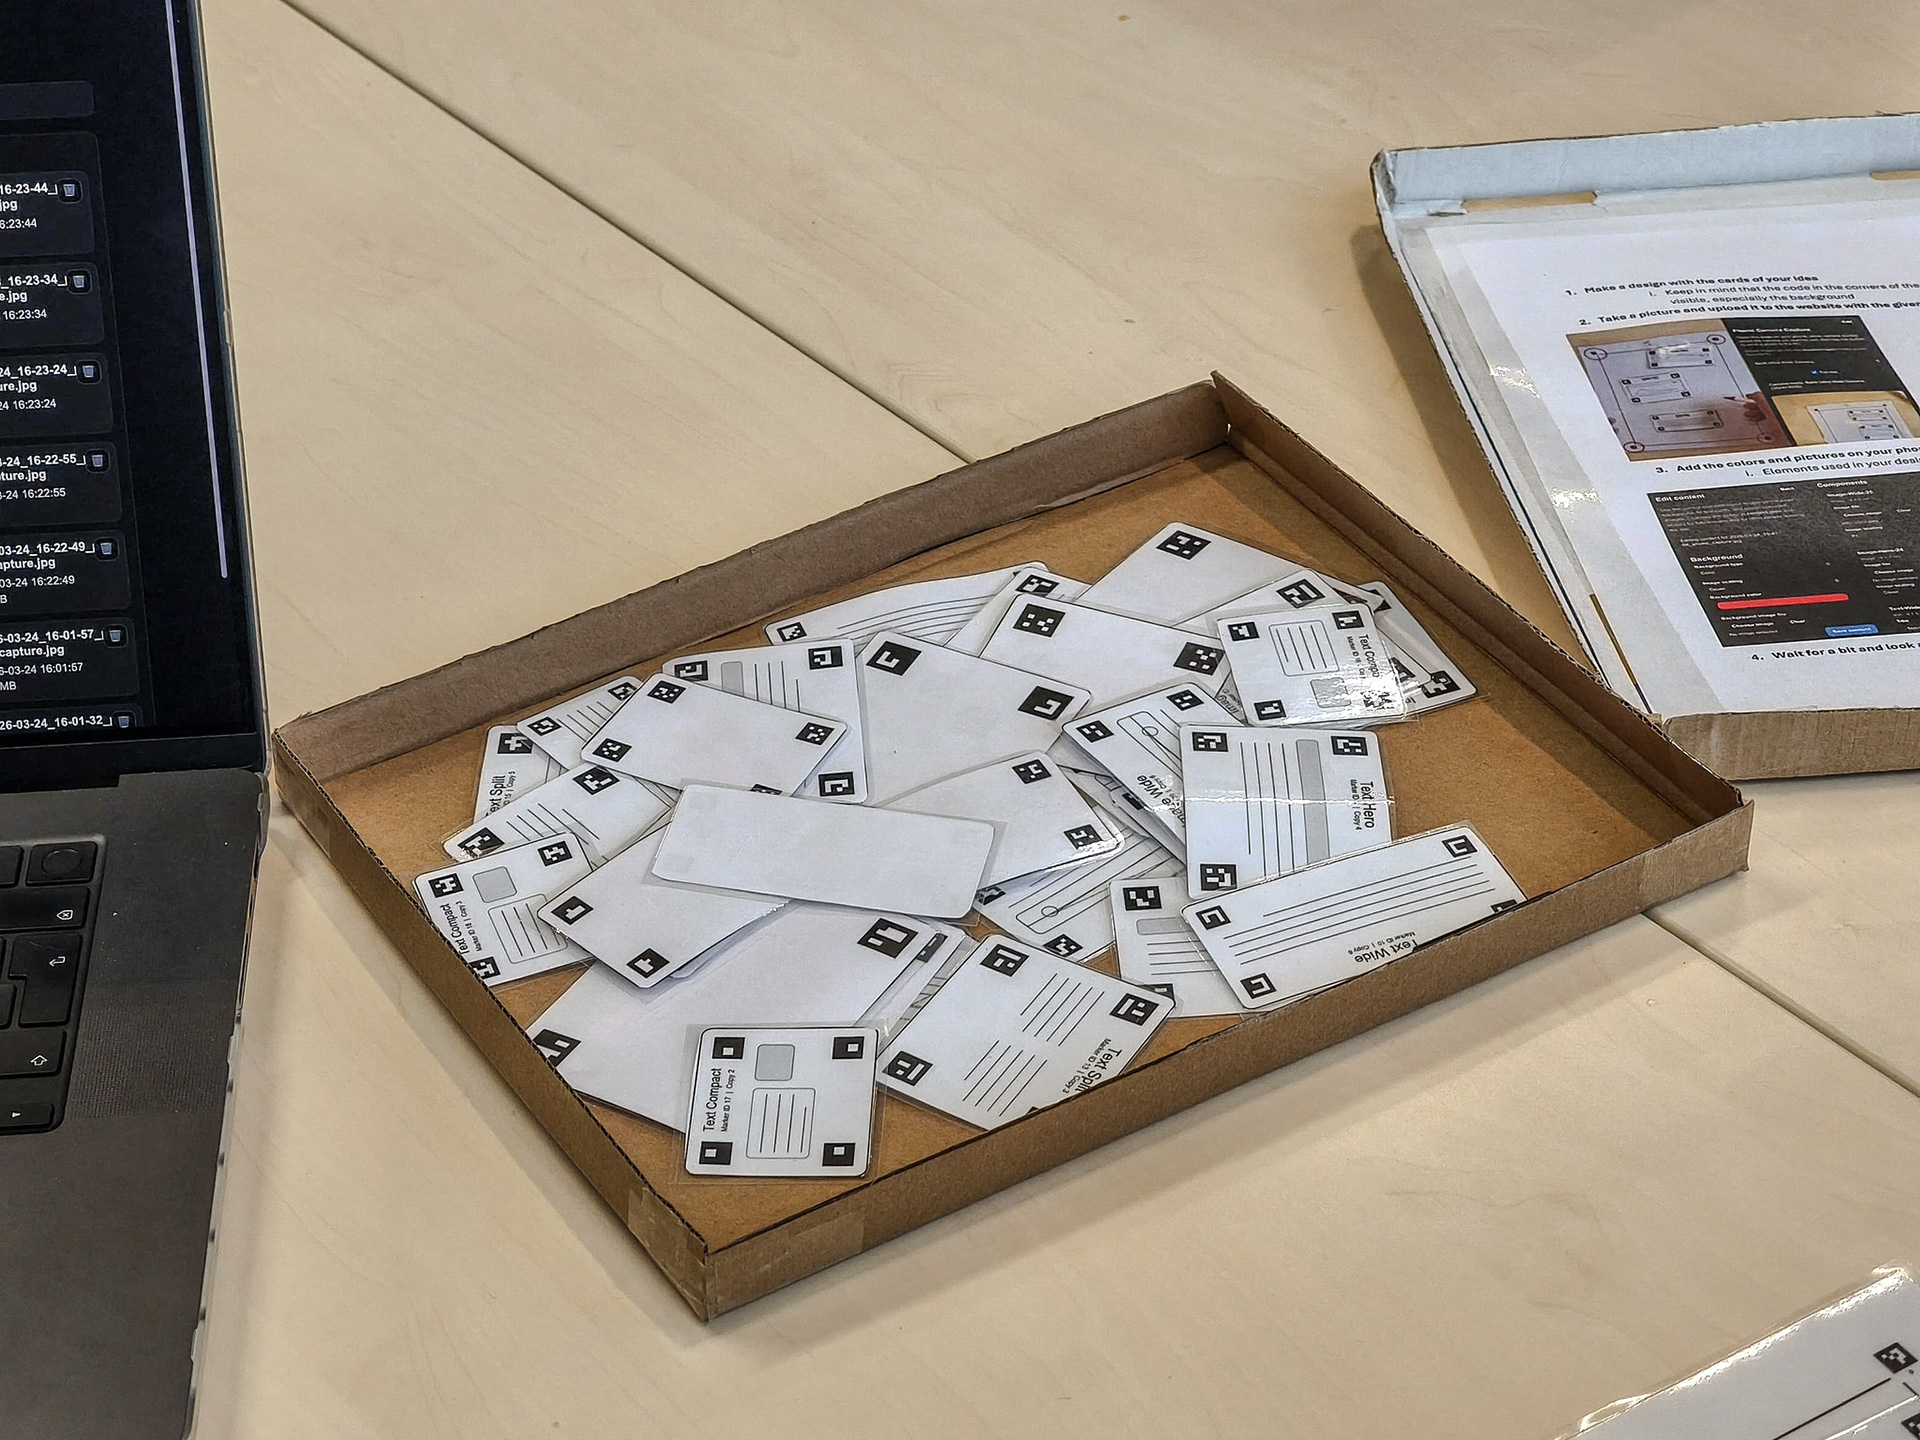
Figure 3. The box with UI cards.
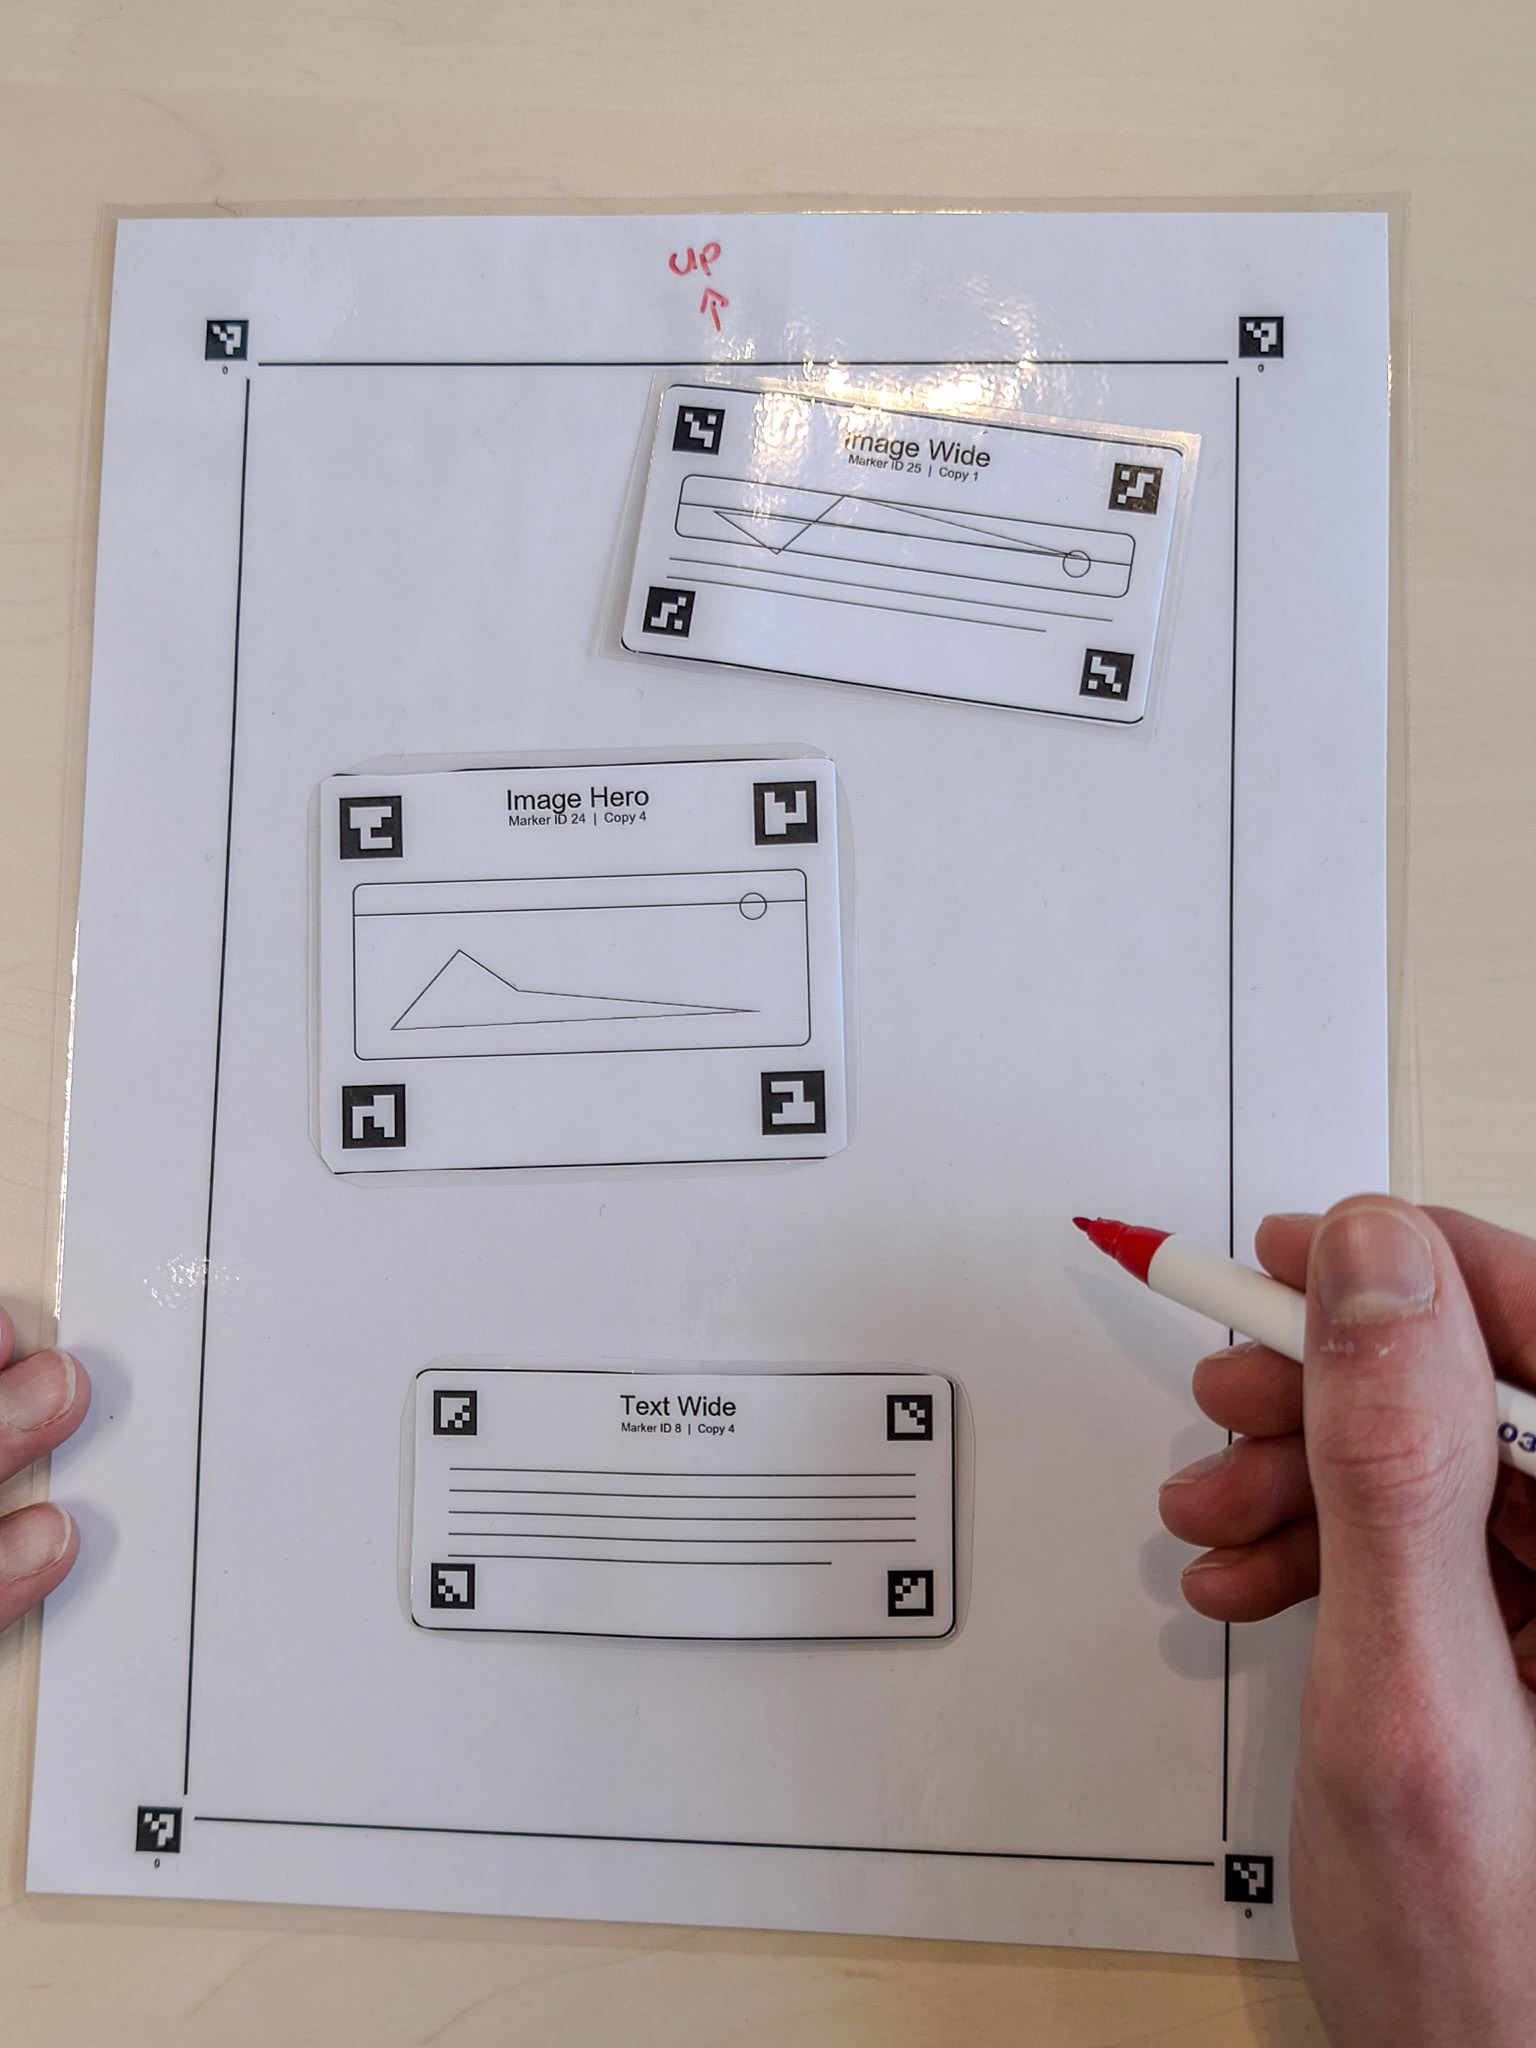
Figure 4. The A4 web page with cards.
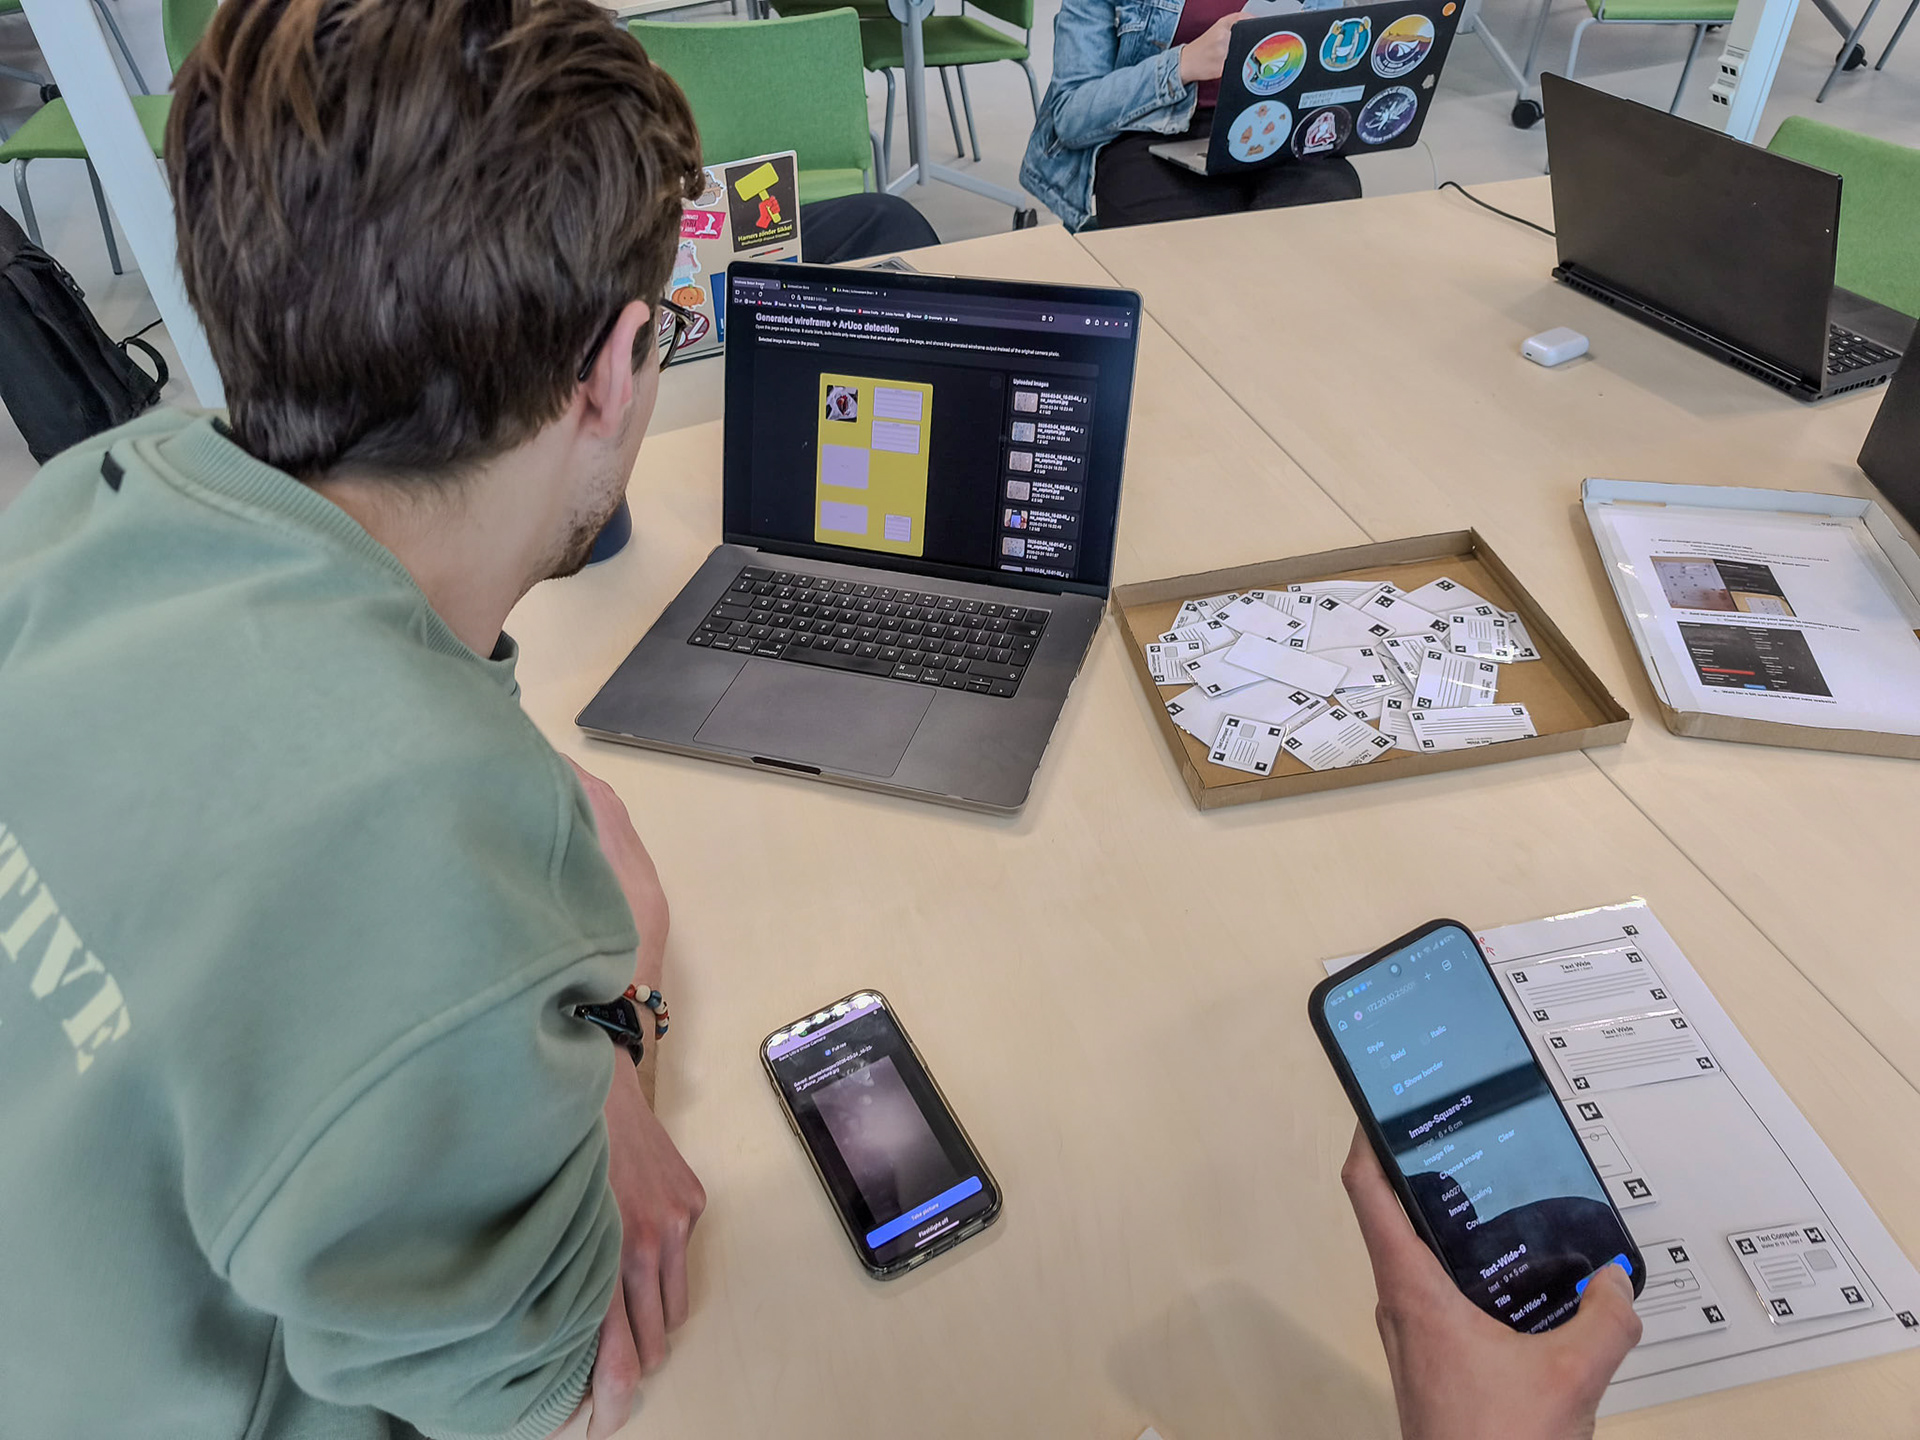
Figure 5. Testing the set.
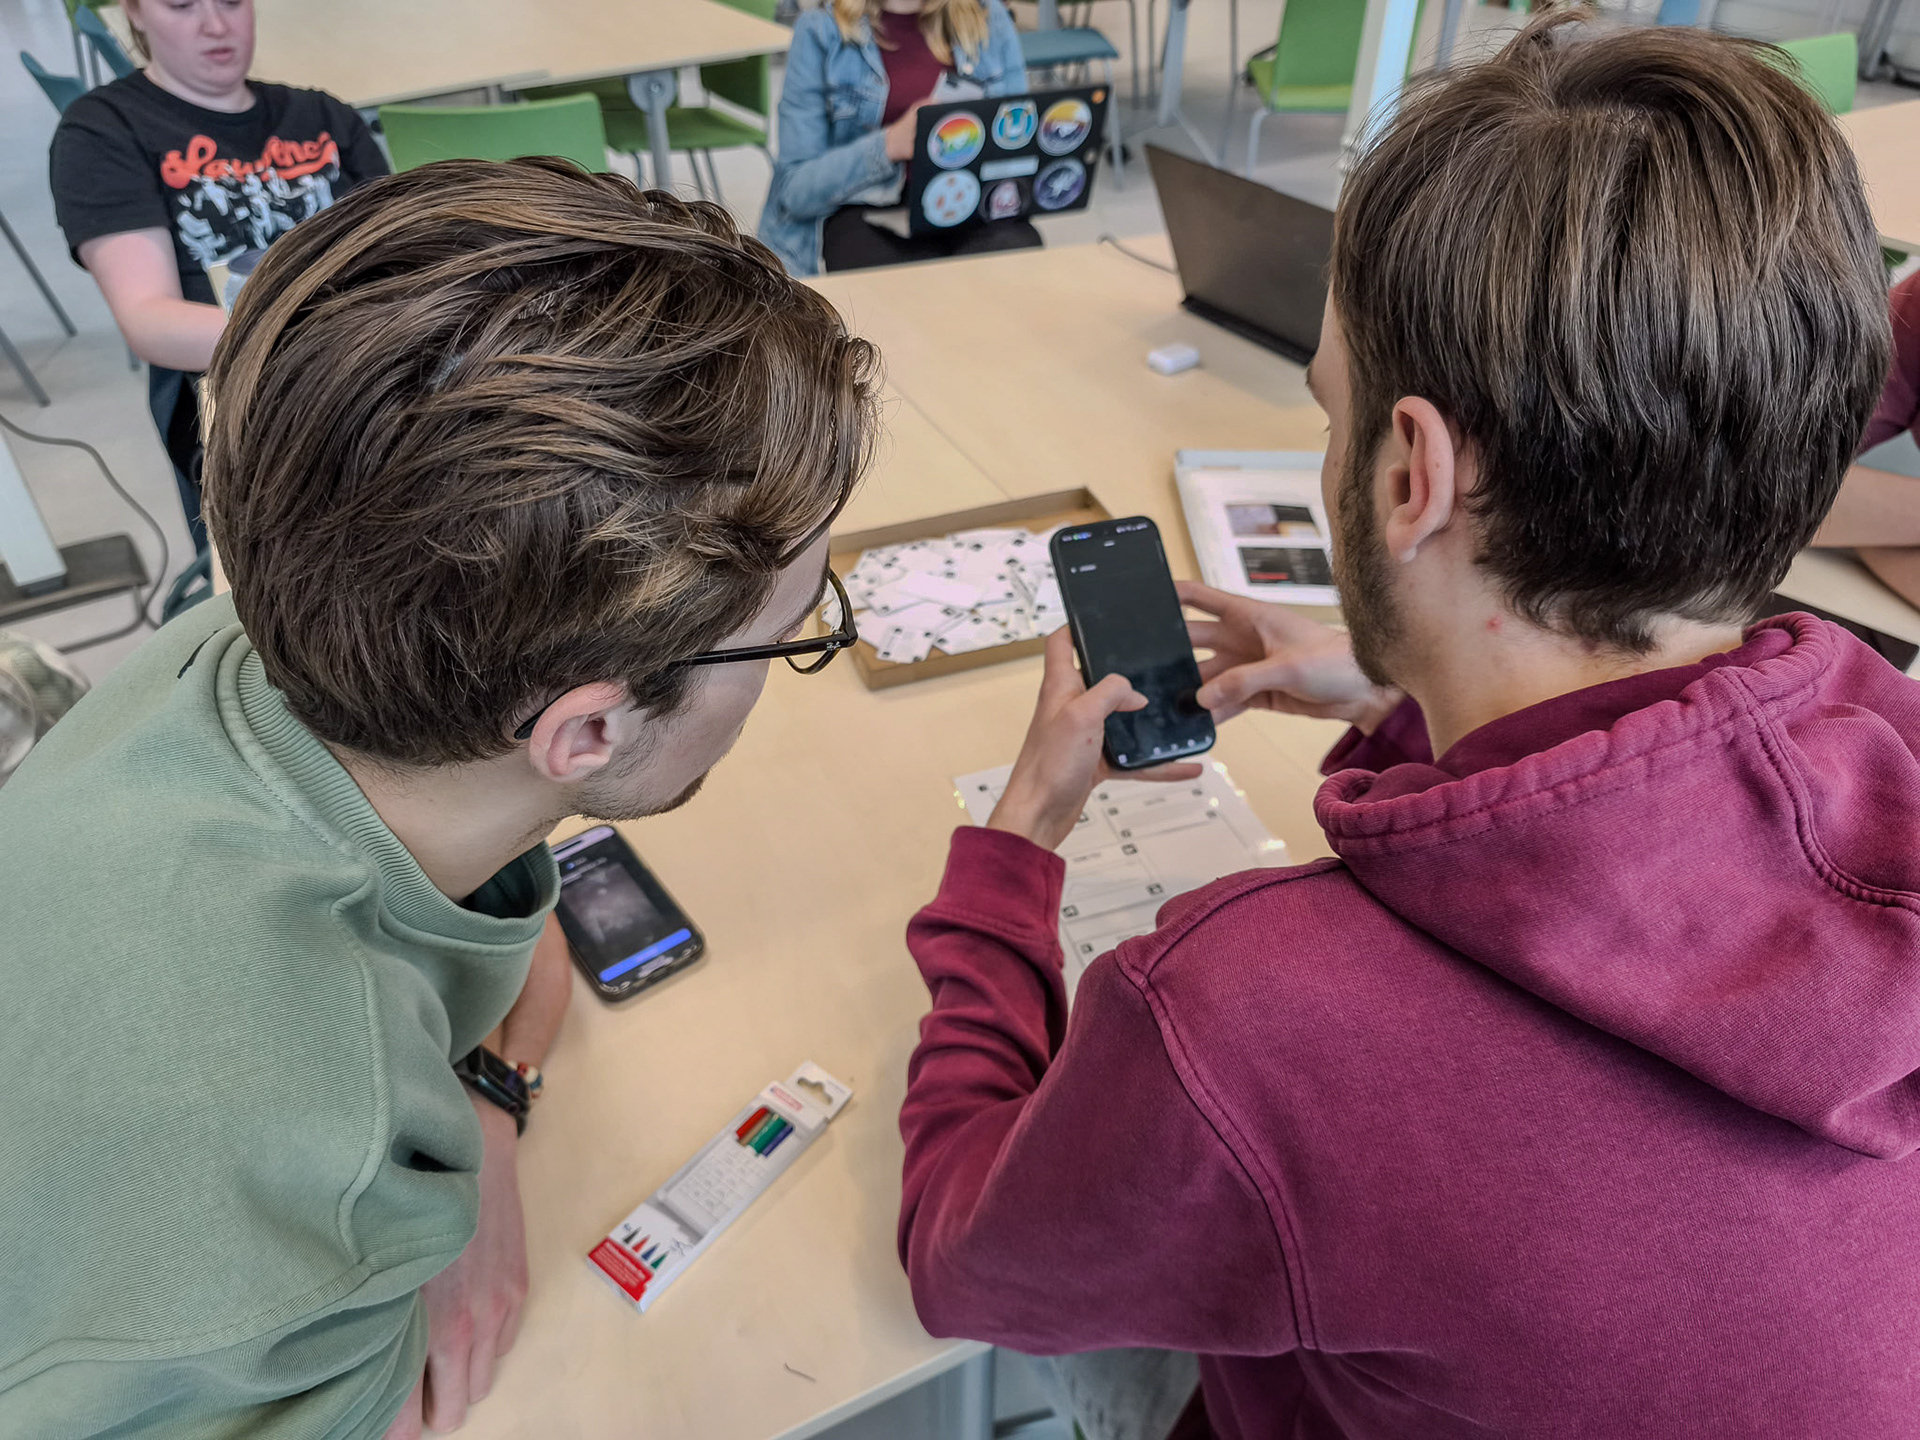
Figure 6. Scanning with the phone.
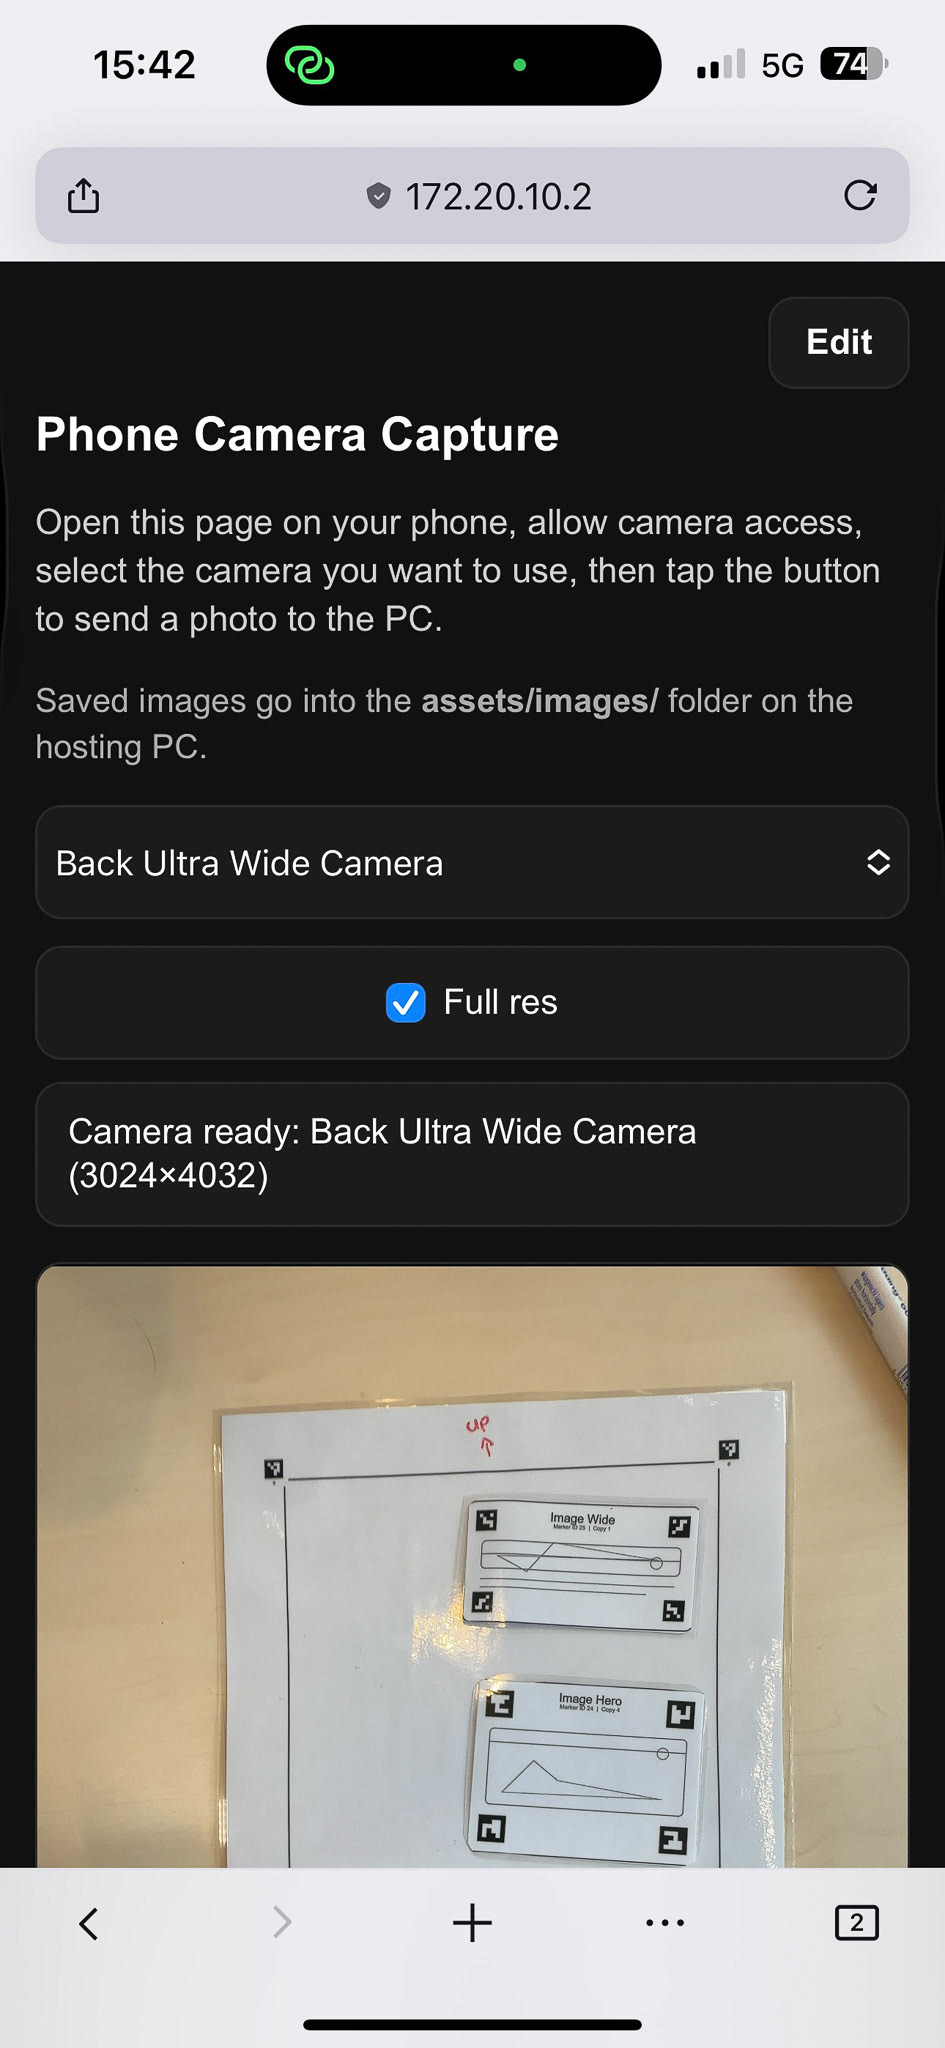
Figure 7. Phone view (1/5).
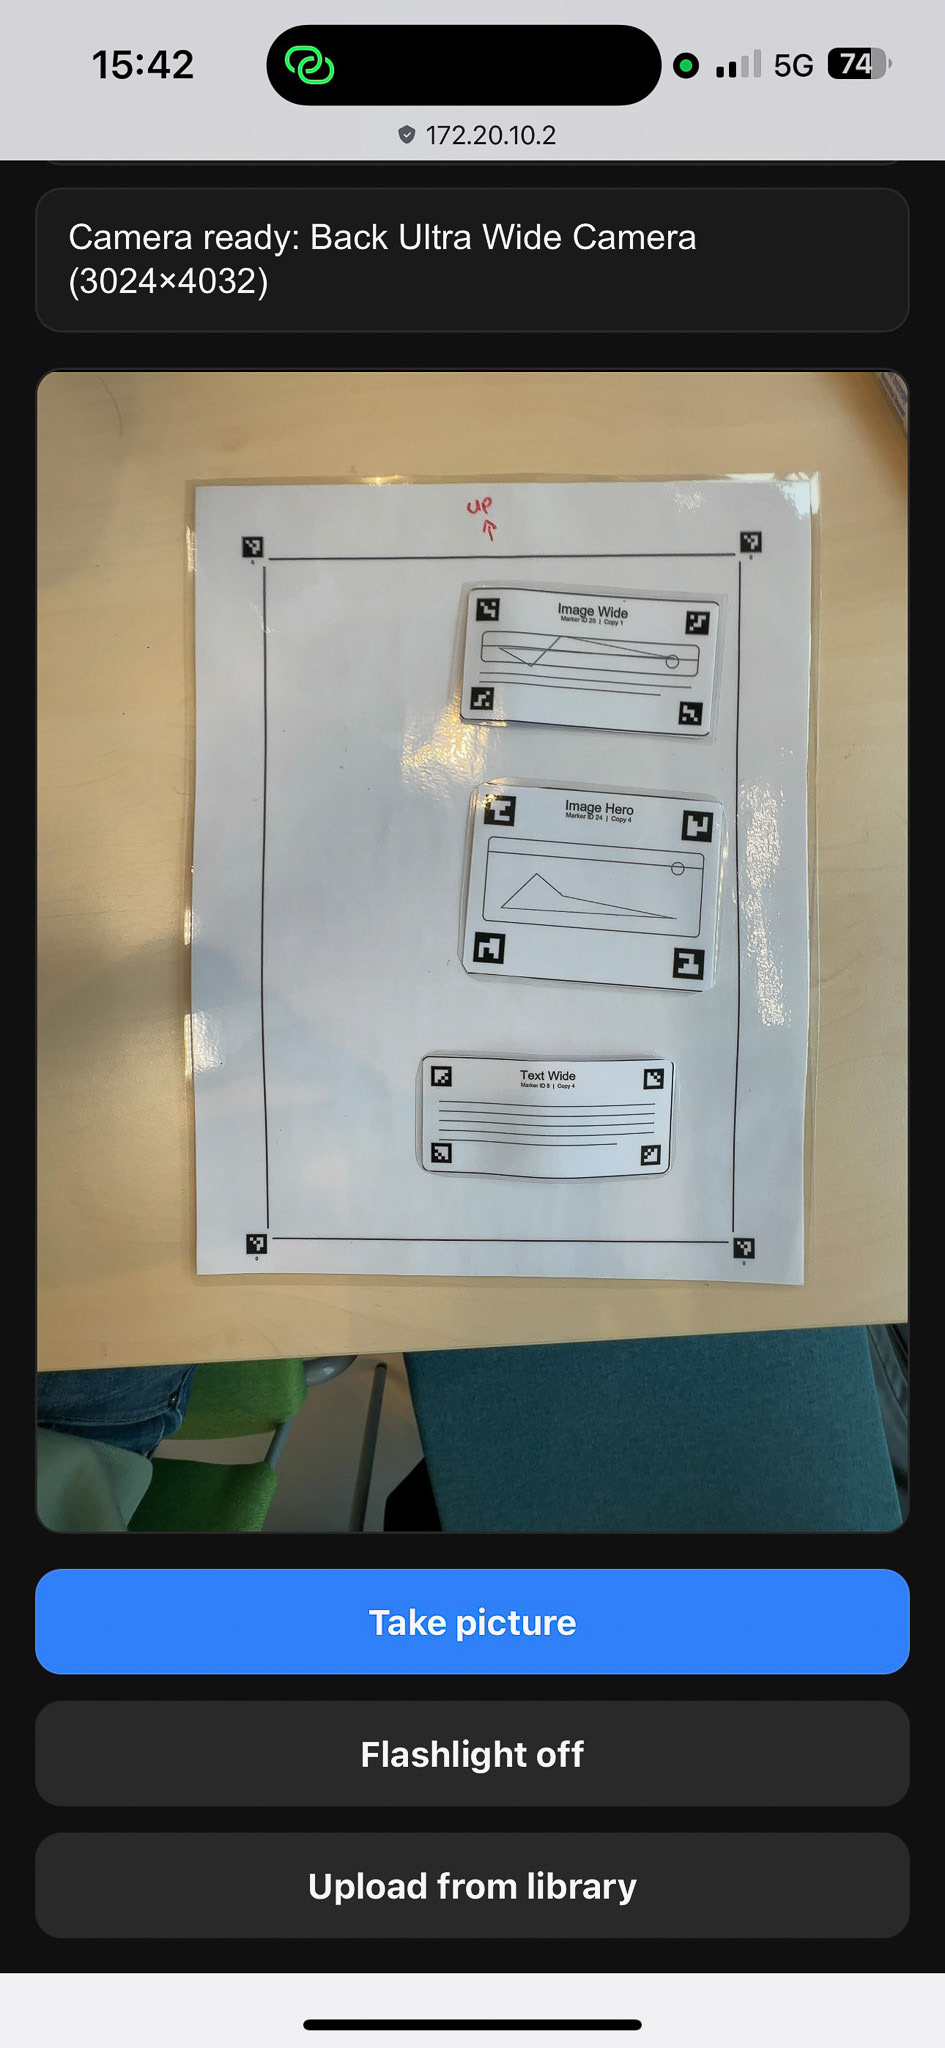
Figure 8. Phone view (2/5).
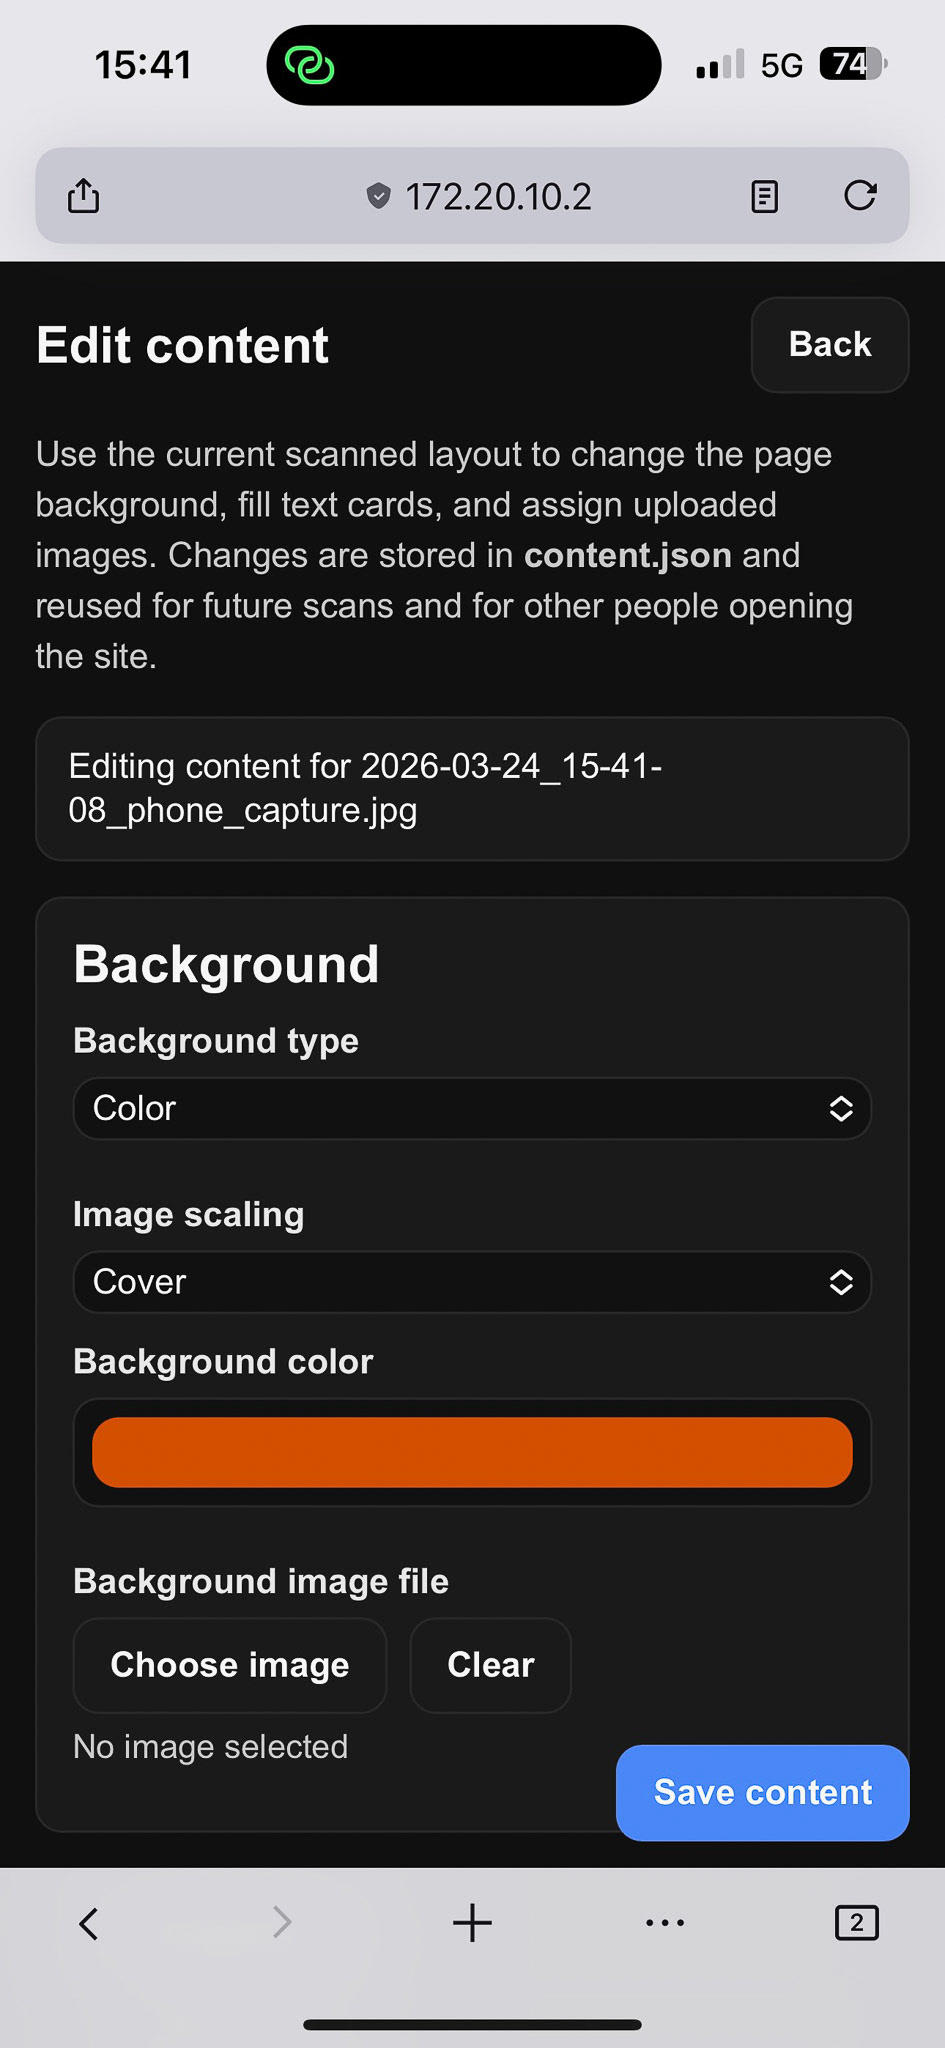
Figure 9. Phone view (3/5).

Figure 10. Phone view (4/5).
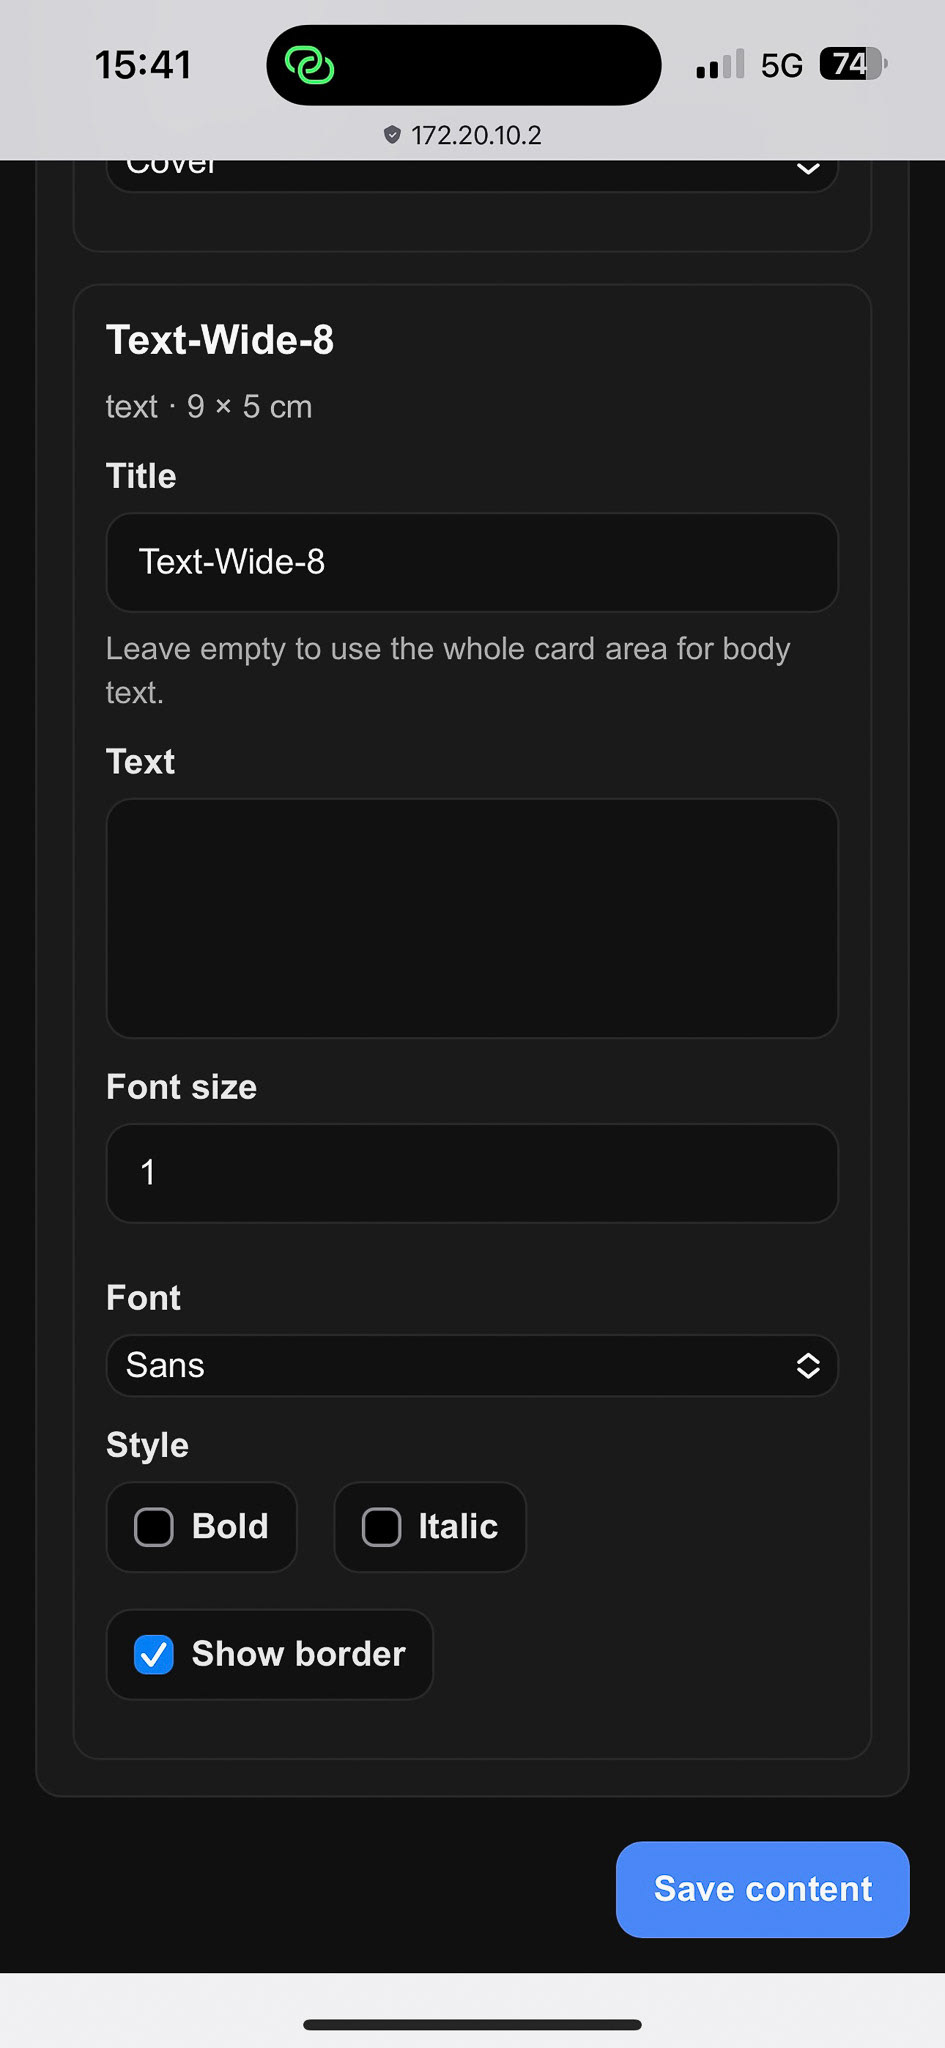
Figure 11. Phone view (5/5).
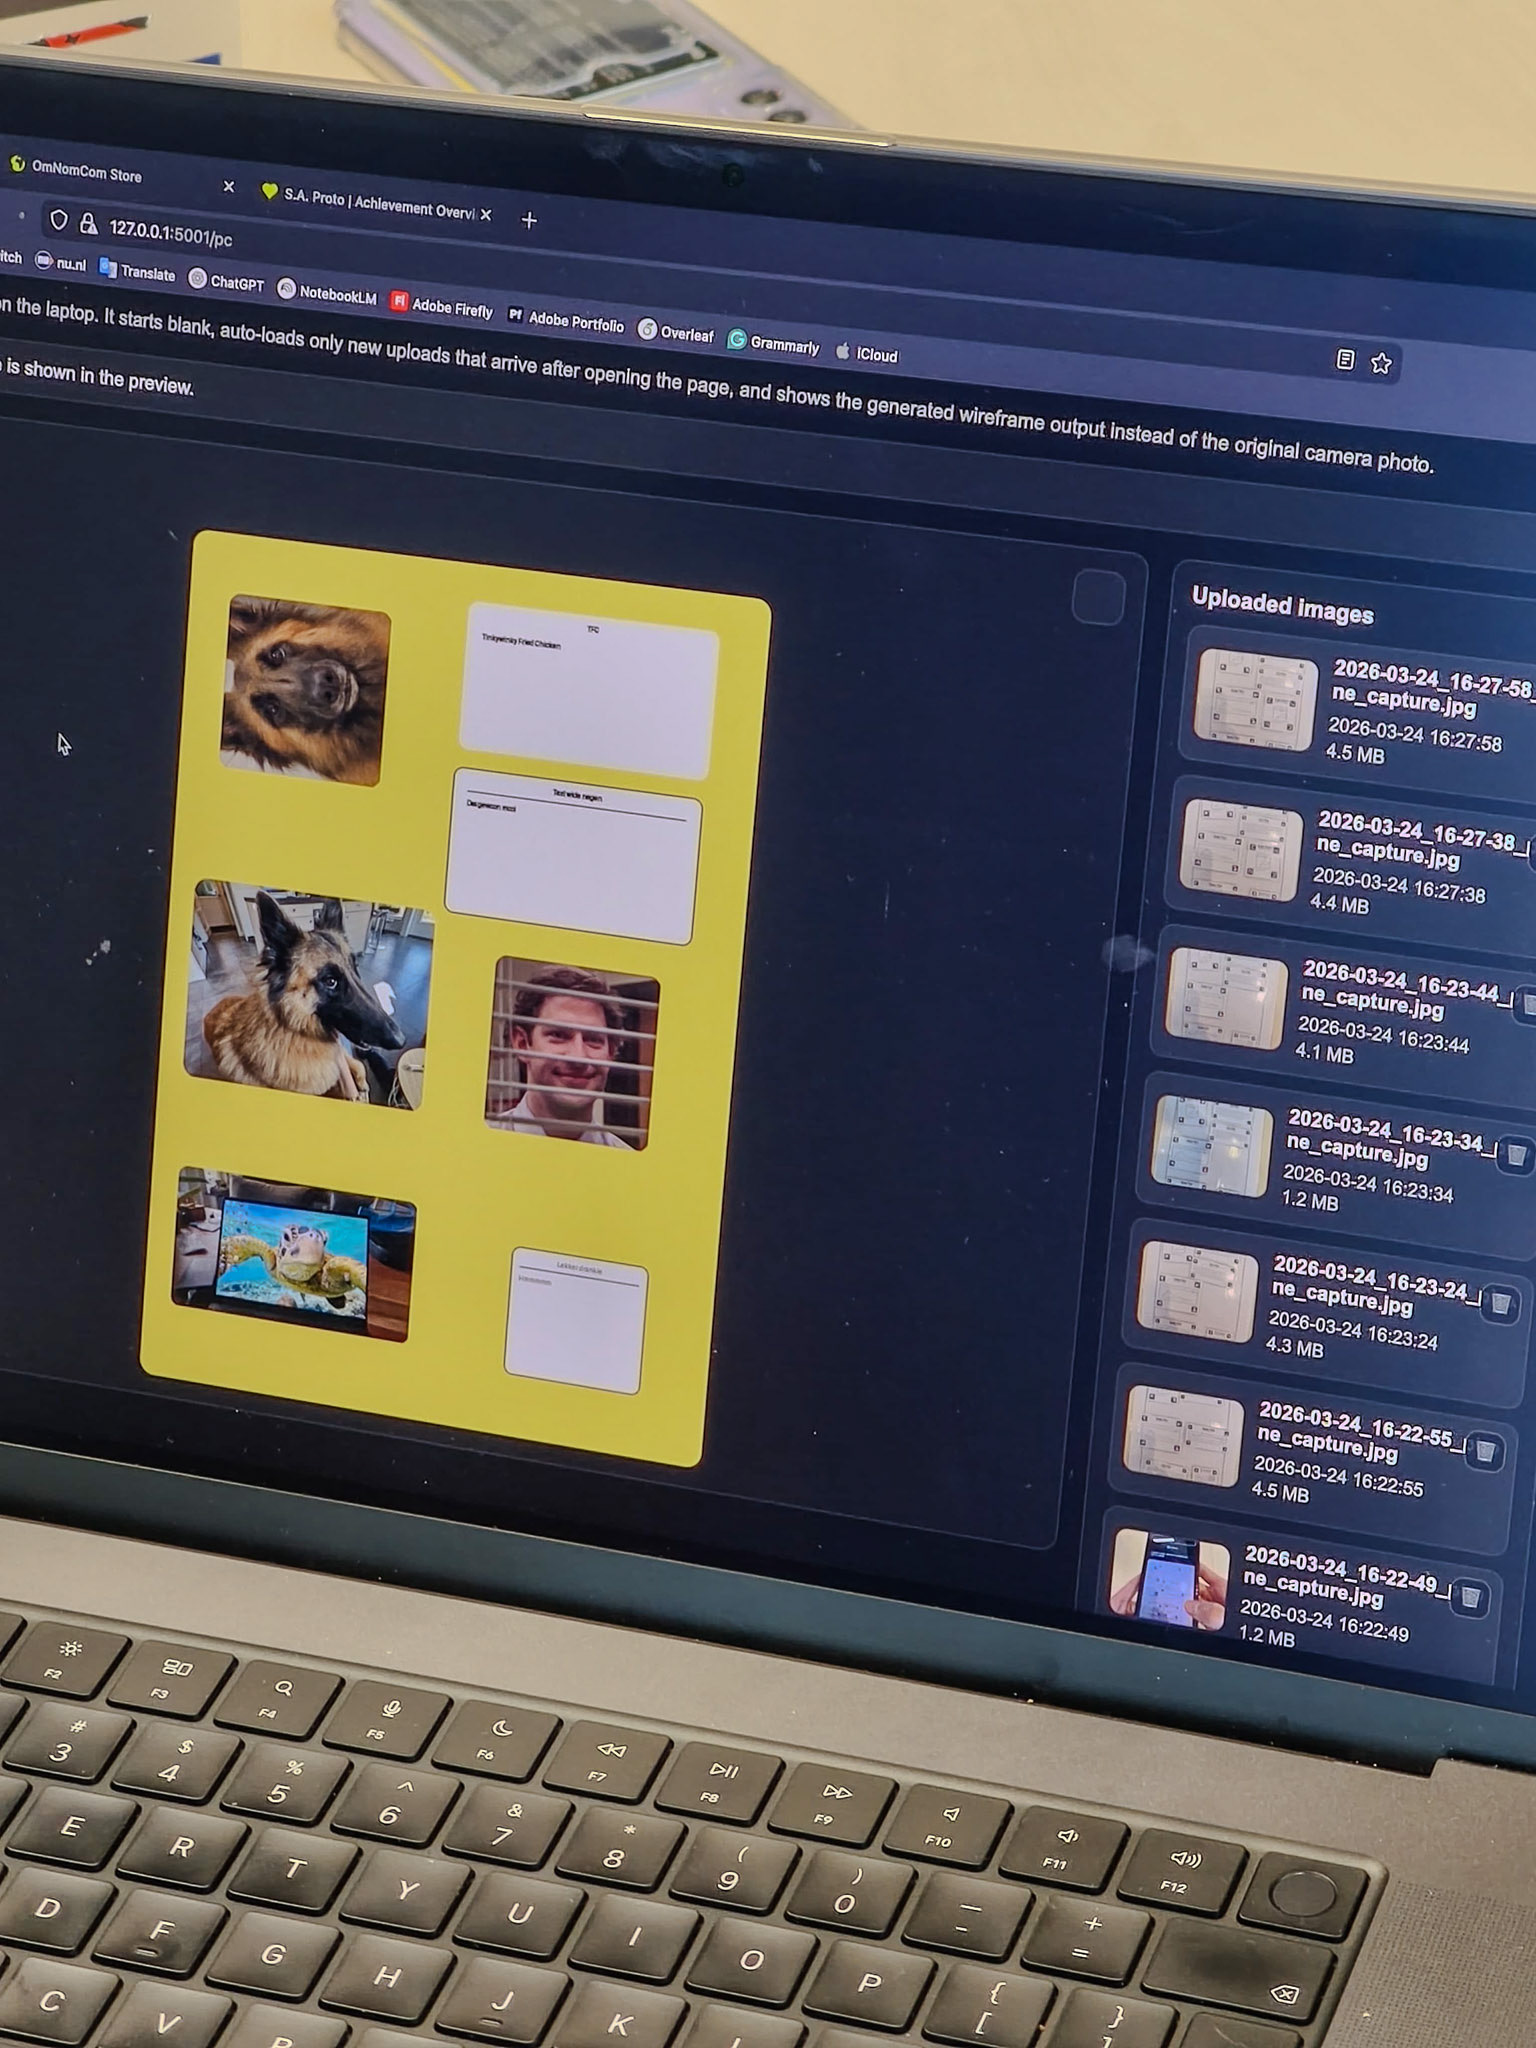
Figure 12. PC view (1/7).
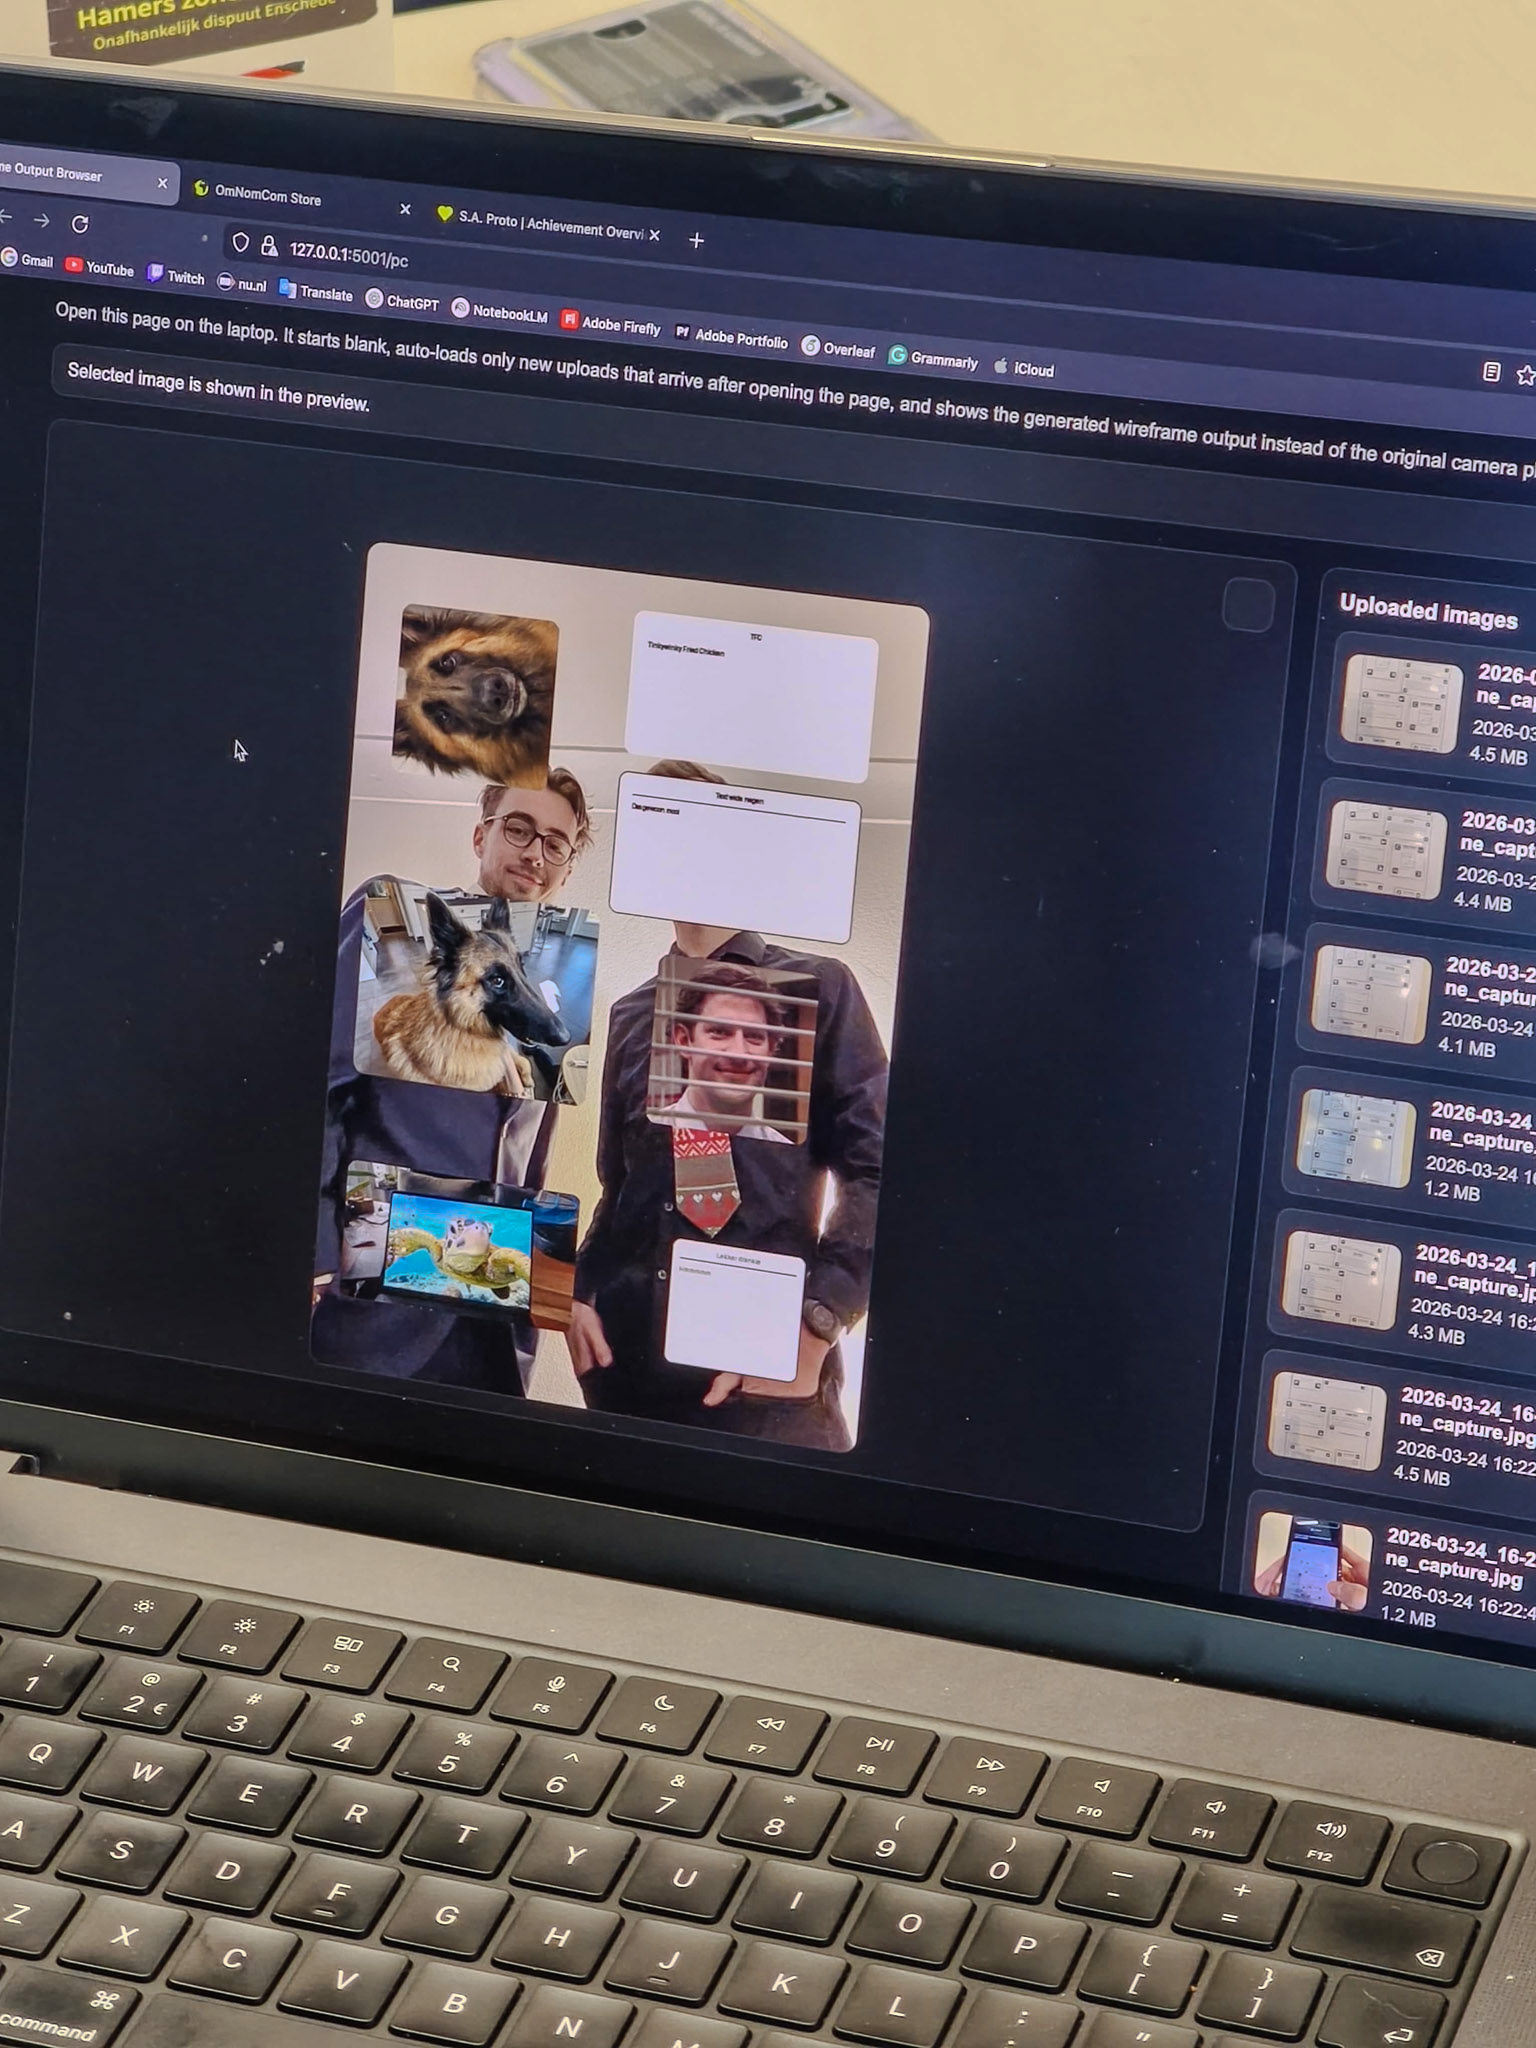
Figure 13. PC view (2/7).
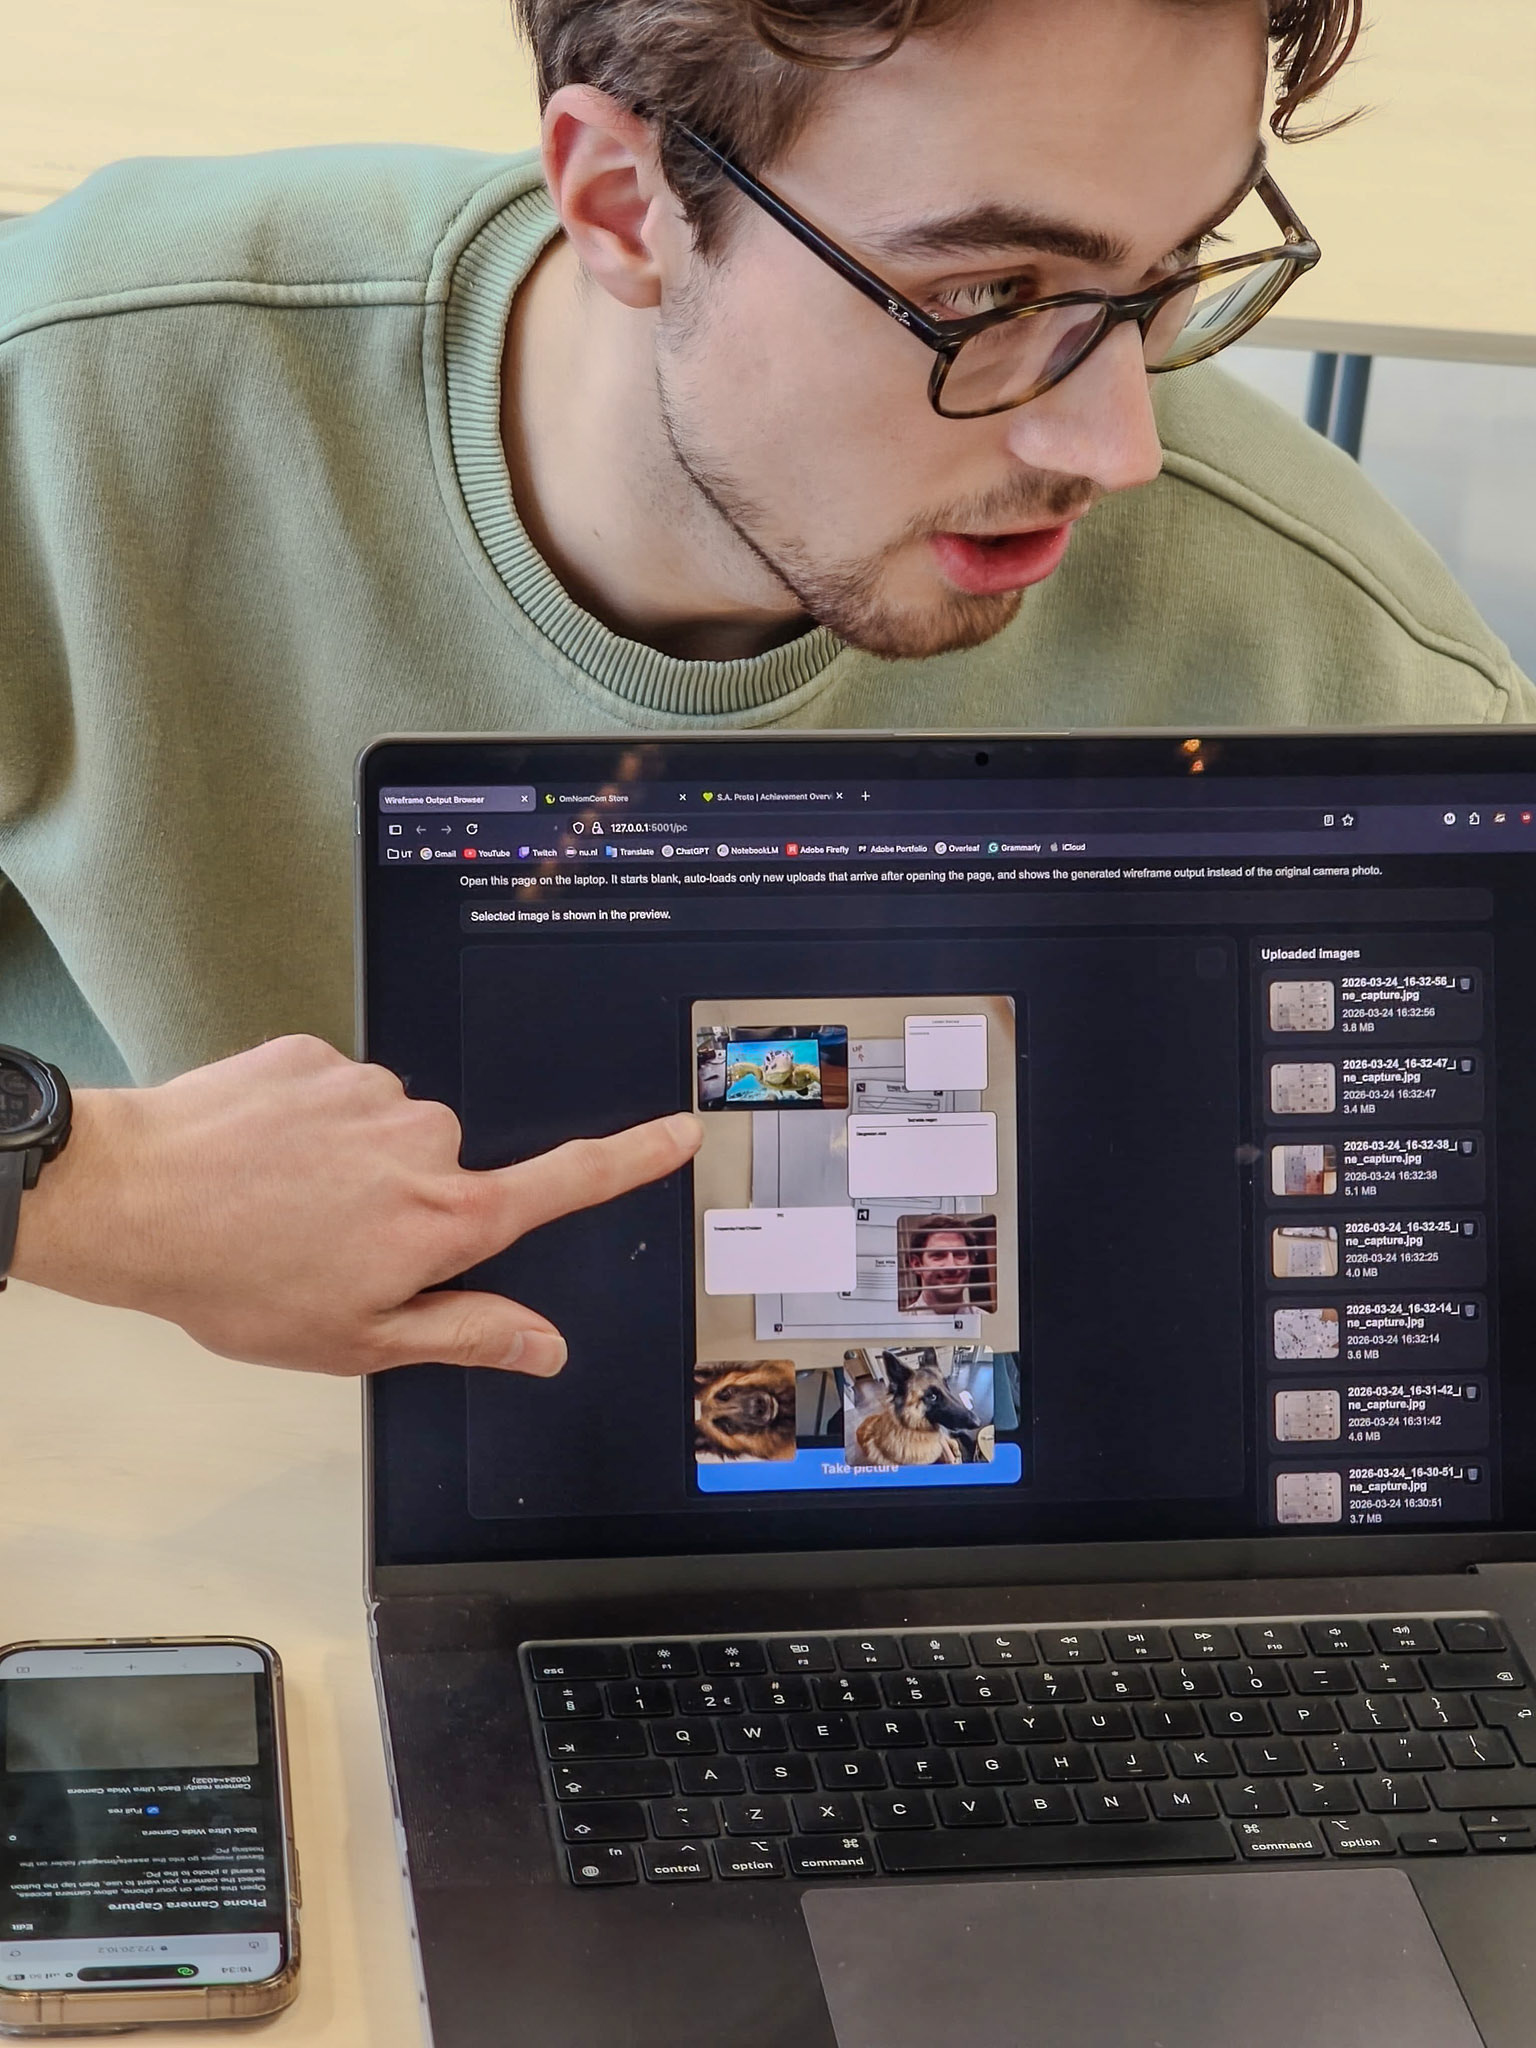
Figure 14. PC view (3/7).
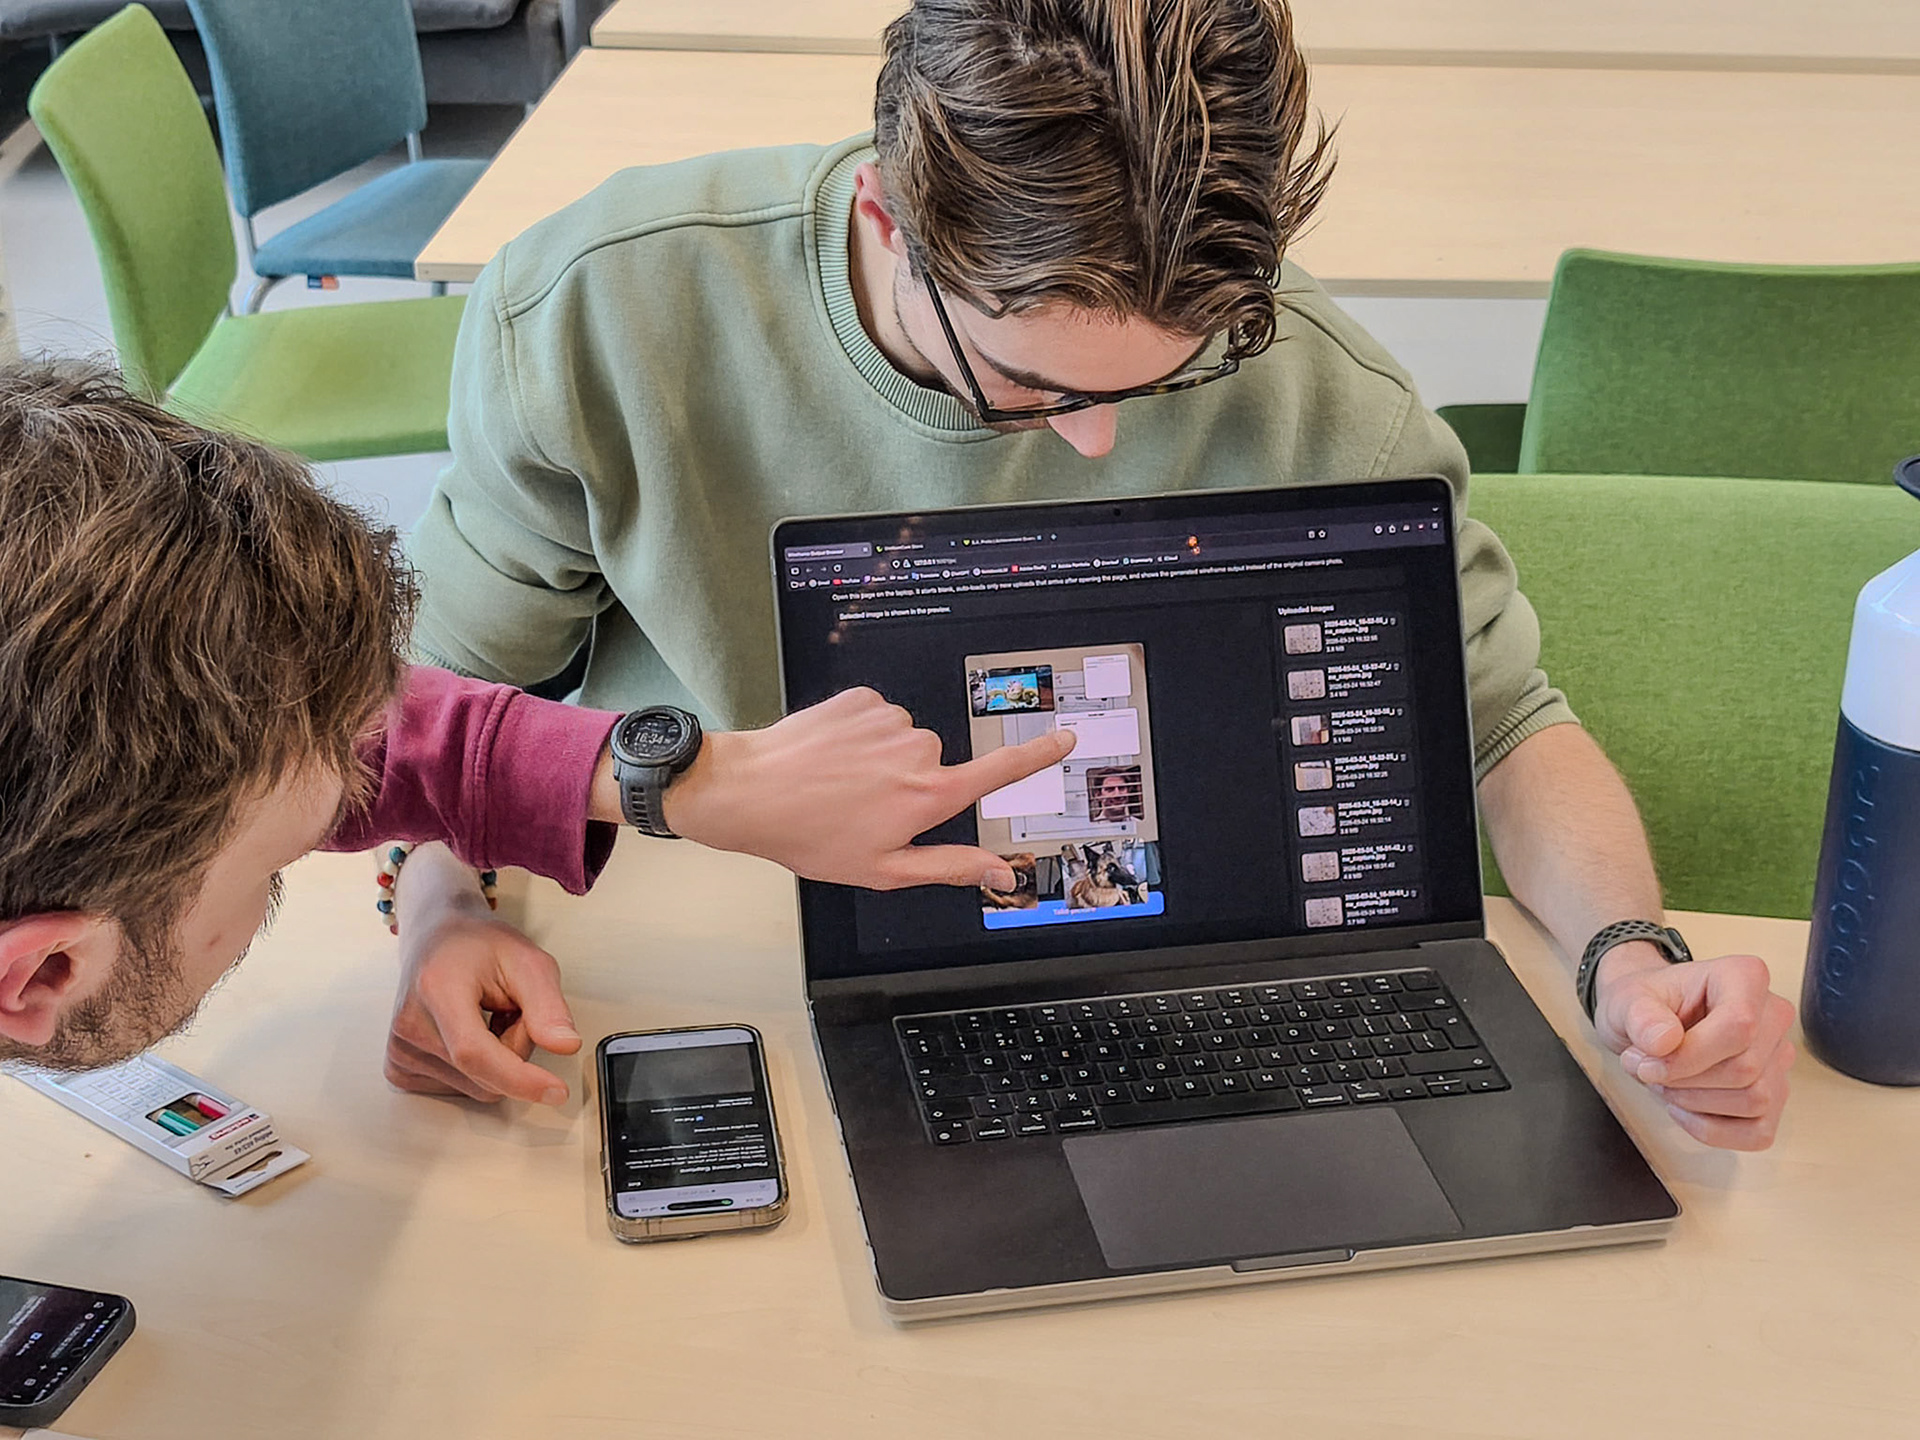
Figure 15. PC view (4/7).
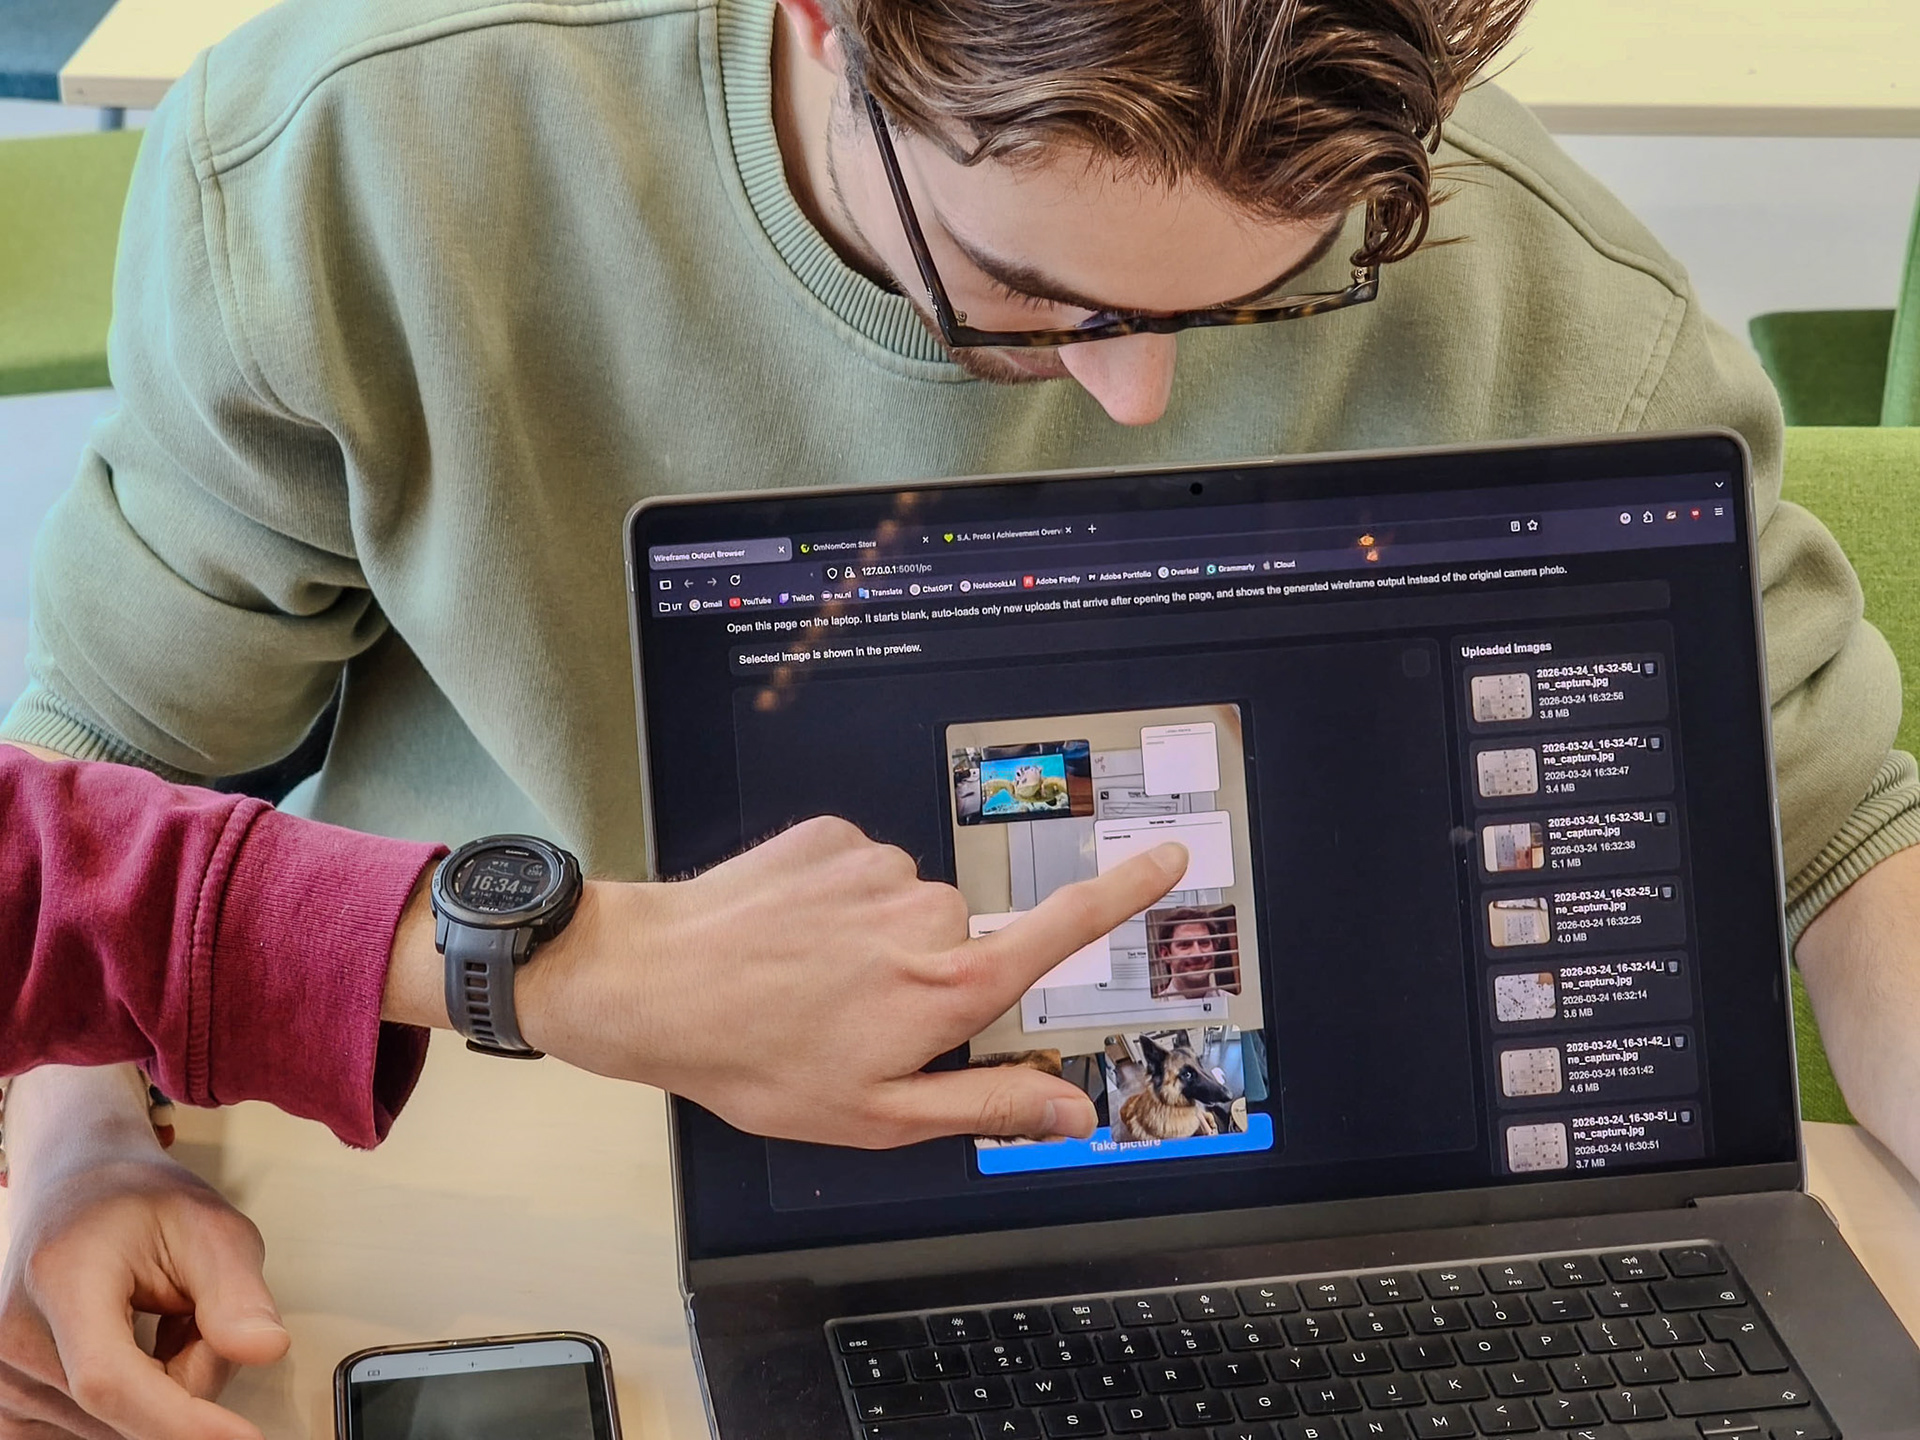
Figure 16. PC view (5/7).