Process
For this assignment, we again had to work in groups. Together with my teammates, we created a table based on the information from the assignment and the provided template. We combined some aspects because they seemed to overlap or mean roughly the same thing. The group version of this table can be found in Figure 1. The presentation of the developed idea, selected in Session 5, was presented in Session 6 and can be found in Figures 4 through 10.
After we completed the table as a group, I wanted to adjust it slightly to better match my own understanding and to include some aspects from the book. I revised the text to make it more coherent and to align it more closely with the definitions used in the book. More specifically, I made the concept itself more explicit: our playground is a physical website wireframing kit in which users first compose a page with tangible UI elements and only then translate it into a digital version. The main technical hurdle was therefore not only recognising the paper pieces, but reliably converting their position and orientation into a usable webpage structure. The intended outcome was also not one fixed website, but a range of possible layouts and interface concepts that could be built, scanned, discussed, and iteratively refined. In addition, I added the missing prompt, made the seed smaller and more like a true starting invitation, and separated it more clearly from the toolbox. In this version, the seed became the A4 sheet with recognisable UI cards as a low-threshold starting point, the prompt became the invitation to prototype a webpage physically first, and the toolbox became the set of cards, blank elements, phone scanner, and laptop view. I made these changes because Invent to Learn describes making as an iterative process that depends on open prompts, appropriate materials, and enough room for exploration and improvement. The new version of the table can be found in Figures 2 and 3.
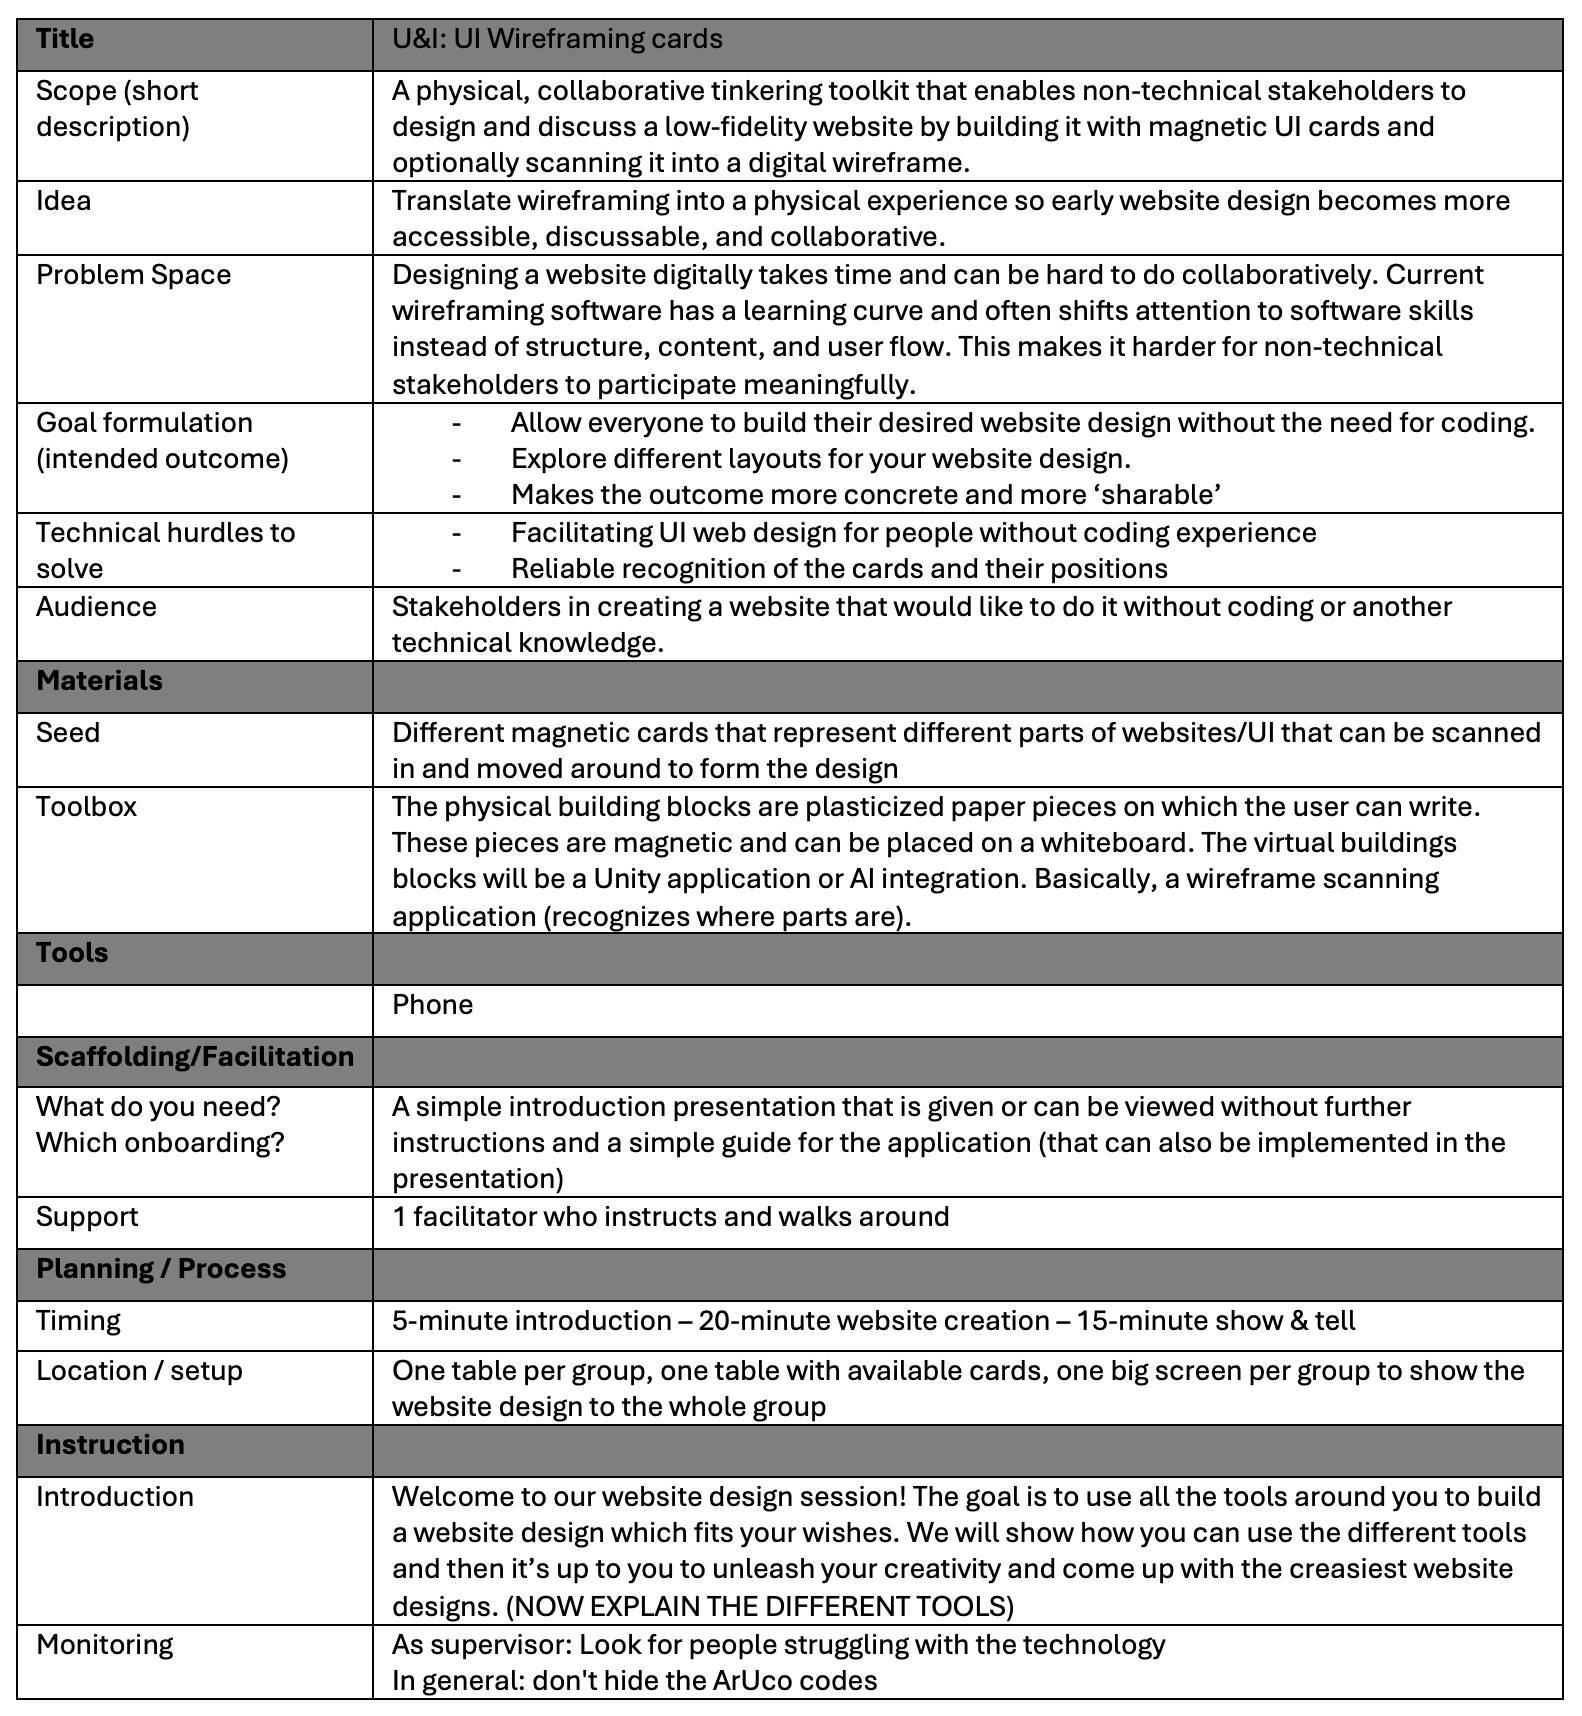
Figure 1. The table we created with the team.
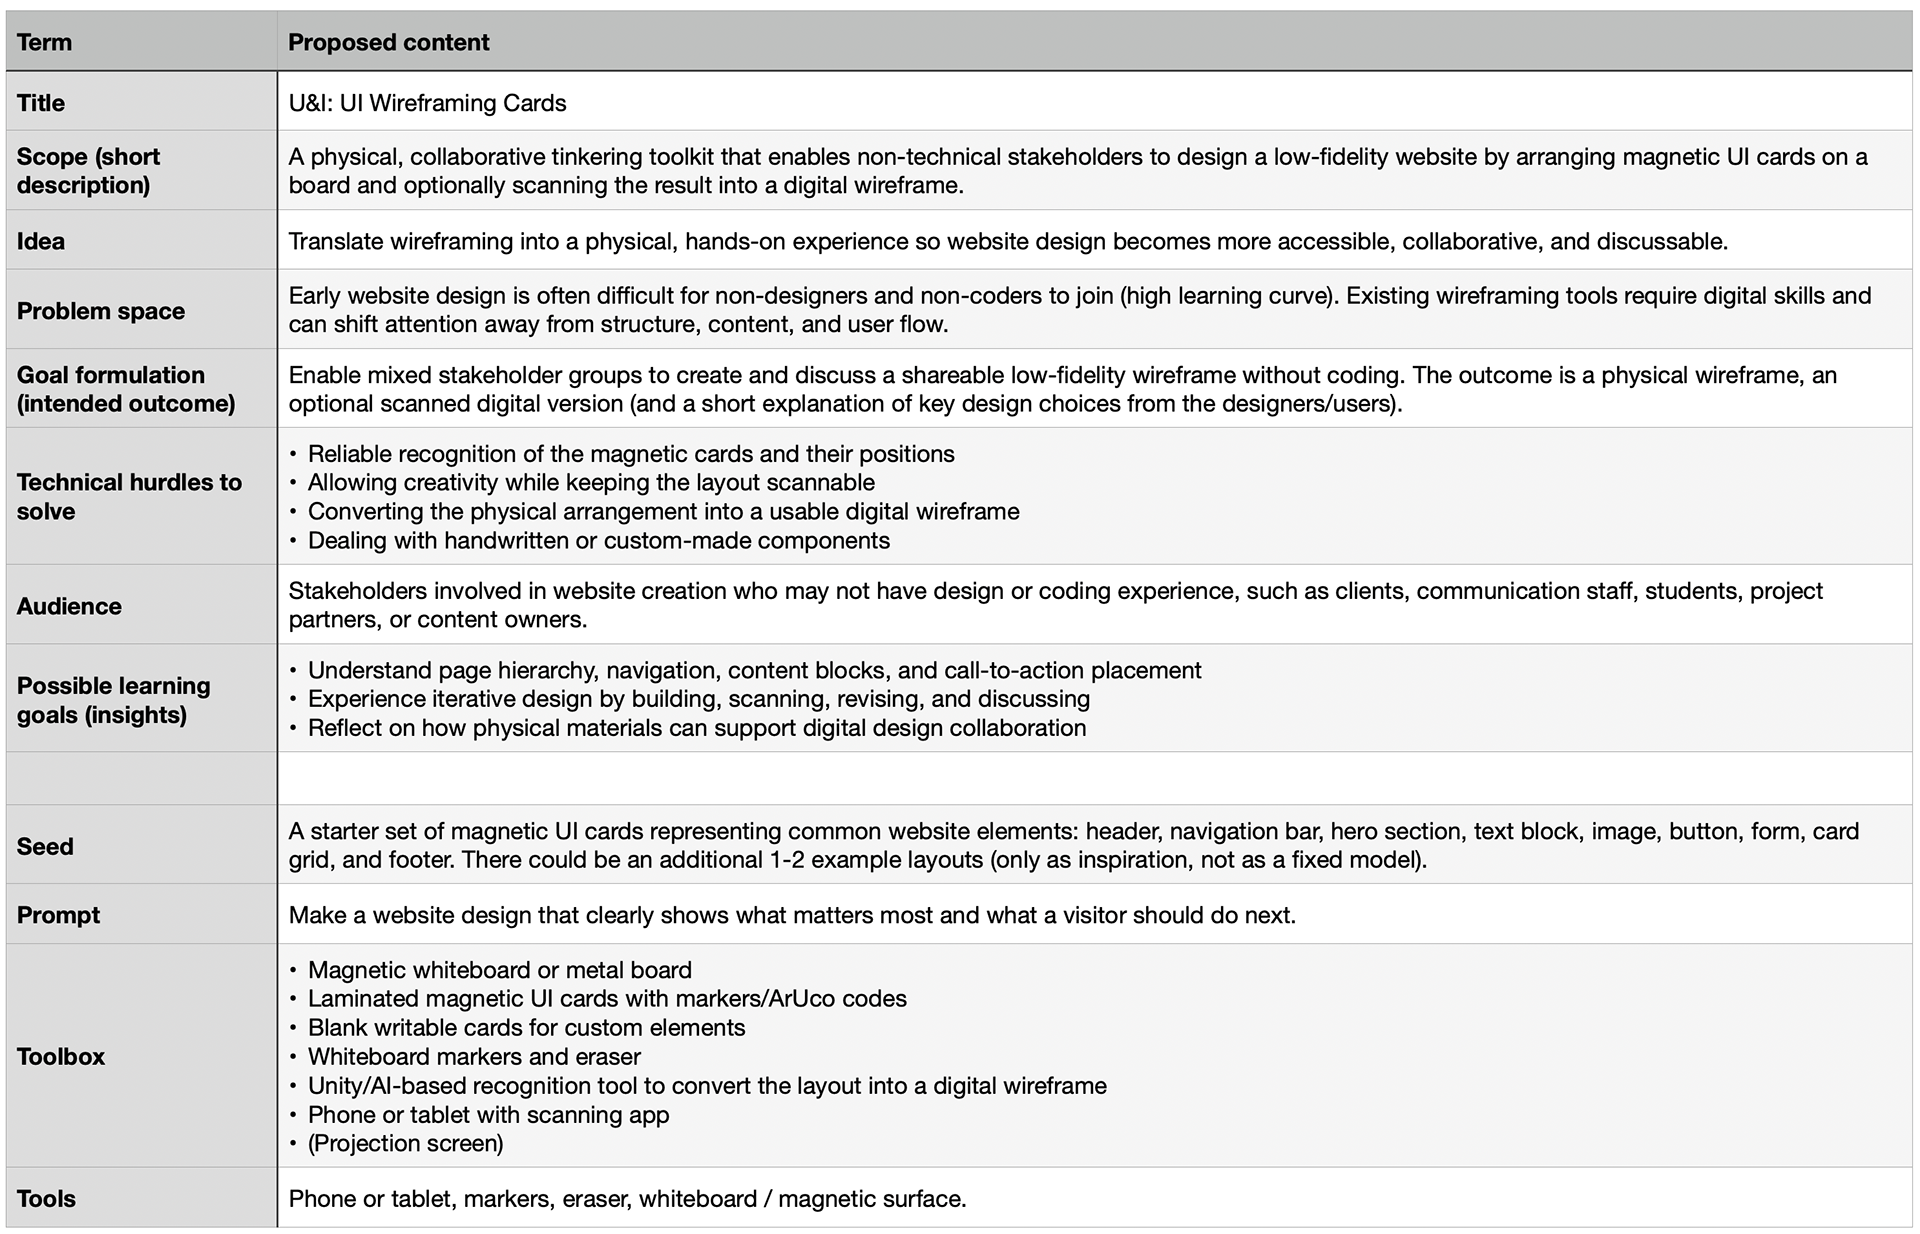
Figure 2. The team table I adjusted to my liking (1/2).
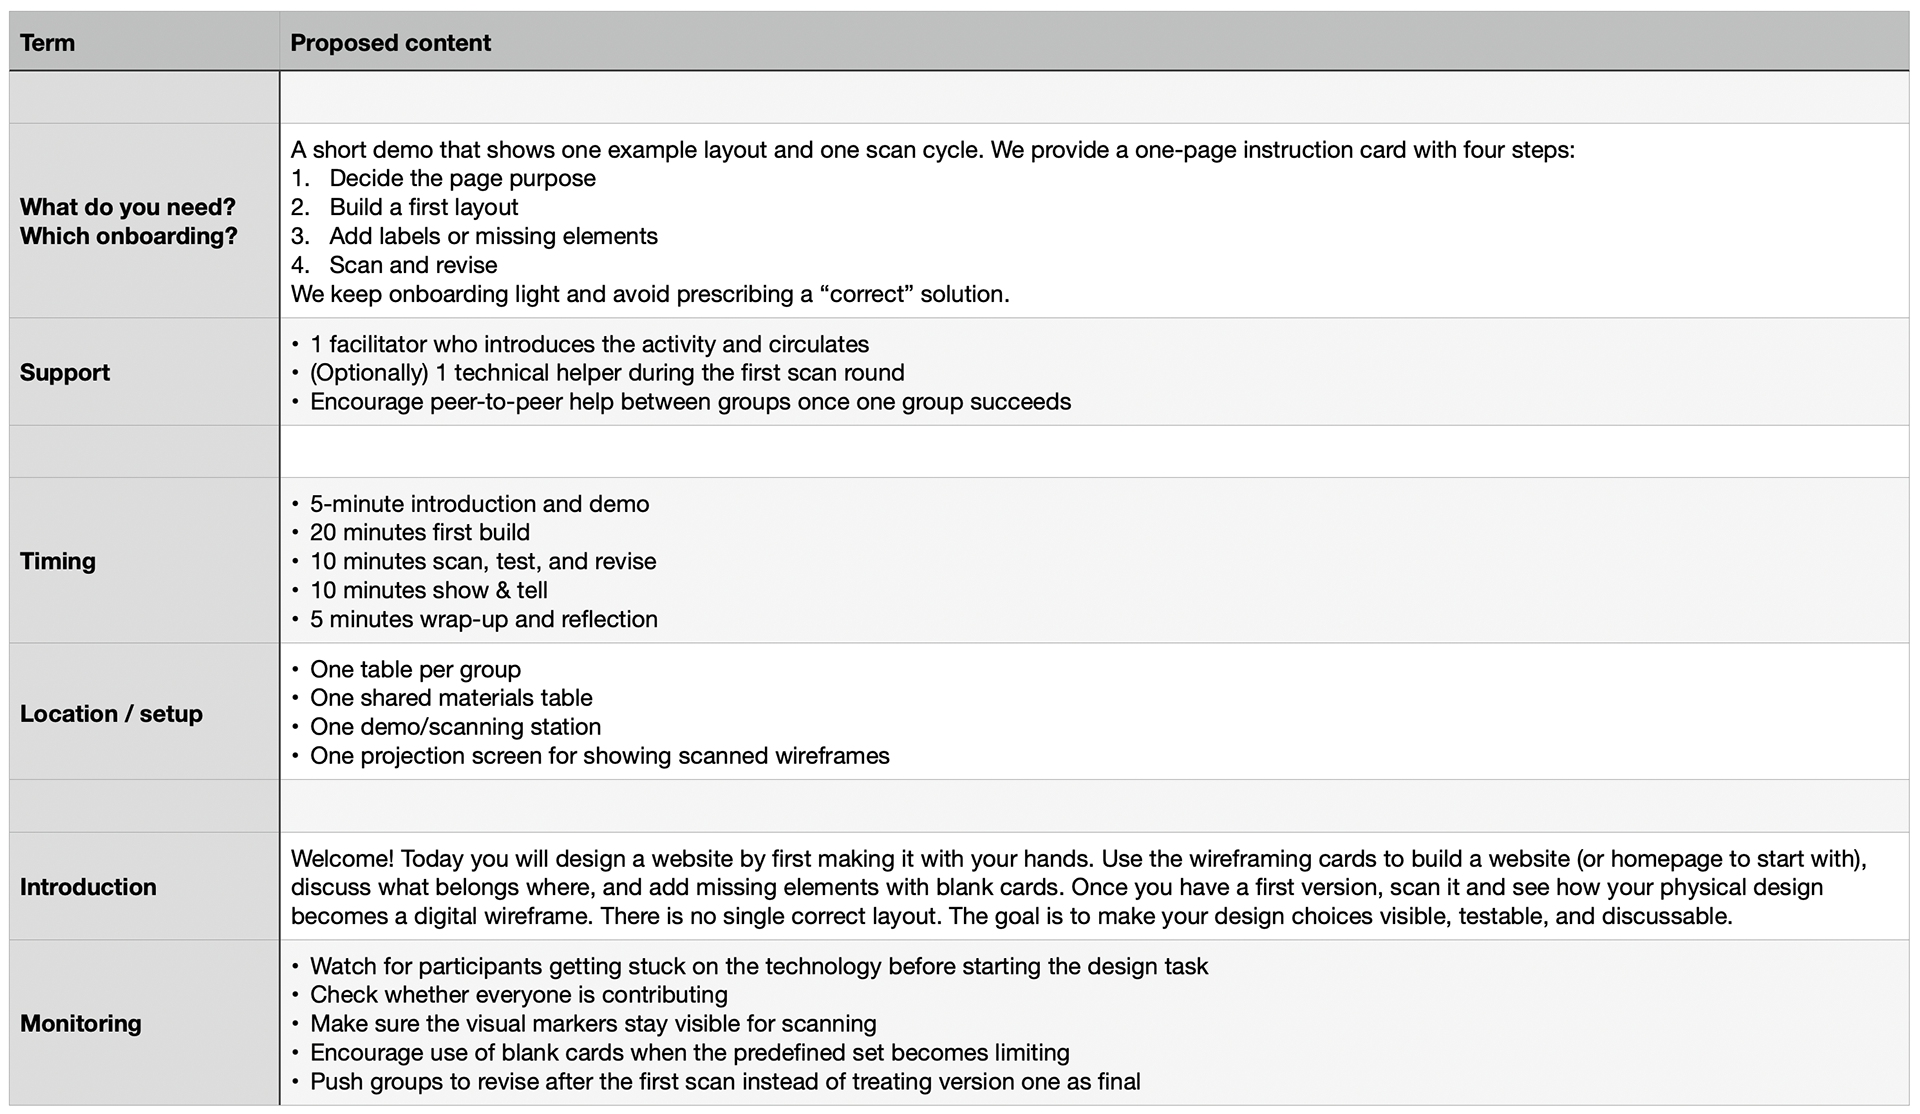
Figure 3. The team table I adjusted to my liking (2/2).
Figure 4. The slides (1/7).
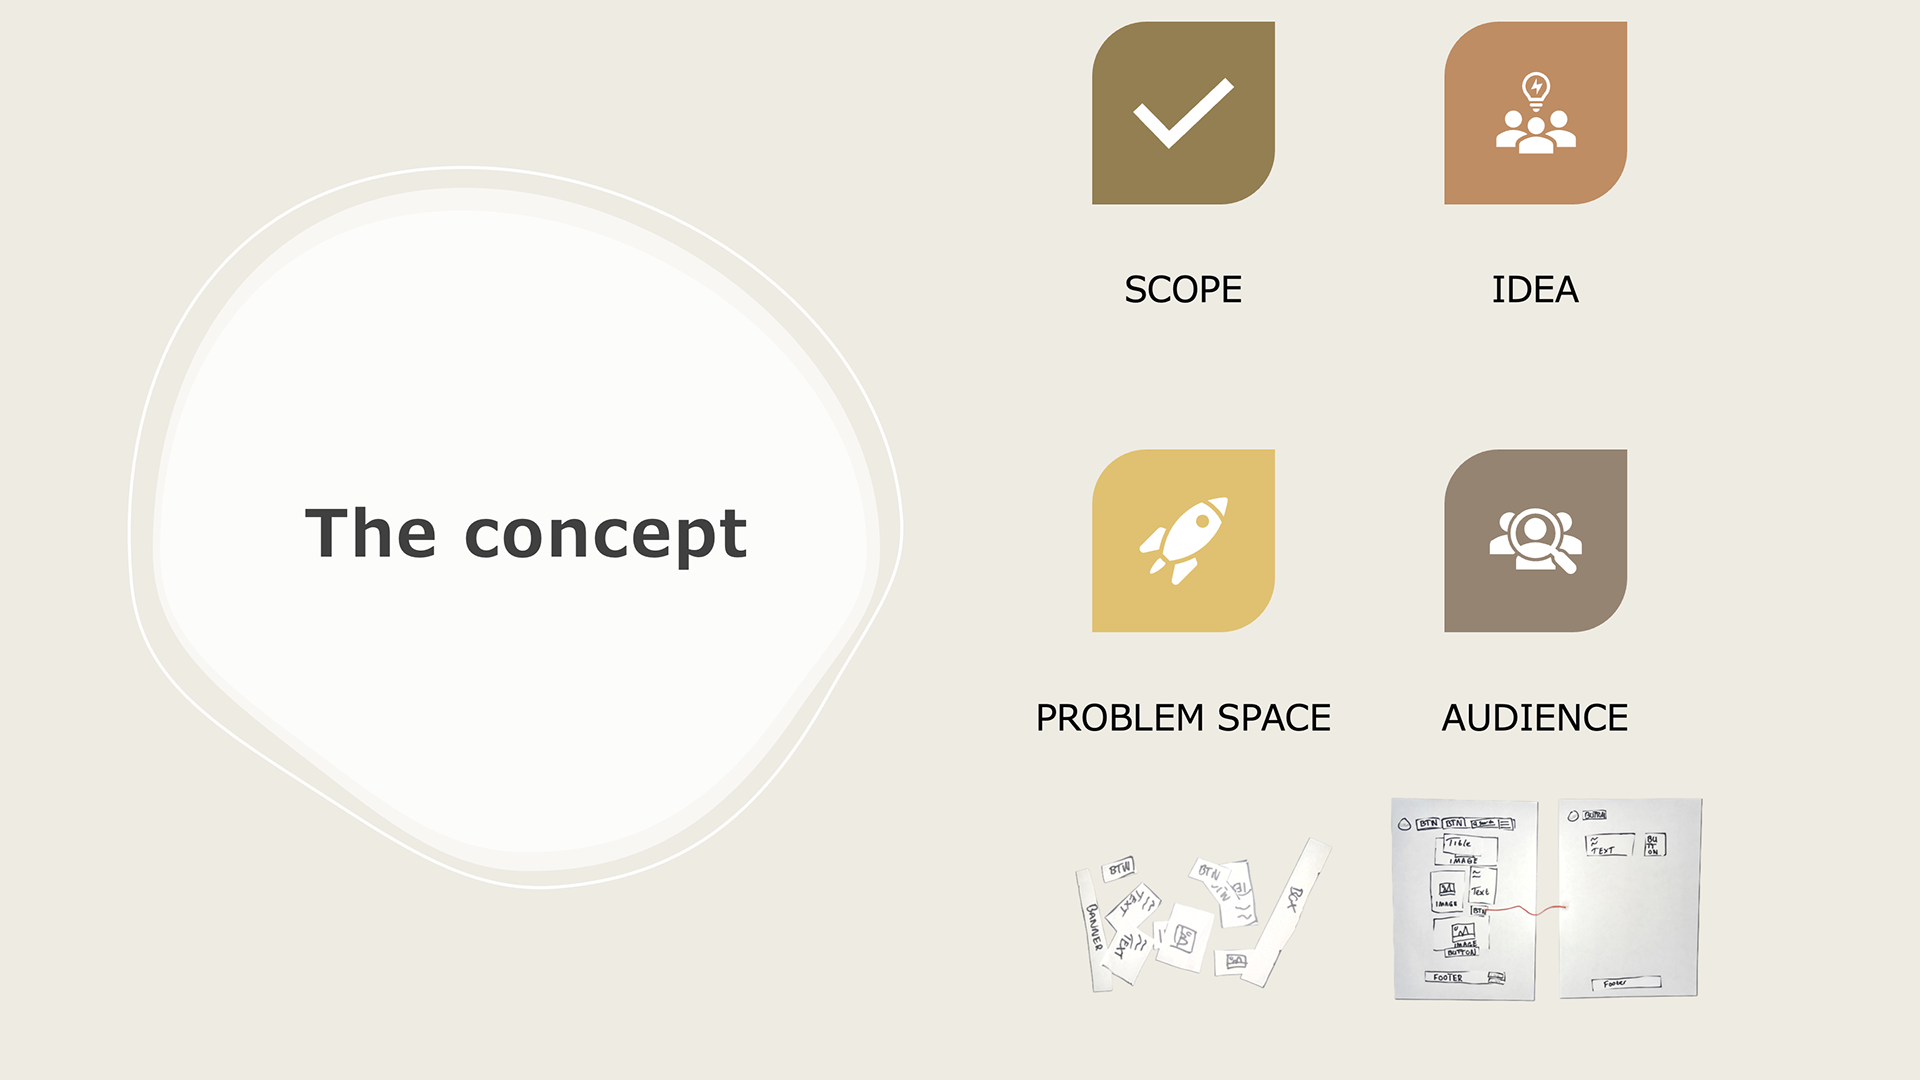
Figure 5. The slides (2/7).
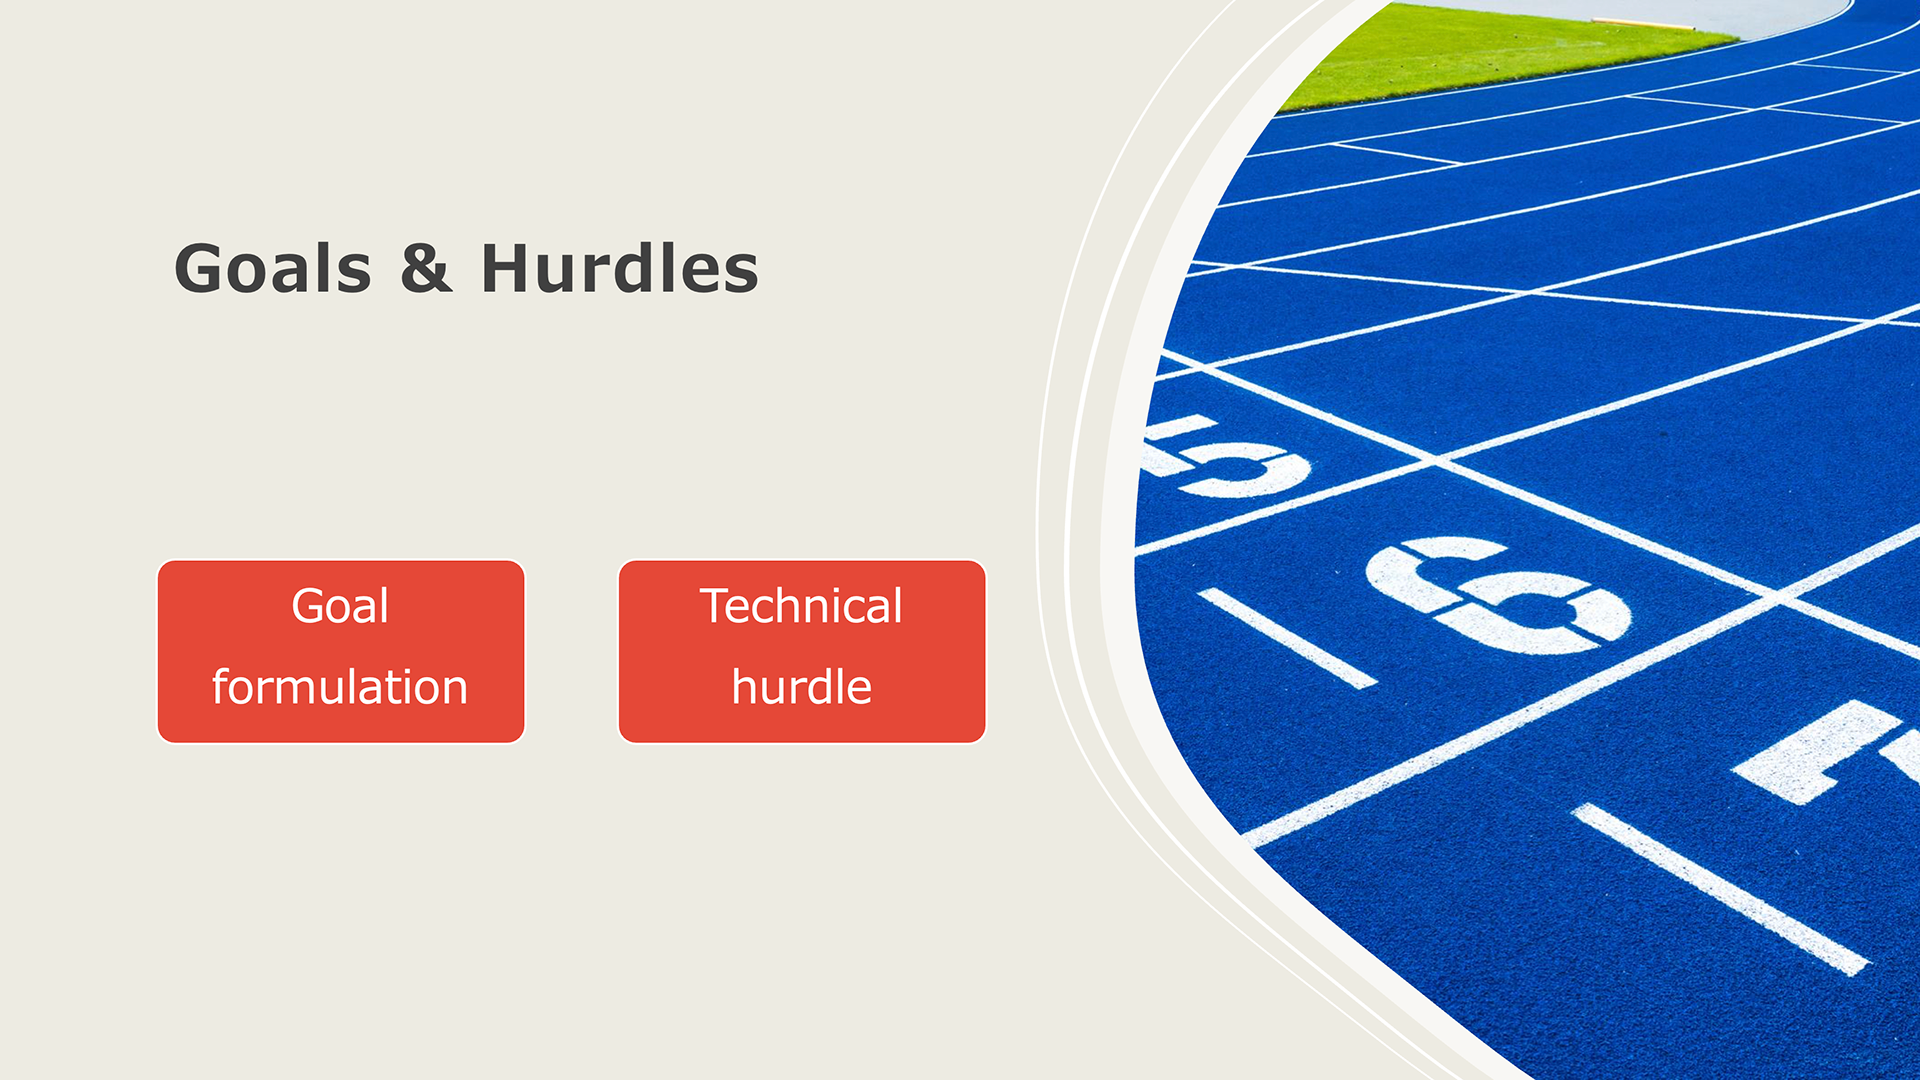
Figure 6. The slides (3/7).
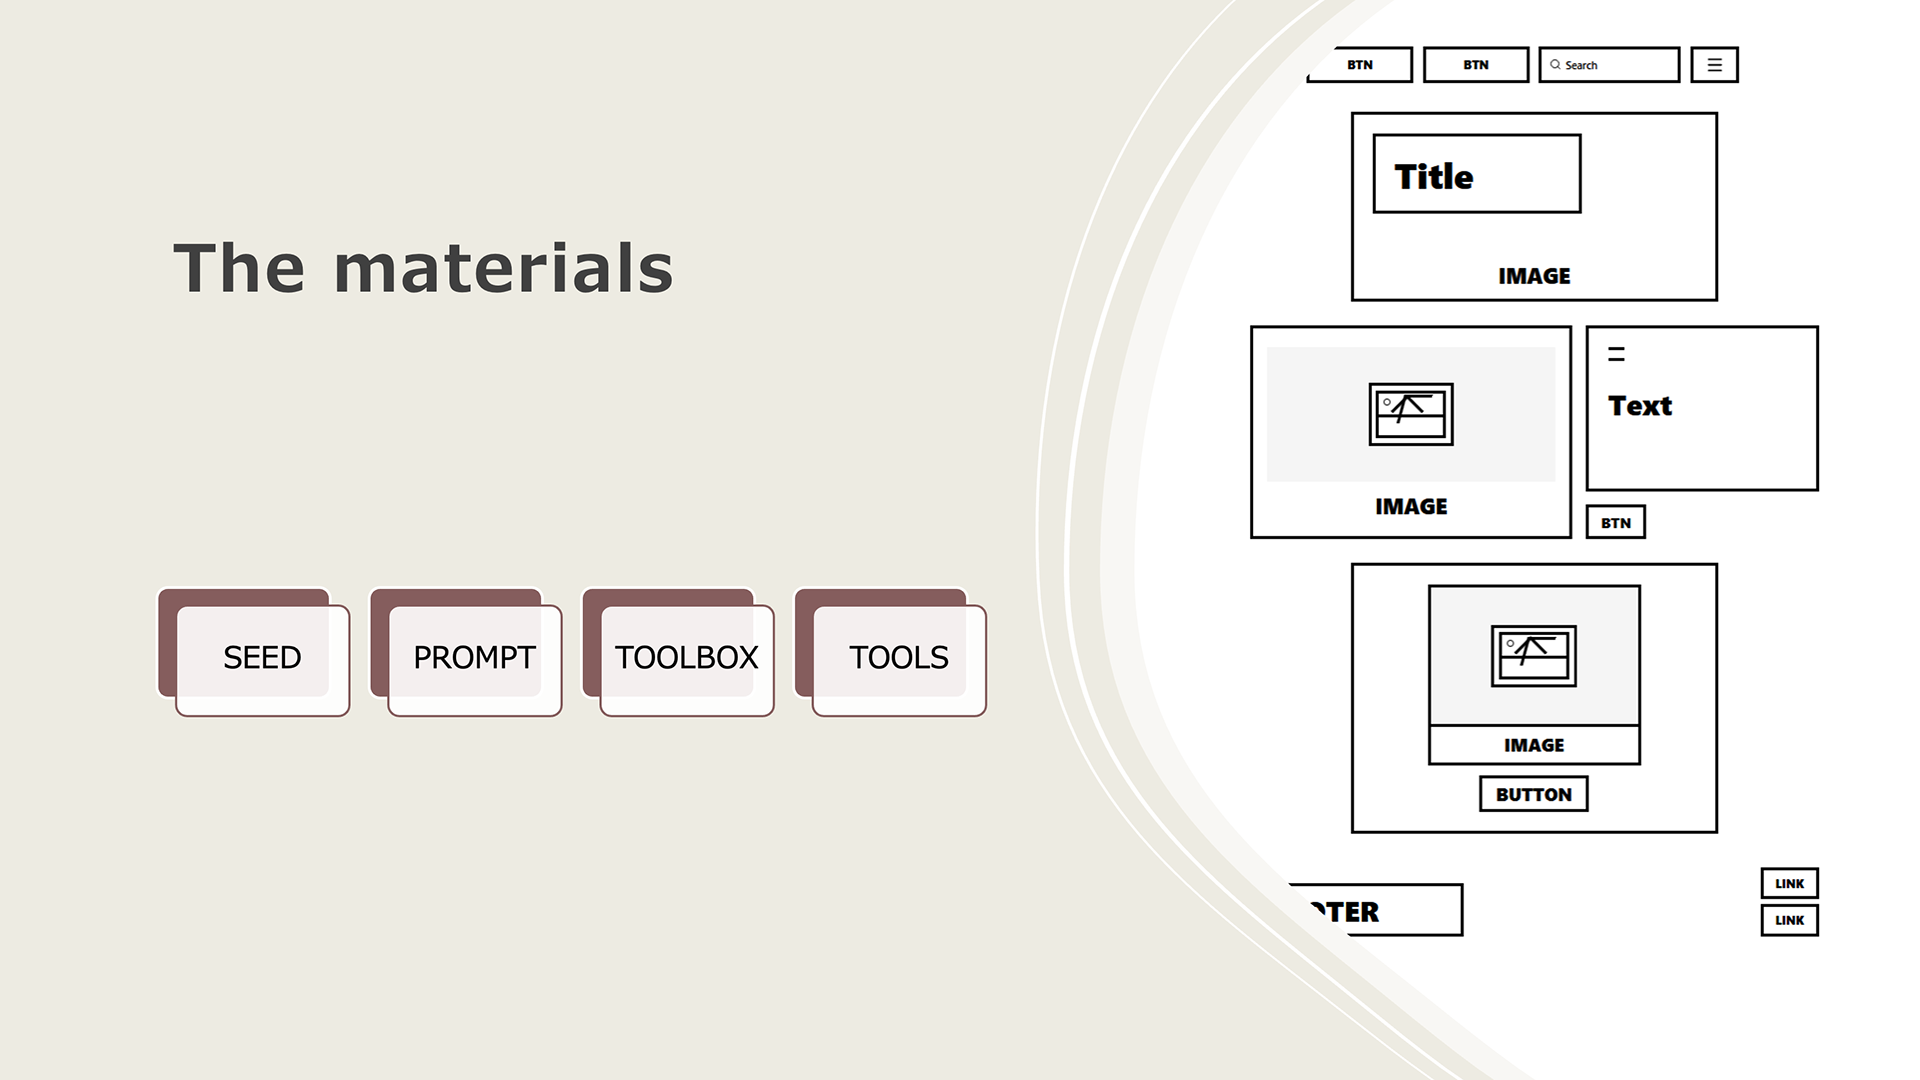
Figure 7. The slides (4/7).
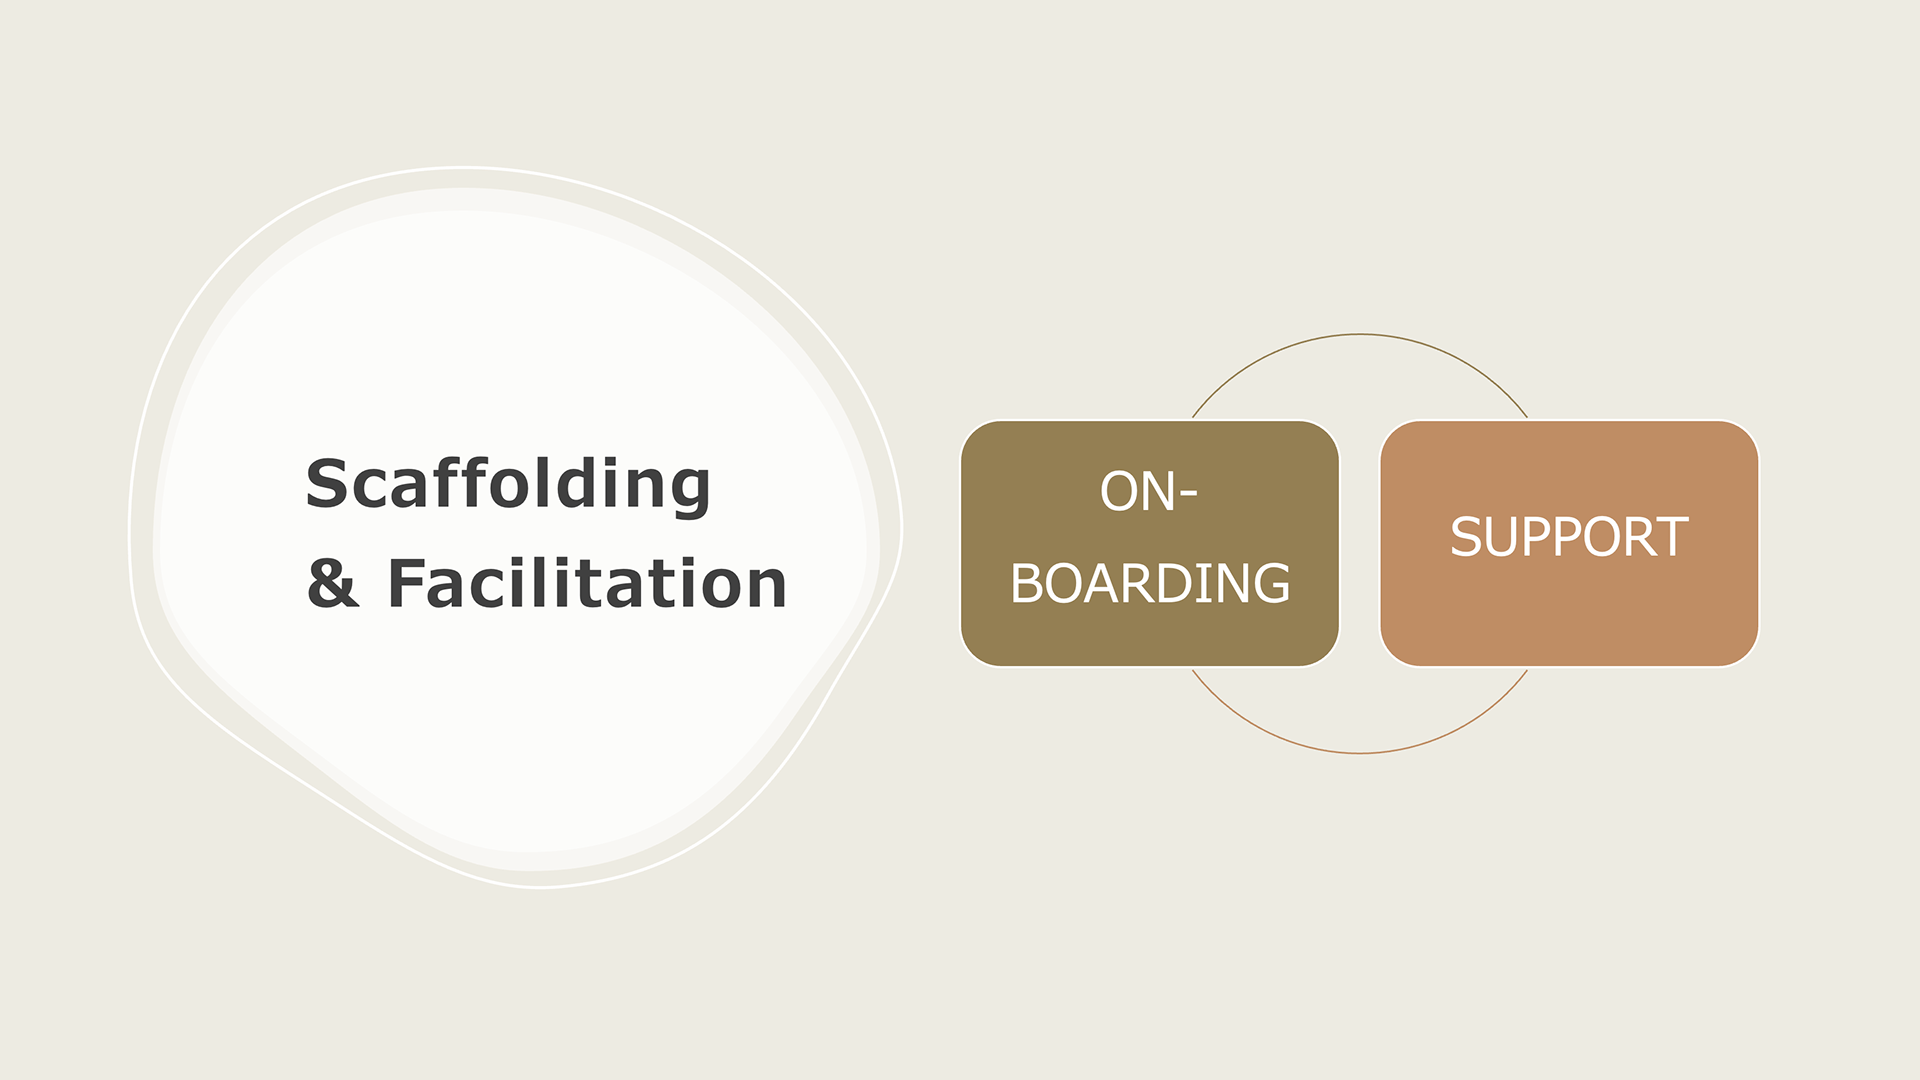
Figure 8. The slides (5/7).

Figure 9. The slides (6/7).