Introduction
In this session (after a short lecture), we had a workshop in which we had to create a creature from cardboard and bring it to life using servos. The servos were controlled through an audio equaliser/controller, where different sliders controlled different servos. The goal was not only to build an animatronic creature, but also to document the process in a more scientific and structured way for our portfolio.
To do this, we used the POEMS framework, which helps us look beyond the final result and focus on how the design process develops in practice. POEMS stands for People, Objects, Environment, Messages, and Services. Using these five categories, we observed team dynamics, material use, workspace organisation, communication patterns, and the role of facilitation during the tinkering session.
In addition to POEMS, we were asked to document our process using three academic quality criteria: transferability, validity, and reproducibility. These criteria helped us reflect on whether our documentation was measurable, clearly structured, and detailed enough for others to understand, compare, and potentially replicate our process.
Part 1 - Observation using the POEMS framework
This session was mainly about looking beyond the final prototype and understanding how the design process developed, while also learning how to document our work in a more scientific way. The POEMS framework helped us structure our observations and made it easier to focus on the process instead of only the end result.
P - People
We worked in a group of 5 people. We did not assign strict roles beforehand, but people naturally picked tasks they liked or were good at (for example: cutting, drawing, building, testing, or setting up the servos). The idea for the creature came from a group discussion. We knew we wanted to make an animal, and because one of our group members really likes turtles, we decided to make a turtle.
The decision-making process was mostly smooth and collaborative. We brainstormed together first, then split up into smaller sub-tasks. Because we had limited tools, the group naturally split into two clusters:
- one group working on the cardboard shell/body
- one group working on the servo setup and testing
I took on a mix of planner, tester, and facilitator within the group. I helped keep track of the process, checked whether the servos were working, and made sure we had the materials we needed. The others mainly took on builder/tester roles.
Overall, the group dynamic was very good. Communication was easy, and people helped each other when needed. Once the shell and lower body were both ready, we combined them into one prototype and added details like a head and googly eyes.
O - Objects
The materials we used were quite basic, and we mostly stuck to the essentials:
- cardboard (main structure)
- tape (assembly)
- split pins (for connecting moving parts)
- servo motors (movement)
- elastic bands/rubber bands (extra grip and later adjustments)
- googly eyes (visual detail)
For tools, we used a SawSafe to cut the cardboard and make openings for the servo connections. We did not use all available materials. For example, we mostly ignored markers and pens, which other groups used for decoration. We deliberately focused more on functionality (shape and movement) than on visual finishing. That choice influenced our design a lot: we kept the turtle simple so we could spend more time on getting the servos and movement to work.
The most critical objects for our progress were:
1. The servos, because without them, there is no animatronic movement
2. Elastic/rubber bands, because we later used them to try to improve grip on the turtle’s fins/feet
E - Environment
Our workspace consisted of two tables placed together, which gave us a reasonably large working area. There was enough room around the tables, so we could move around freely and switch between helping with the cardboard build and the servo setup.
Before starting, we slightly rearranged the space:
- we cleared the tables
- we put laptops away to create more room
- we made sure tools and materials were within reach
This helped collaboration, because multiple people could work at the same time without getting in each other’s way.
We were also working close to the Design Lab, so we knew extra materials were nearby if needed. In the end, we only used a few rubber bands from there (which we returned afterwards). So the environment did not drastically change our process, but it did support experimentation when we needed to troubleshoot the grip issue.
M - Messages
Most communication during the session was practical and constructive. The discussions changed over time:
- At the start: mostly conceptual (what creature to make, what shape to build)
- During building: logistical and technical (who does what, how to connect parts)
- During testing: troubleshooting (why the turtle was not moving forward)
Our ideas were mainly externalised through:
- quick verbal brainstorming
- gestures while explaining motion
- the cardboard prototype itself
- iterative modifications to the legs/fins
We did not really have major misunderstandings. It was mostly clarification and joint problem-solving. The biggest recurring topic was the lack of grip in the turtle’s fins/feet. We tested several changes, including:
- changing the foot alignment
- raising the feet
- adding pads
- adding rubber bands for extra friction
Even though these changes improved some aspects, they did not result in a properly walking turtle. In the end, we decided to change the framing of the result and joked that our turtle was in "air-jail" (where it could not escape because it had no grip/contact points). That became a fun ending to the session and shows how the group stayed positive, even when the prototype did not fully work as intended.
S - Services
The initial prompt/seed was fairly open: create an animatronic creature using the available materials and servos. This gave us direction, but still left enough freedom to explore our own concept. The prompt immediately shaped our process in two ways:
1. It set a clear goal (make something animate)
2. It limited us to the available toolbox (cardboard + servos + simple connectors/materials)
The facilitation (teacher support) became most visible when we got stuck with the turtle’s movement. The teacher did not solve the problem for us directly, but gave us hints and suggestions that helped us think about alternatives (for example, changing leg placement or improving friction). This kind of facilitation was helpful because it redirected our experimentation without taking over the process.
So overall, the service/facilitation aspect worked as intended: it supported the tinkering process while still leaving the decisions to us.
What was well designed, and what could be better
Looking back at the session as a designed tinkering activity, several things worked well. The assignment had a clear shared goal, but it still left enough room for interpretation, which made it open-ended without becoming vague. The available materials also supported a relatively low threshold to start: cardboard, tape, split pins, and servos are easy to understand at a basic level, while still allowing more complex experimentation. In that sense, the activity had a useful balance between structure and openness. The teacher’s facilitation also worked well because it was supportive rather than directive. Instead of solving the problem for us, the hints helped us continue experimenting ourselves. That fits well with the idea from Invent to Learn that guidance should support learner agency rather than take over the process, and that documentation can help make the learning process visible for later reflection.
At the same time, the session also revealed what could be designed better. The biggest weakness was that some important variables were left too implicit, especially grip, surface friction, and the exact relation between leg placement and movement. These became central to the success of the turtle, but they were not scaffolded strongly in the setup. A better-designed version of the activity could include a few quick reference examples, a comparison of different leg mechanisms, or a small friction-test step before we commit to one creature concept. This would not remove the openness of the activity, but it would make the technical hurdle more visible earlier in the process. In that sense, the activity was already a good tinkering "workshop", but it could become an even stronger one by making the critical performance variables easier to notice and discuss from the start.
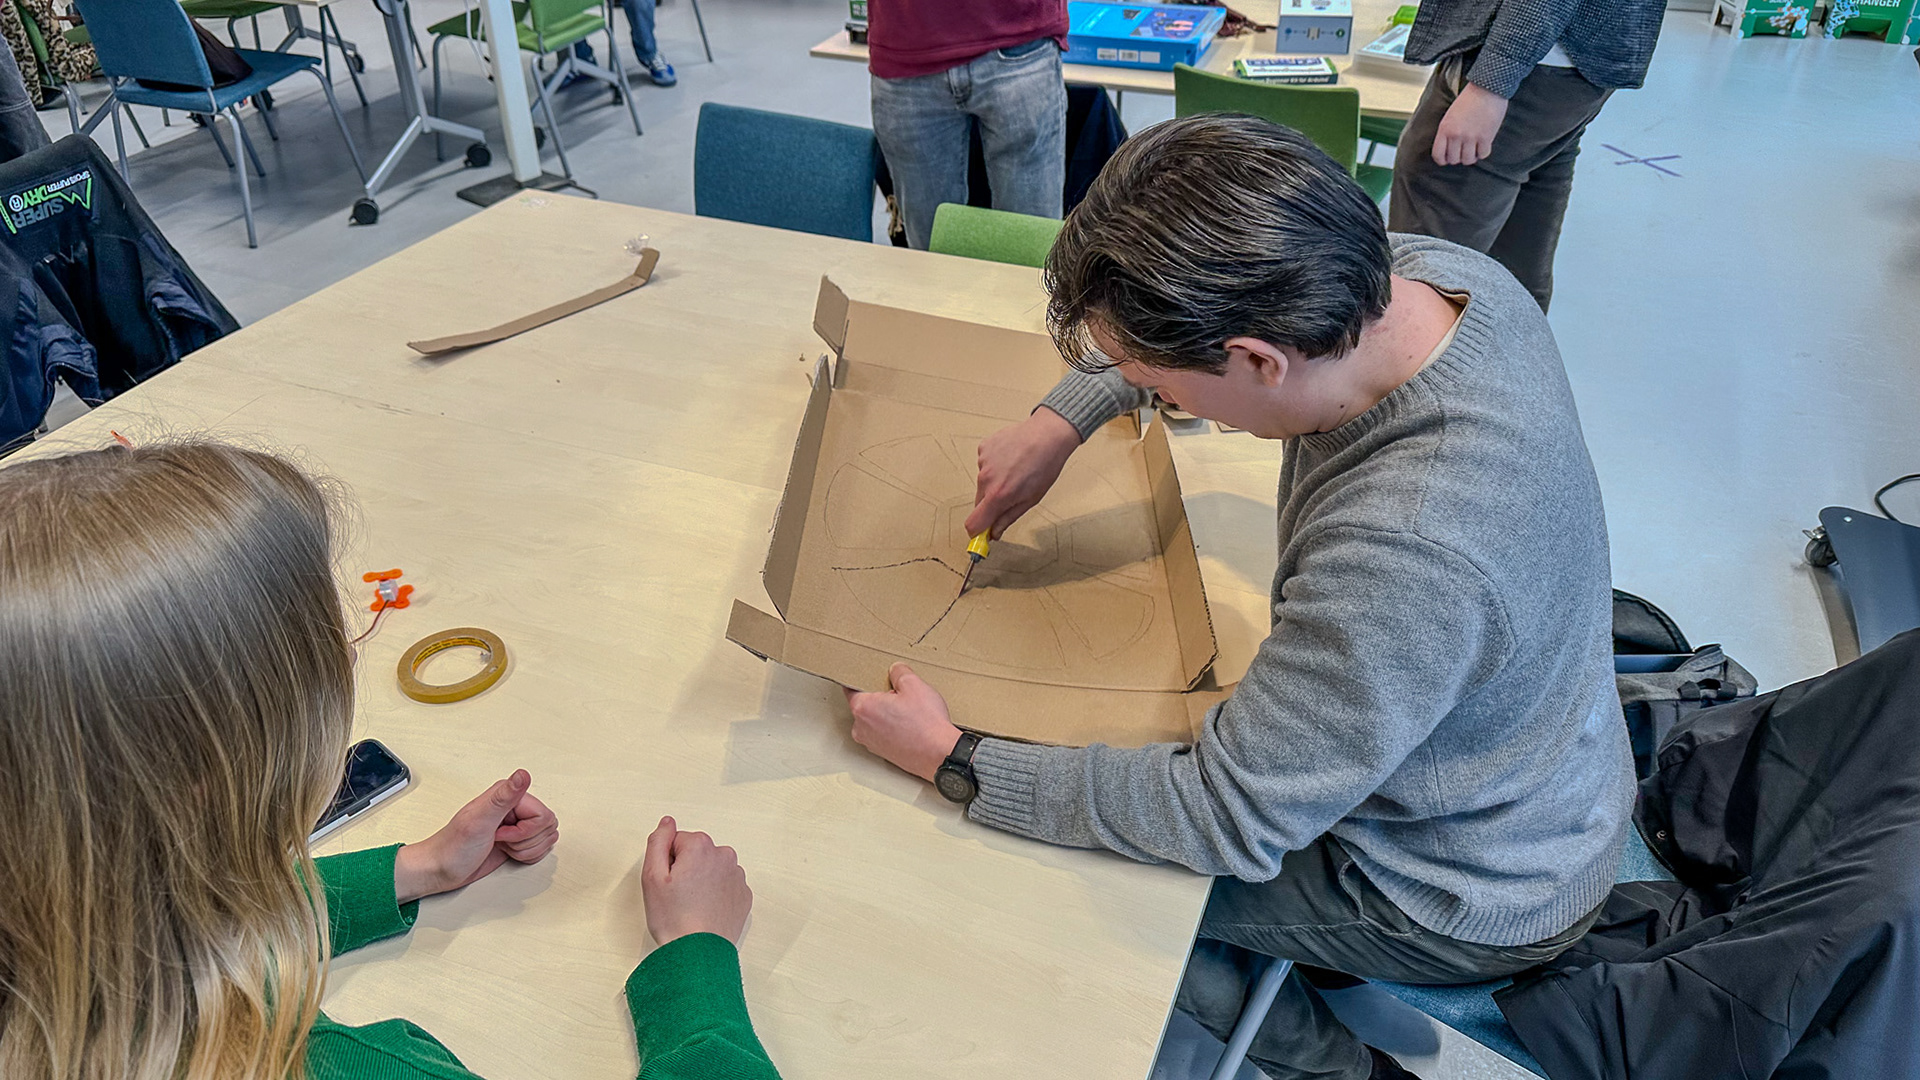
Figure 1. Drawing and cutting out the shell design.
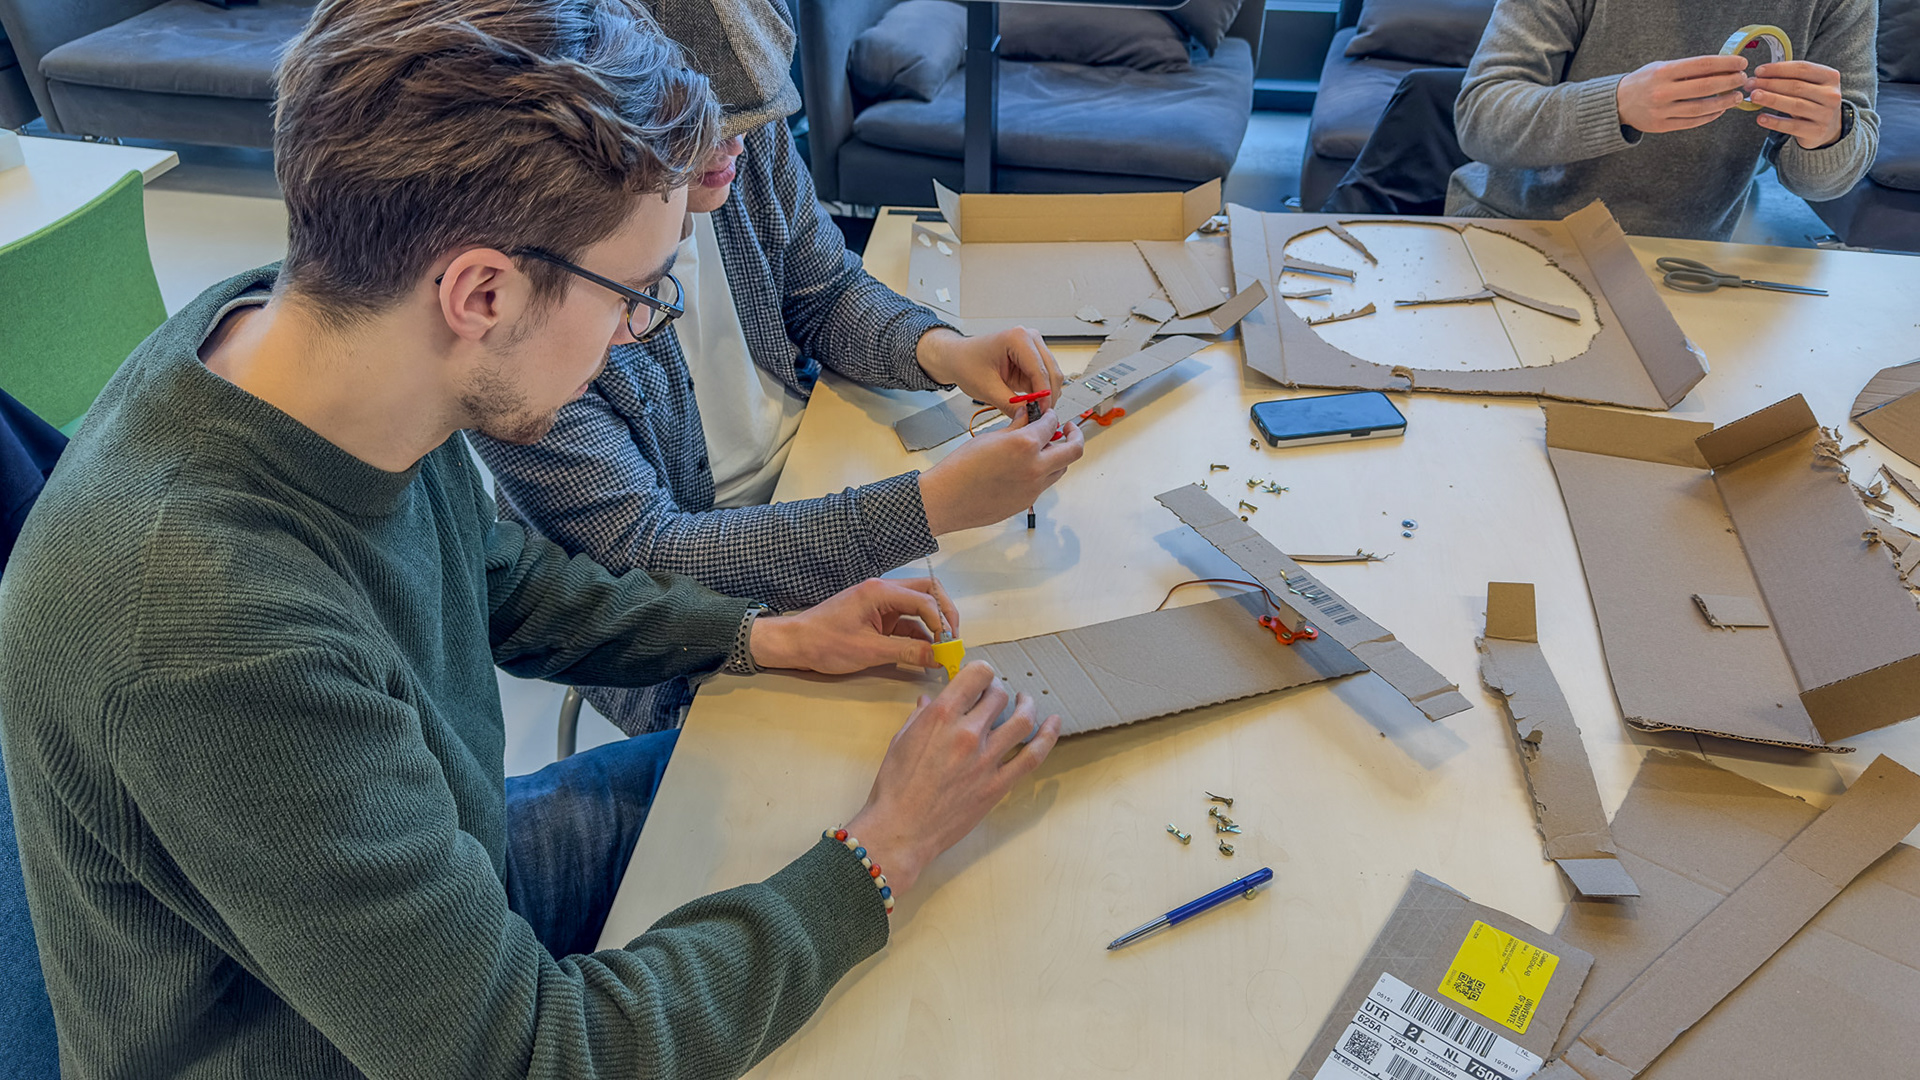
Figure 2. Working on the servos with a teammate.
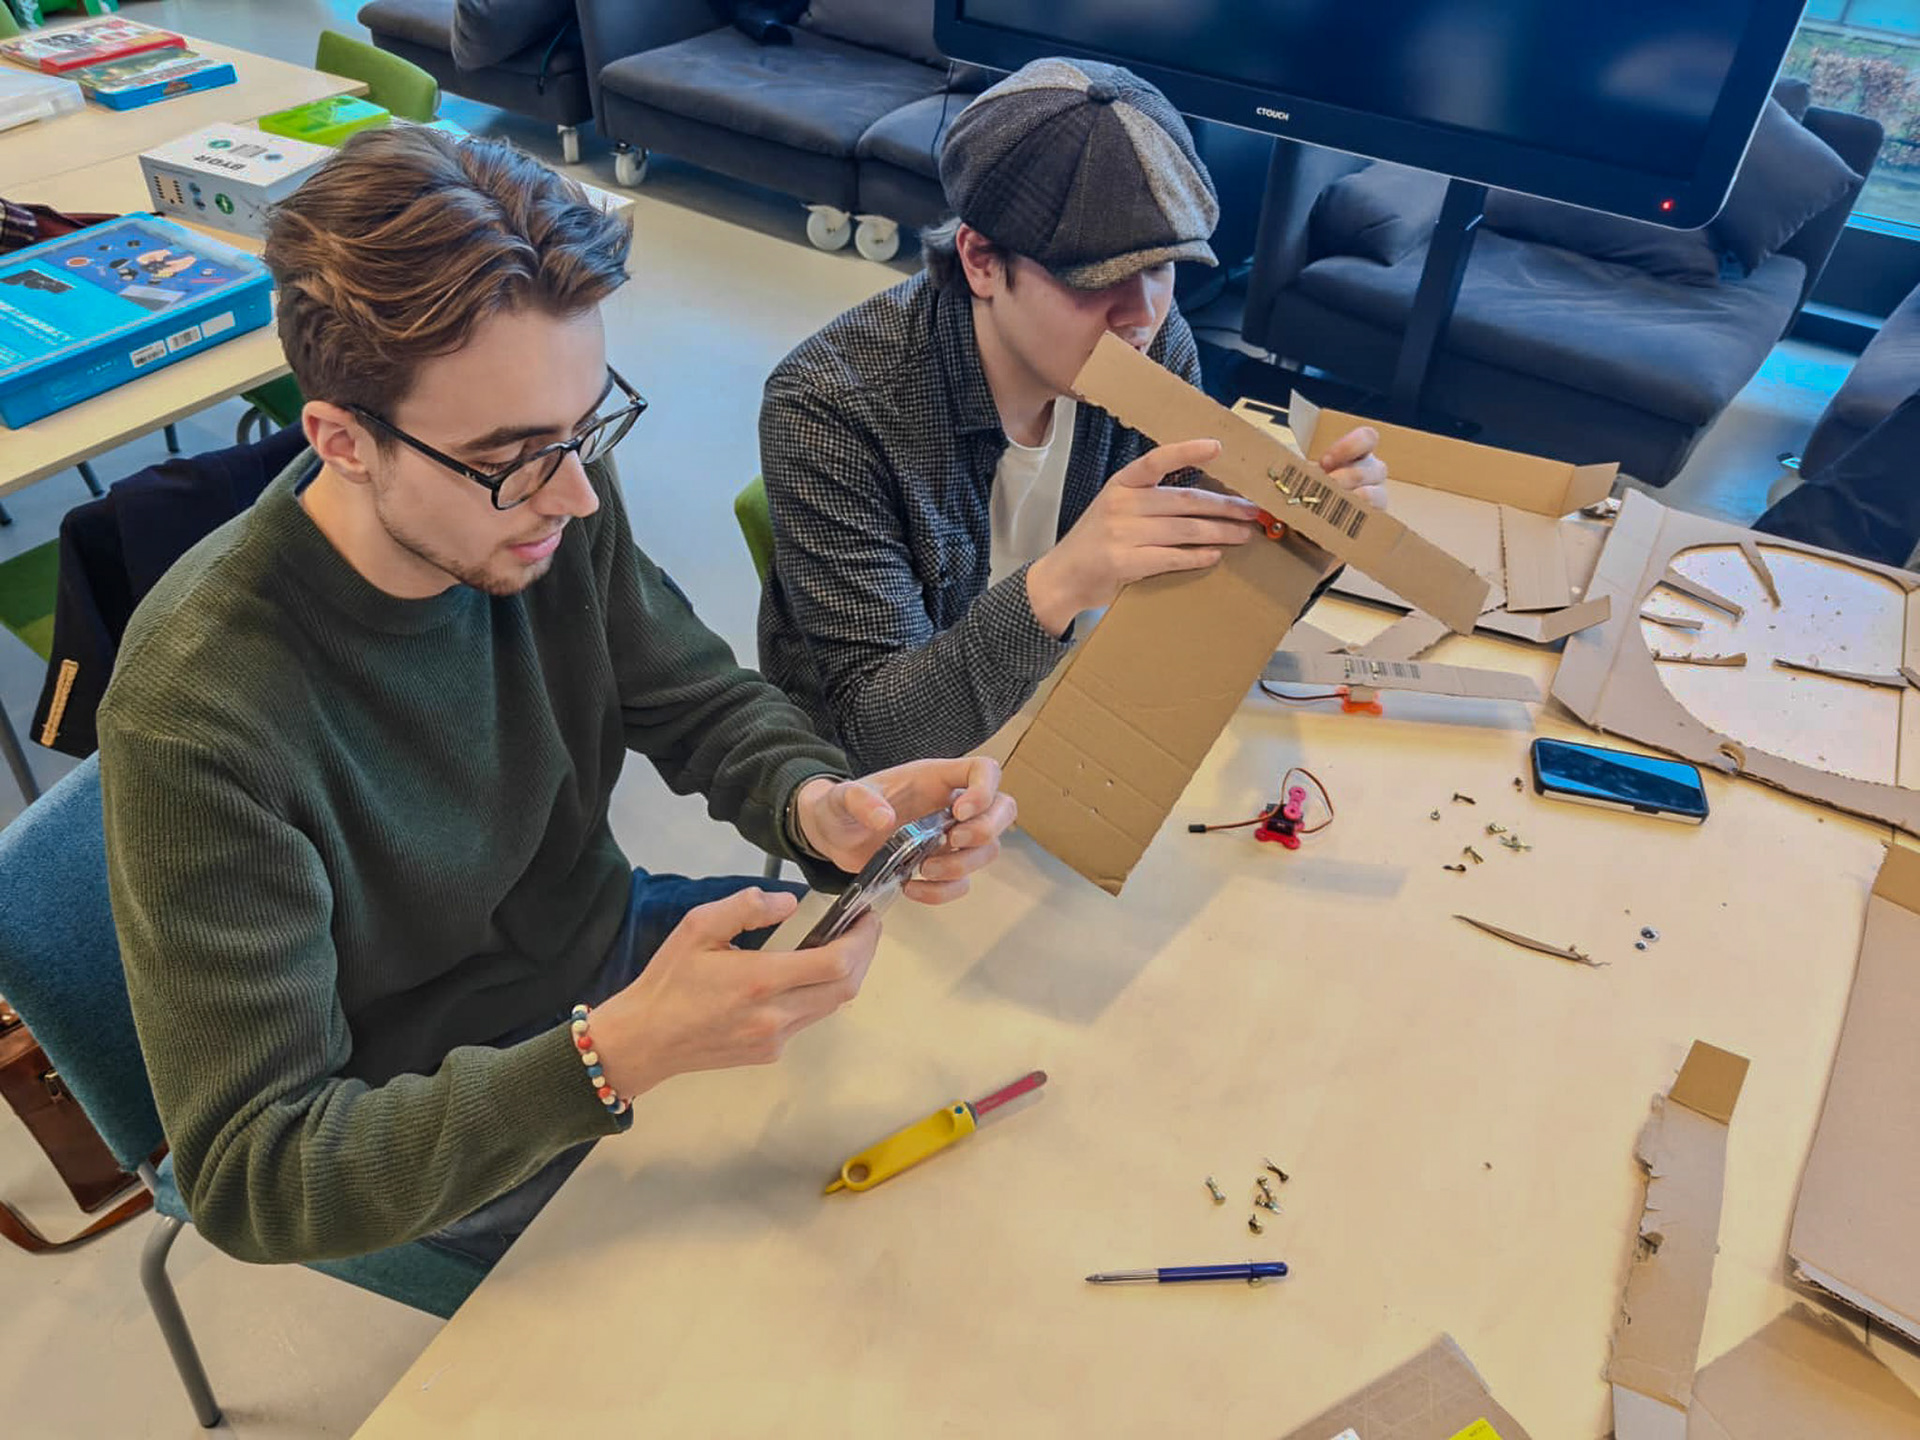
Figure 3. Finding inspiration for the leg positions.
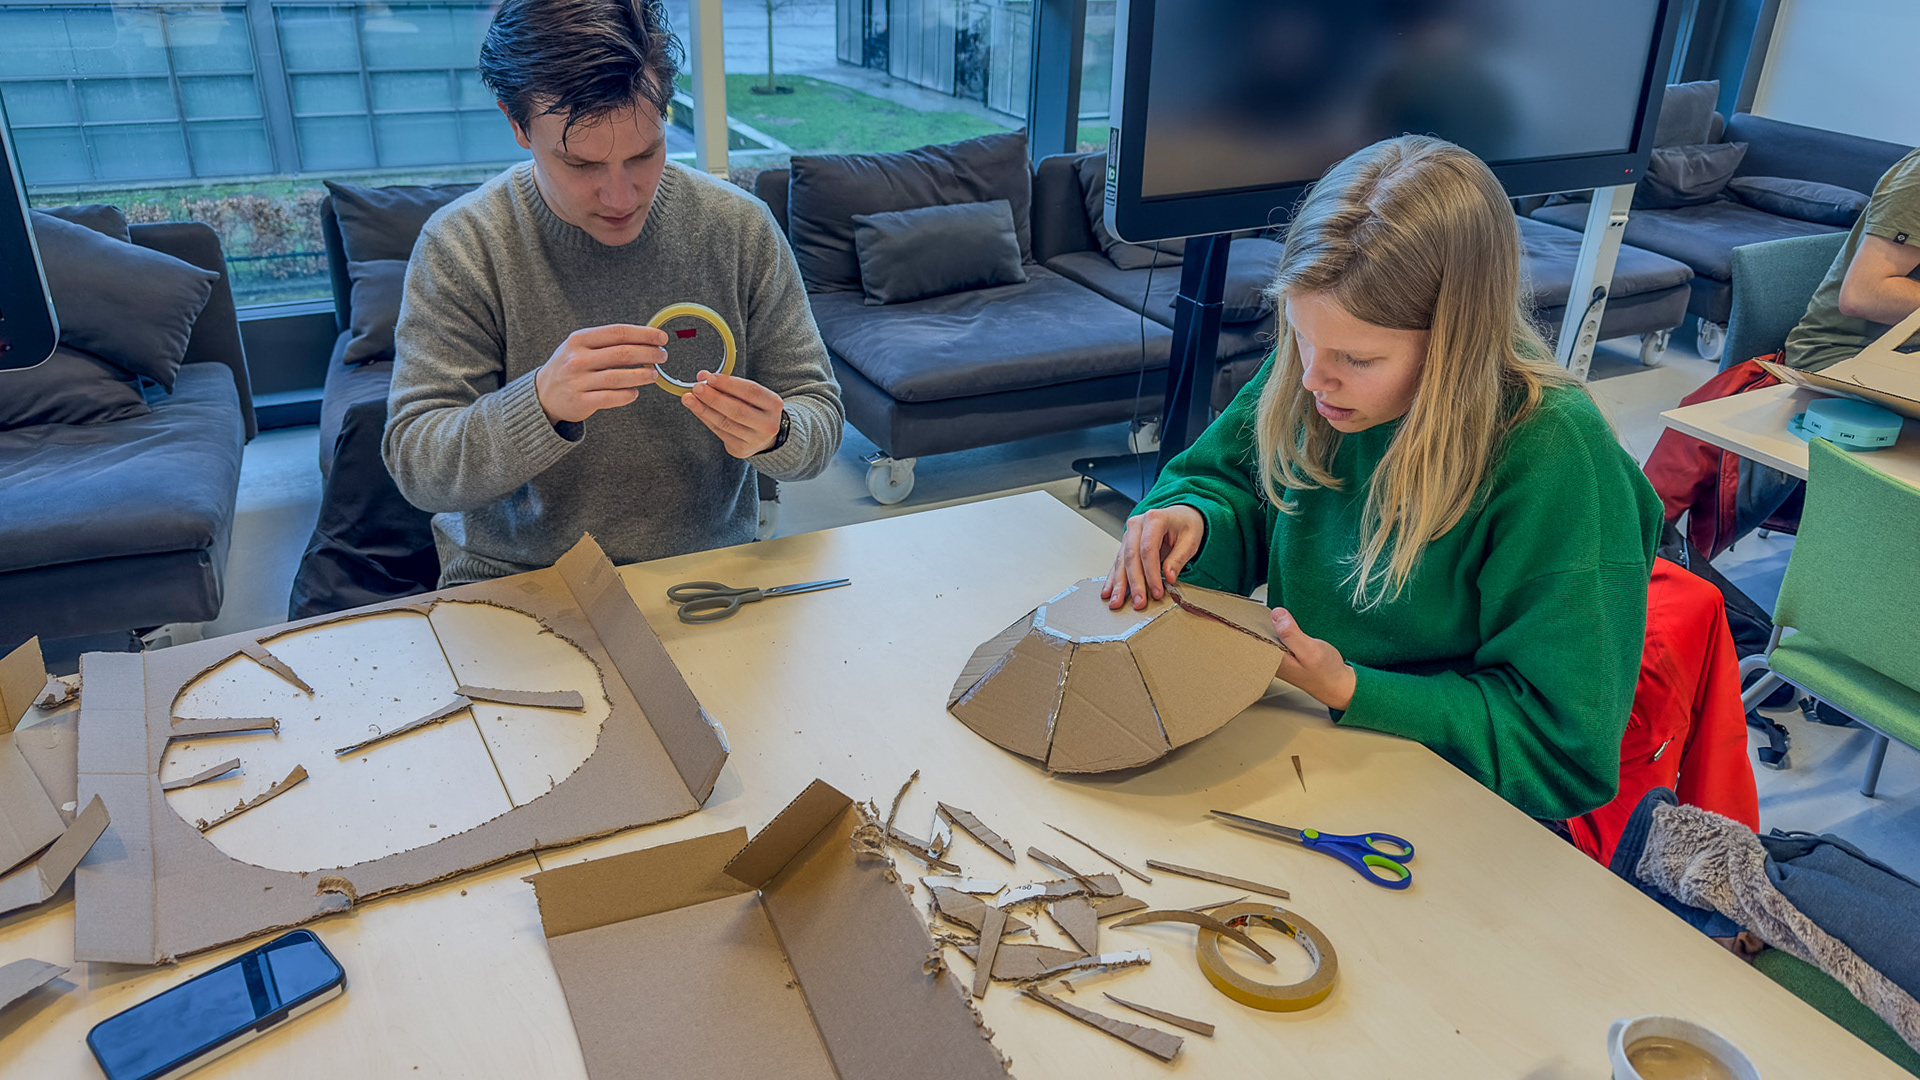
Figure 4. Using the available materials to stick together the cut out cardboard.
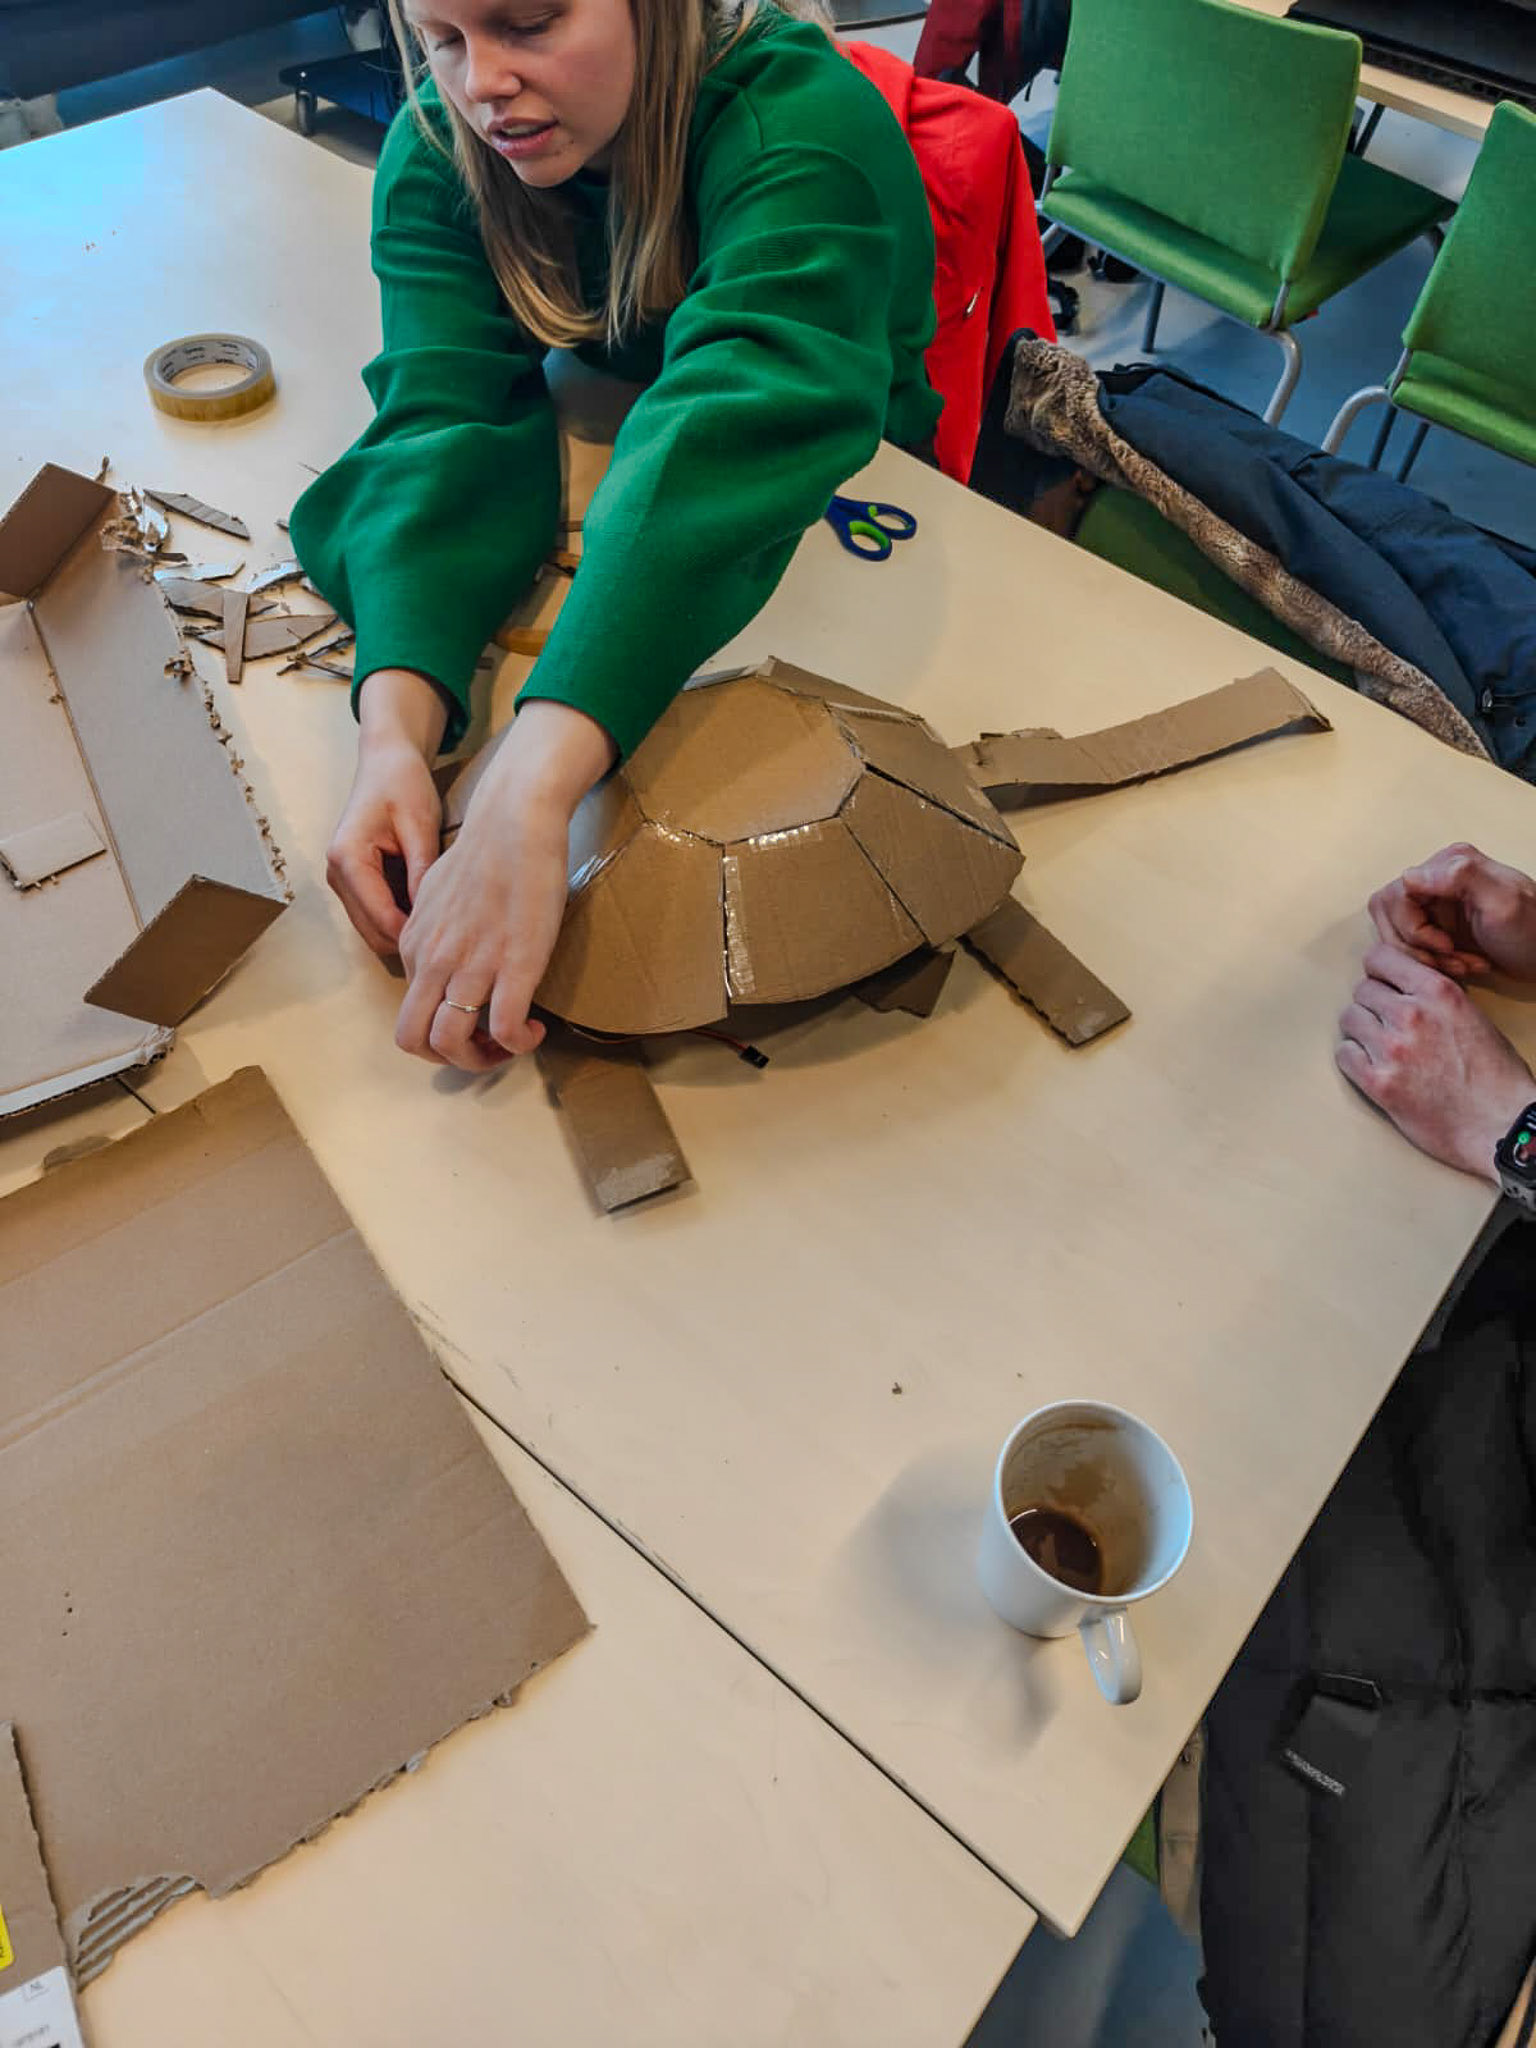
Figure 5. The turtle is almost finished.
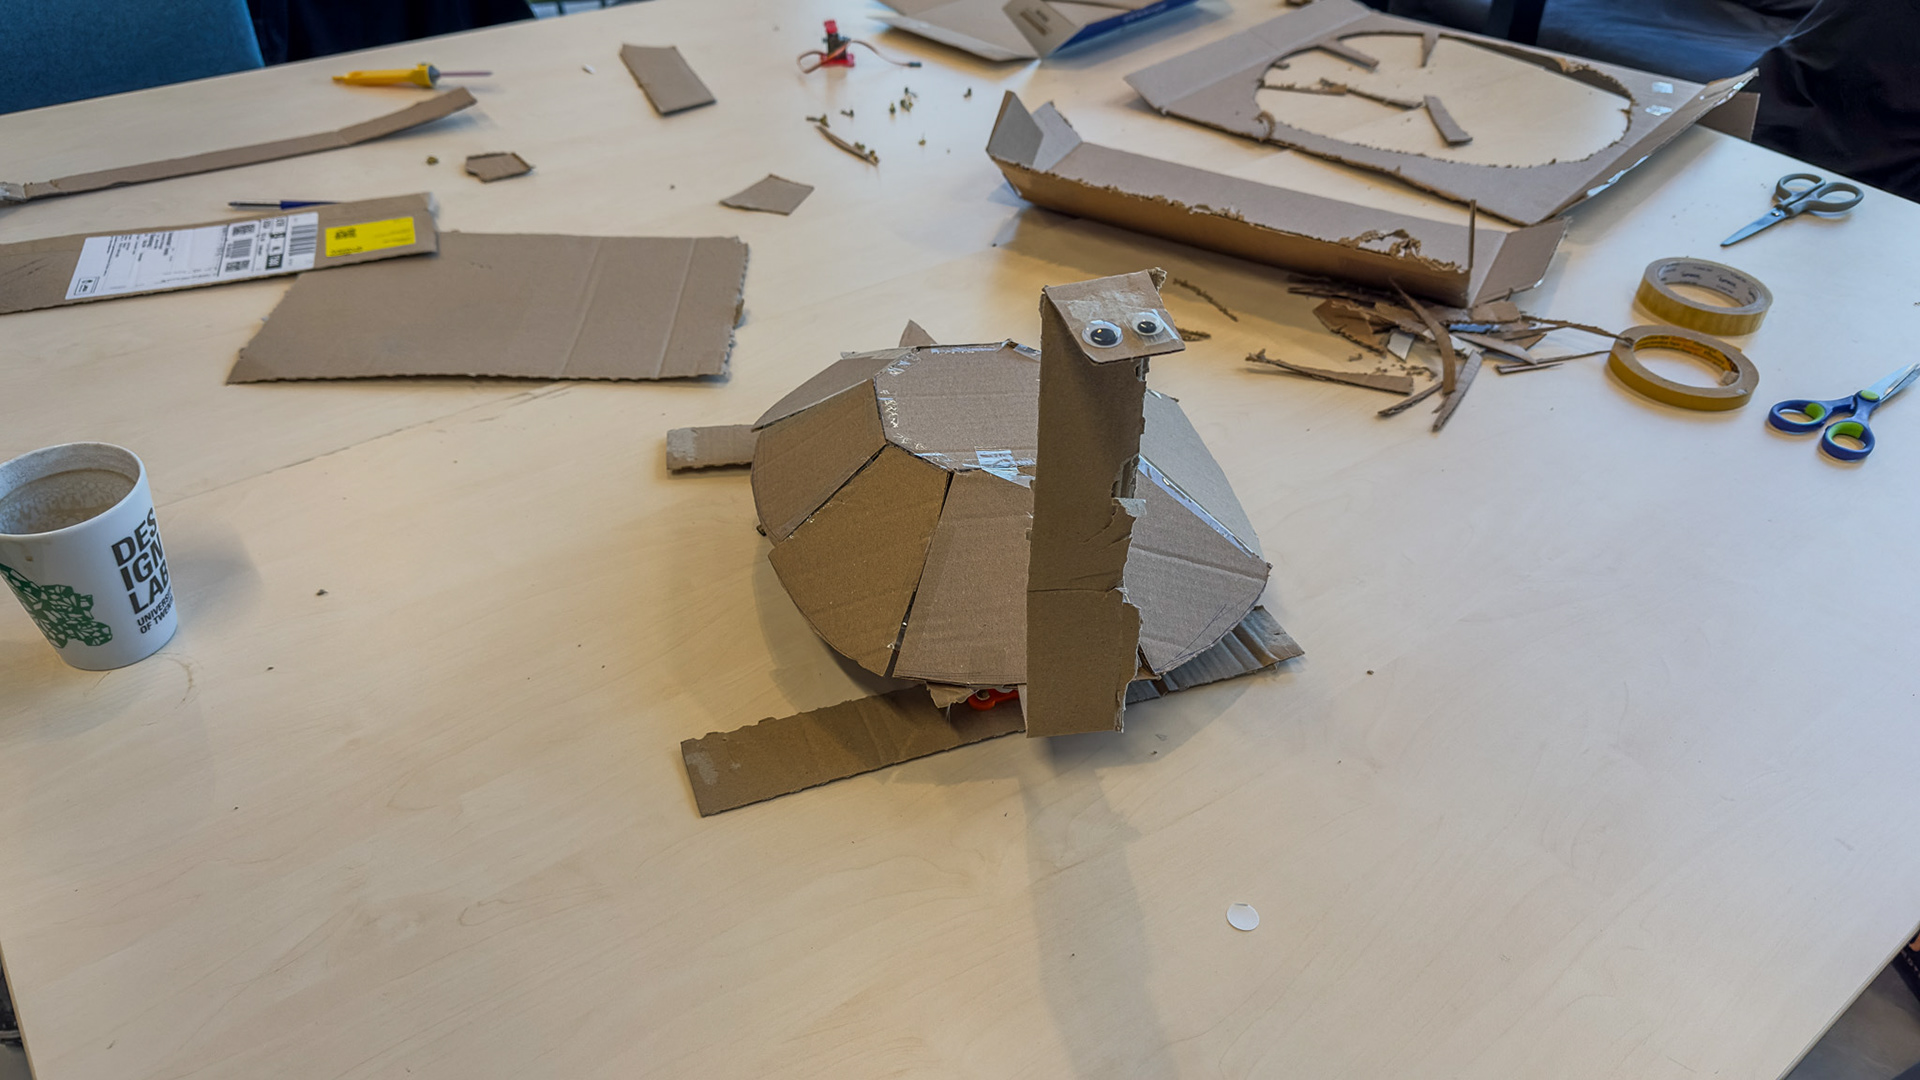
Figure 6. The first iteration of our turtle.
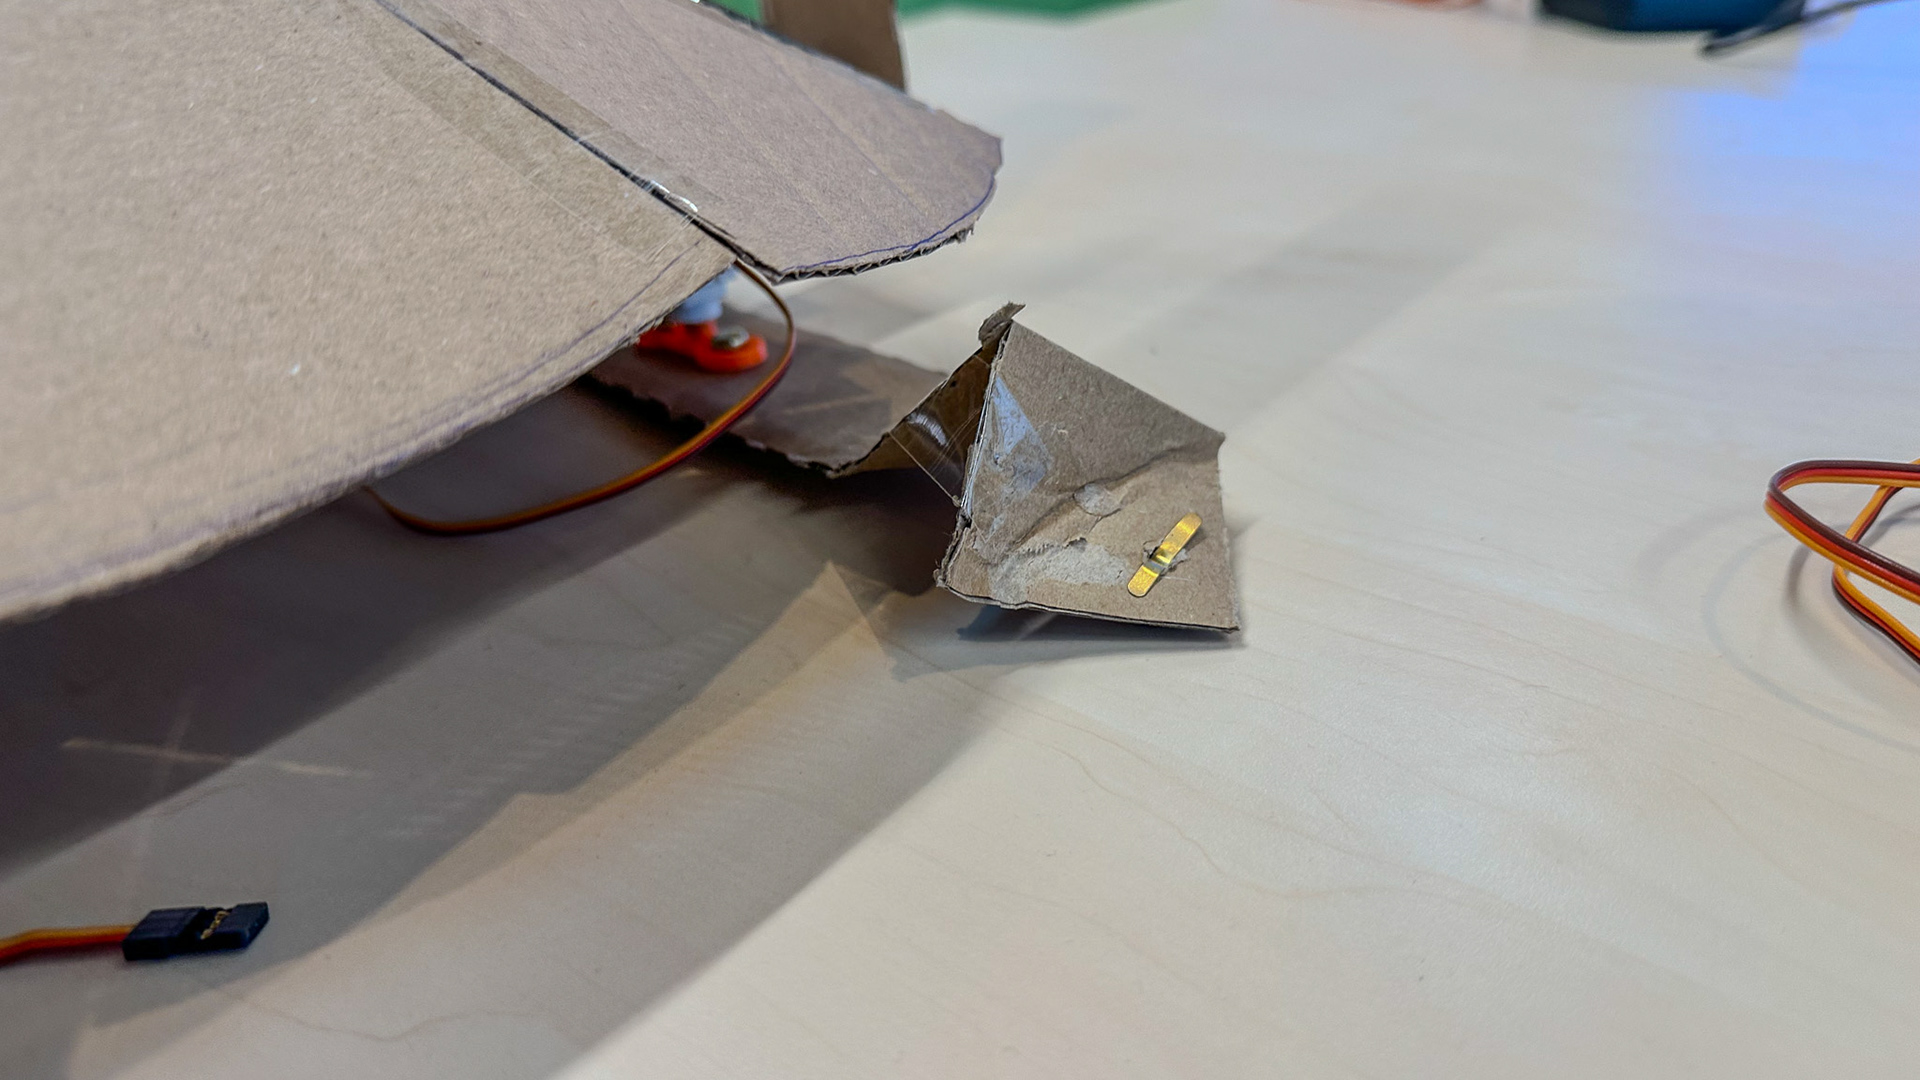
Figure 7. The second iteration of the legs (now with another form).
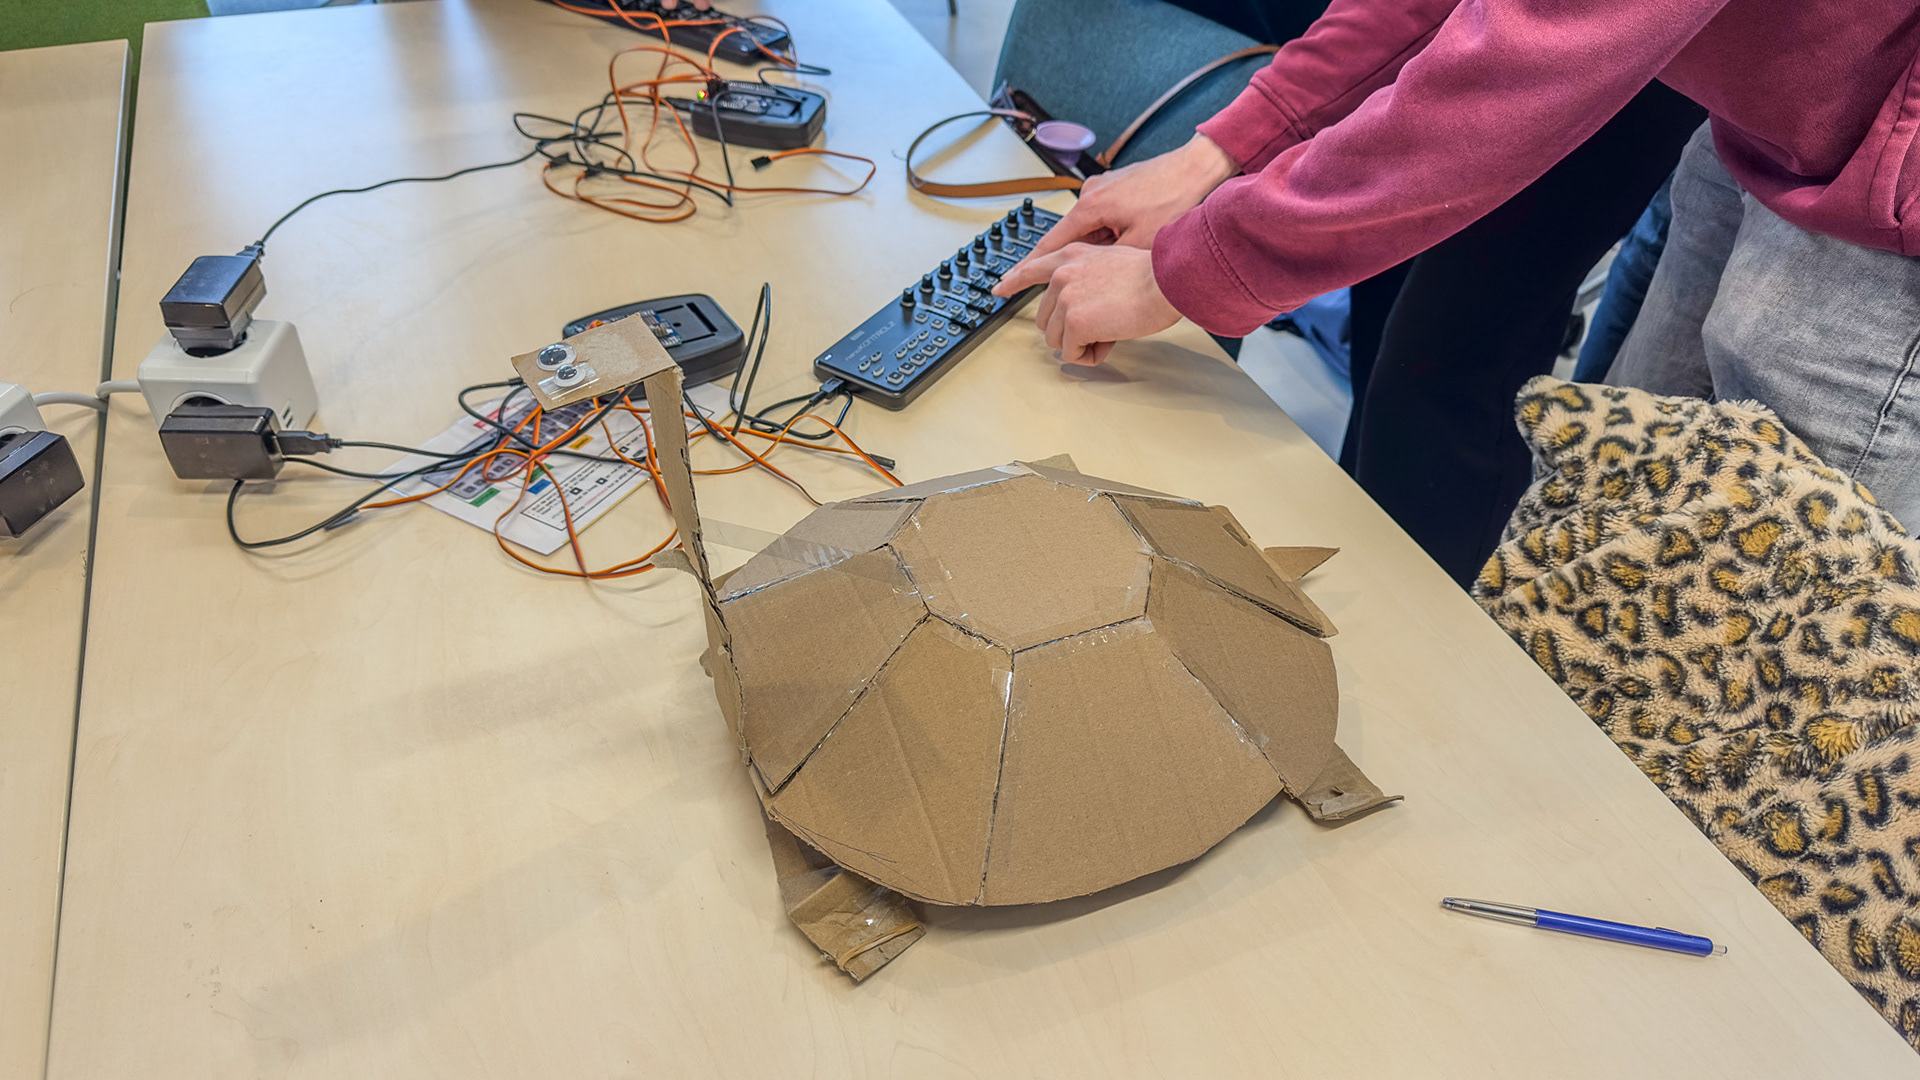
Figure 8. The third iteration of the turtle (rubber bands) and programming the servos.

Figure 9. The turle in "air jail".
Figure 10. Another "air jail".
Part 2 - Documenting our process scientifically
Besides using POEMS for observation, we also had to document our process in a way that supports transferability, validity, and reproducibility. Below is a reflection on how well our/my documentation meets those criteria (including what is missing).
1. Transferability
Transferability is about whether another group can understand and compare our process and results.
What we documented well:
- the general concept (servo-driven cardboard turtle)
- the iteration sequence (what we changed and why)
- the main failure point (lack of grip/friction)
- the tool/controller constraint (servo rotation and slider control)
- photos/videos of the build and testing stages (see figures and videos above)
What we documented less well (since we were not aware of that necessity):
- we did not take proper measurements during the session
- we did not systematically time each step
- we did not record the exact dimensions while building
Because of that, some of the data below is retrospective and approximate.
Approximate measurable data
- Group size: 5 people
- Prototype size (estimated): approximately 30 cm (H) x 20 cm (W) x 25 cm (L)
- Time to first complete prototype: approximately 45 min
- Servo motion range: 180 degrees rotation (left-right range used for motion control)
- Number of major iterations after first prototype: 4 (plus smaller adjustments)
Iteration overview
- Iteration 1: First full turtle prototype (shell + lower body + servos)
Result: Waddled in place, no forward movement
Result: Waddled in place, no forward movement
- Iteration 2: Added/changed foot pads to improve friction
Result: Still no effective crawling forward (started moonwalking backwards though)
Result: Still no effective crawling forward (started moonwalking backwards though)
- Iteration 3: Added rubber bands for extra grip
Result: Little improvement, movement again shifted more backwards than forward
Result: Little improvement, movement again shifted more backwards than forward
- Iteration 4: Adjusted leg position/tension with rubber bands
Result: Slightly more friction, but too much load for the motor/limited movement
Result: Slightly more friction, but too much load for the motor/limited movement
This makes our process somewhat transferable (especially through the iteration logic and media), but not fully comparable in a strict scientific sense because we missed exact measurements and timed performance data.
2. Validity
Validity is about whether our conclusions are supported by a clear and justified process.
In our case, the process was valid in a practical tinkering sense because we followed a clear test-and-improve cycle:
1. Define a goal: build a turtle that moves using servos
2. Build a first prototype: shell + legs + servo setup
3. Test movement: check if the turtle can move forward
4. Identify failure: movement existed, but the grip was insufficient
5. Make targeted changes: improve foot contact/friction and leg alignment
6. Retest after each change
7. Evaluate outcome: movement still unreliable, no stable walking
Success criteria
Even though we did not formally write these down at the time, our success criteria were basically:
- the creature should be recognisable as a turtle
- the structure should stay together during movement
- the servos should produce visible motion
- ideally, the turtle should move forward on the table
We achieved the first three, but not the fourth. So our conclusion ("the turtle did not successfully walk due to lack of grip and load/friction issues") is supported by the repeated tests and iterations we did.
What weakens the validity slightly is that we did not define formal test metrics in advance (for example, distance travelled in cm, speed in cm/s, or number of successful steps). Next time, that would make the conclusions stronger. But since we were not aware of these requirements, it is not exactly our "fault".
3. Reproducibility
Reproducibility means another group should be able to rebuild our creature (or at least repeat our process) based on the documentation.
Materials used
- Folded and cut cardboard sheets (main structure)
- Tape (assembly)
- Split pins/paper fasteners (mechanical connections)
- Servo motors (small hobby servos, classroom-provided)
- Elastic/rubber bands (for extra grip/tension)
- Googly eyes (decoration)
- SawSafe (cutting tool)
- Audio equaliser/controller used to control servos (Korg nanoKONTROL 2)
Control setup
The control logic was not coded manually. Instead, we used the classroom setup in which the Korg nanoKONTROL 2 sliders controlled the servos directly. This made testing fast, but it also means our documentation is less reproducible outside the classroom unless the same hardware setup is available.
What supports reproducibility
- clear description of the idea and final form (turtle with shell + servo-driven legs)
- documented iteration path (especially the grip/friction problem)
- media evidence (photos/videos of build and tests)
- basic materials list and tools used
What is missing for full reproducibility
- exact dimensions of body parts and leg pieces
- exact servo placement measurements
- wiring diagram/mounting details
- exact workspace layout and surface type (which matters for grip)
- a formal step-by-step build plan recorded during the session
So, another group could probably recreate a similar turtle and repeat a similar design process, but they would not be able to reproduce our exact prototype 1:1 from the documentation alone. That is an important learning point for future portfolio work.
Observations from the session
What makes these observations transferable is that they are not only about our turtle specifically, but about a broader kind of tinkering setup. Across the session, I noticed three more general patterns. First, groups naturally split into sub-tasks when materials and tools allow parallel work. Second, technical tinkering problems often shift from "making something" to "making one hidden variable visible," in our case, friction and contact with the table. Third, facilitation is most effective when it redirects attention to the problem without removing ownership from the group. These observations could likely also apply to other hands-on tinkering workshops with shared materials, partial technical constraints, and open-ended group goals. That makes the session useful not only as a record of what we did, but also as a small case of how tinkering activities can be organised and supported more generally.
Reflection
This session showed me that tinkering can be creative and playful, but still documented in a structured and research-like way. The POEMS framework helped me pay attention to the process (not just the final object), and the three quality criteria made it very clear where our documentation was strong and where it was lacking.
Our turtle did not become a fully working, walking animatronic, but the process itself was still valuable and well worth documenting (partly afterwards). The iterations, decisions, and failures are actually the most useful part of the outcome. For future sessions, I would improve the scientific quality by taking into account all the things we have to write down (e.g., measuring dimensions from the start, timing each iteration, and recording test results more systematically).
Seen in that way, the value of the session was not only in the final creation, but in how the workshop made our decision-making, failures, and iterations visible enough to reflect on and learn from afterwards, which is also how Invent to Learn describes the role of documentation in maker learning.