Process
During Session 2, we got time to explore a bunch of tinkering kits hands-on. We unboxed them, tried things out, and made quick notes about what each kit invites you to do. Based on the lecture discussion on material affordances, I compared the kits using the same properties from the slides: self-guiding, preciousness, skills needed, interoperability, novelty/"seed power", and low threshold-high ceiling-wide walls. To connect this a bit more to Invent to Learn, I also paid attention to how fast a kit gives feedback (how quickly you can try --> see --> change) and how much support exists around it (tutorials/examples/community), because the book describes tinkering as an iterative process where learning improves through repeated cycles and adjustments. Figure 1 shows the overview table, and the other figures and video capture what it looked like when we were unboxing, testing, and tinkering with the kits.
This comparison is context-dependent. I am not claiming that one kit is simply "better" than another in general. Instead, I am comparing them in the specific context of short hands-on exploratory sessions with beginner or near-beginner users in an educational setting (myself, Tycho, and Ewoud). In that context, properties such as how quickly a material gives feedback, how much guidance it provides, how easy it is to start with, and how widely it can be repurposed become especially important. I also only consider designed tinkering materials/kits here, not raw materials such as paper, cardboard, or clay.
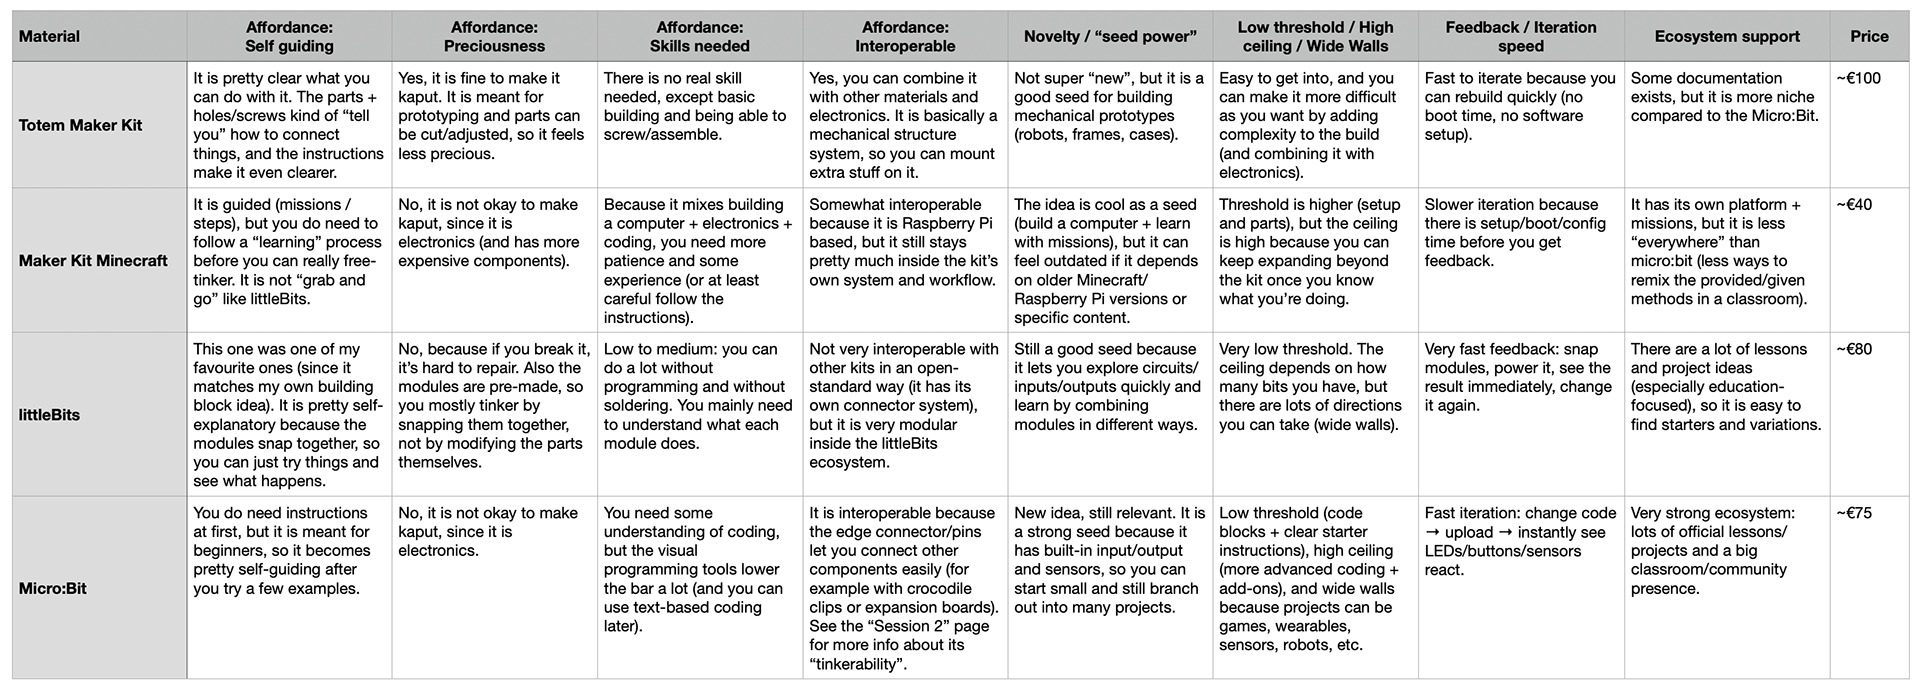
Figure 1. The materials table (adjusted from the lecture slides).
High/Low per property
Self-guiding
- High = littleBits (snap-together modules make it very "try and see")
- Low = Maker Kit Minecraft (guided steps + setup before you can really tinker freely)
Preciousness
High = Maker Kit Minecraft (electronics + more components make it feel more risky to break)
Low = Totem Maker Kit (meant for prototyping, parts can be adjusted, so it feels less precious)
Skills needed
- High = Maker Kit Minecraft (mix of building + electronics + coding)
- Low = Totem Maker Kit (mostly basic assembly/screwing)
Interoperable
- High = Micro:Bit (pins/edge connector make it easy to connect external components)
- Low = littleBits (great inside its own ecosystem, but not very open-standard with other kits)
Novelty / "seed power"
- High = Micro:Bit (built-in inputs/outputs + sensors make it a strong starting point for many projects)
- Low = Totem Maker Kit (good for structures, but less "new" and often needs other electronics to branch out)
Low threshold / High ceiling / Wide walls
- High = Micro:Bit (easy entry + lots of directions)
- Low = Maker Kit Minecraft (higher threshold because of setup, even if the ceiling is high)
Feedback / iteration speed
- High = littleBits (instant feedback by snapping modules)
- Low = Maker Kit Minecraft (boot/setup time slows the loop)
Ecosystem support
- High = Micro:Bit (very strong official/community materials)
- Low = Totem Maker Kit (some documentation exists, but it’s more niche)
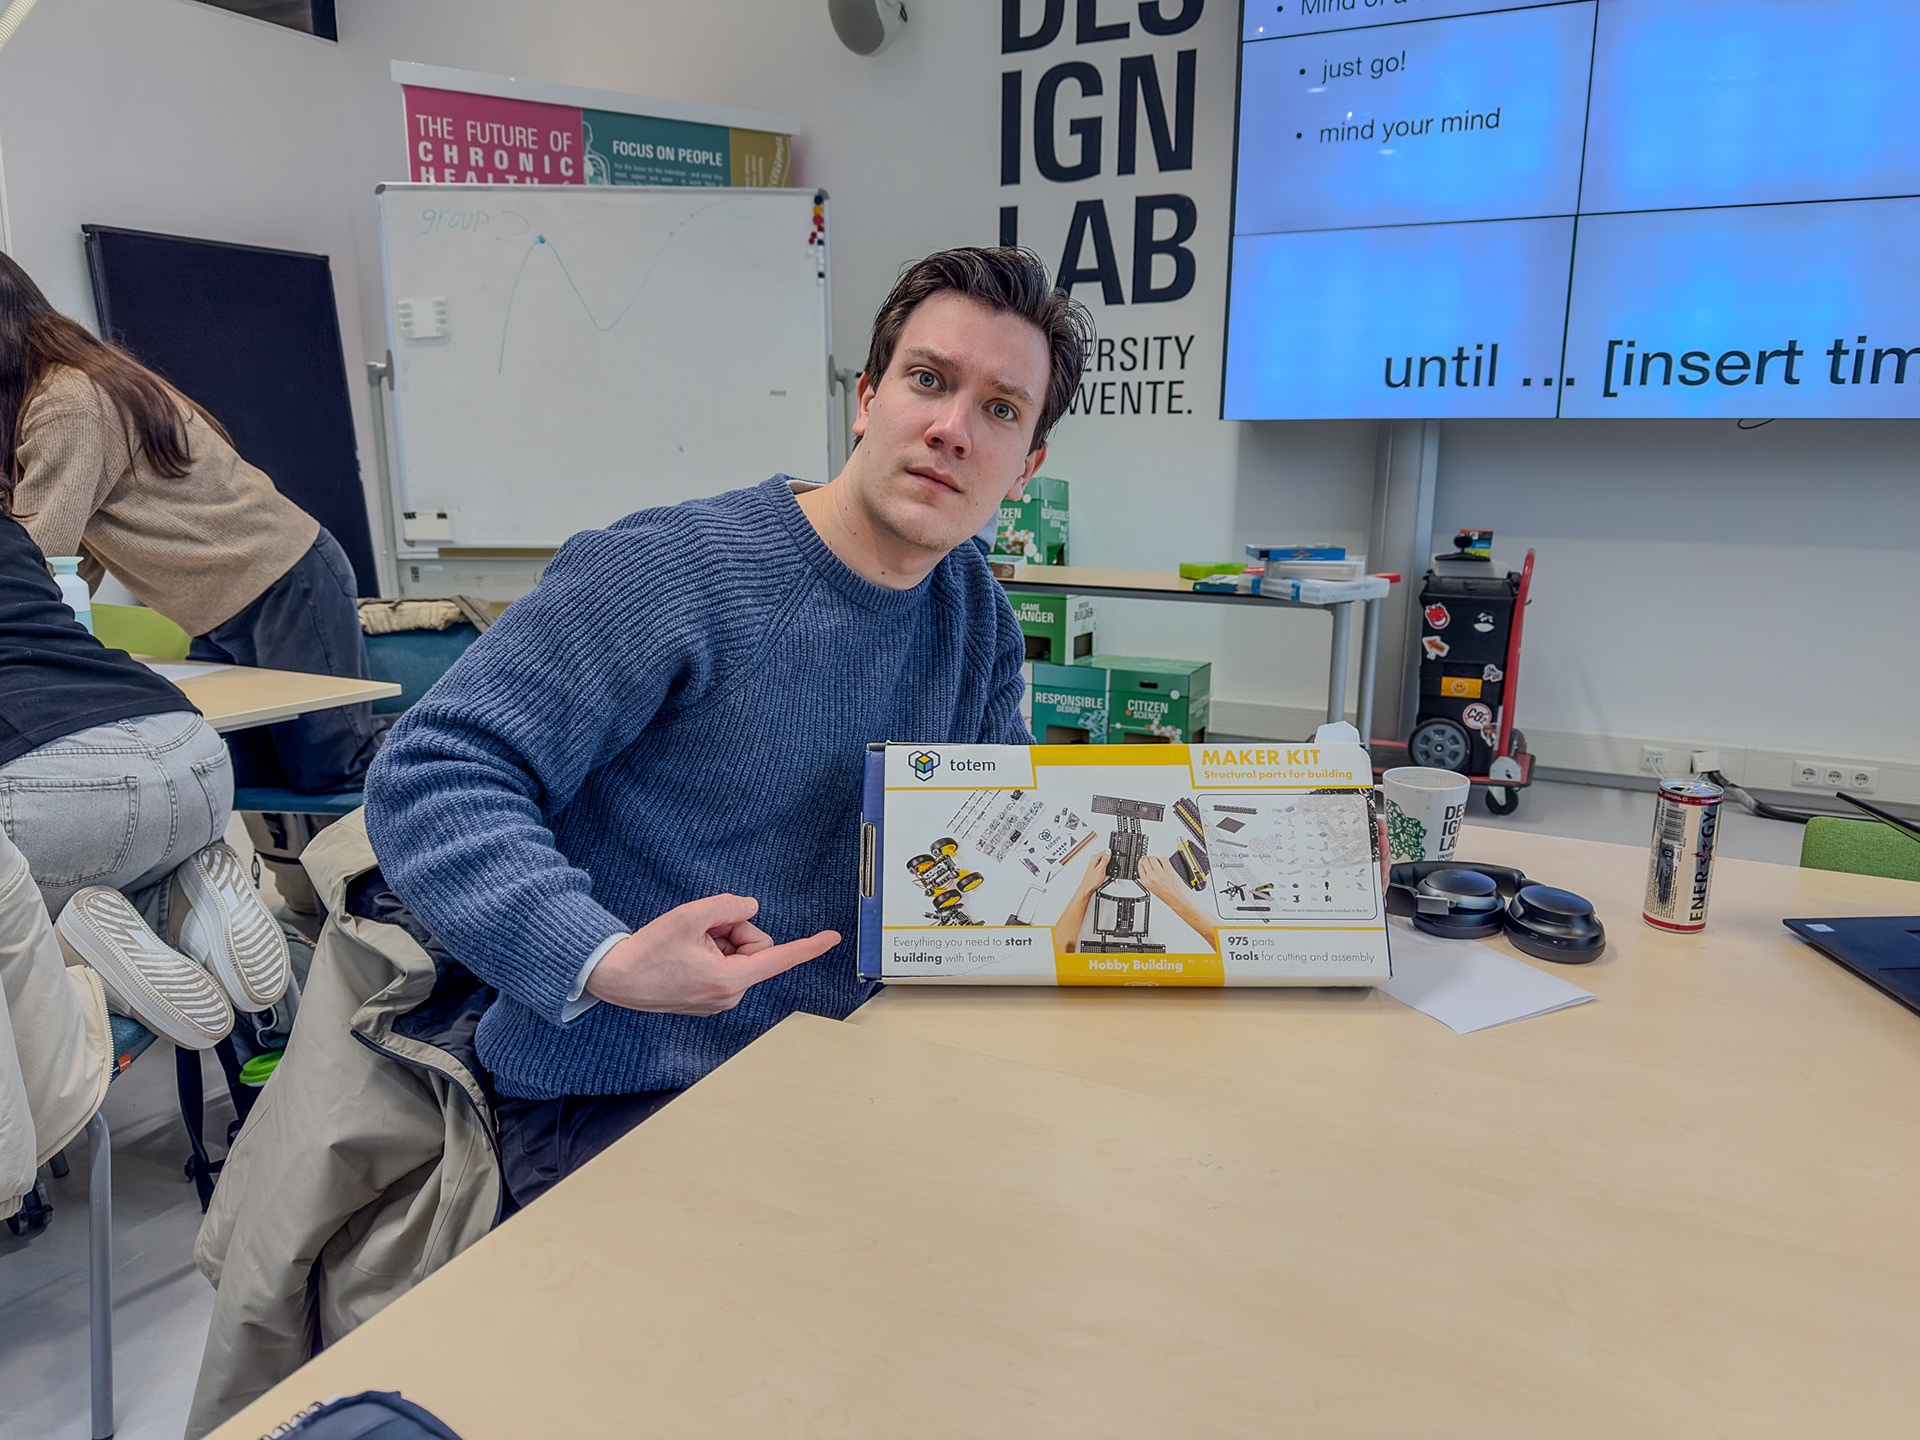
Figure 2. Unboxing the Totem Maker Kit.
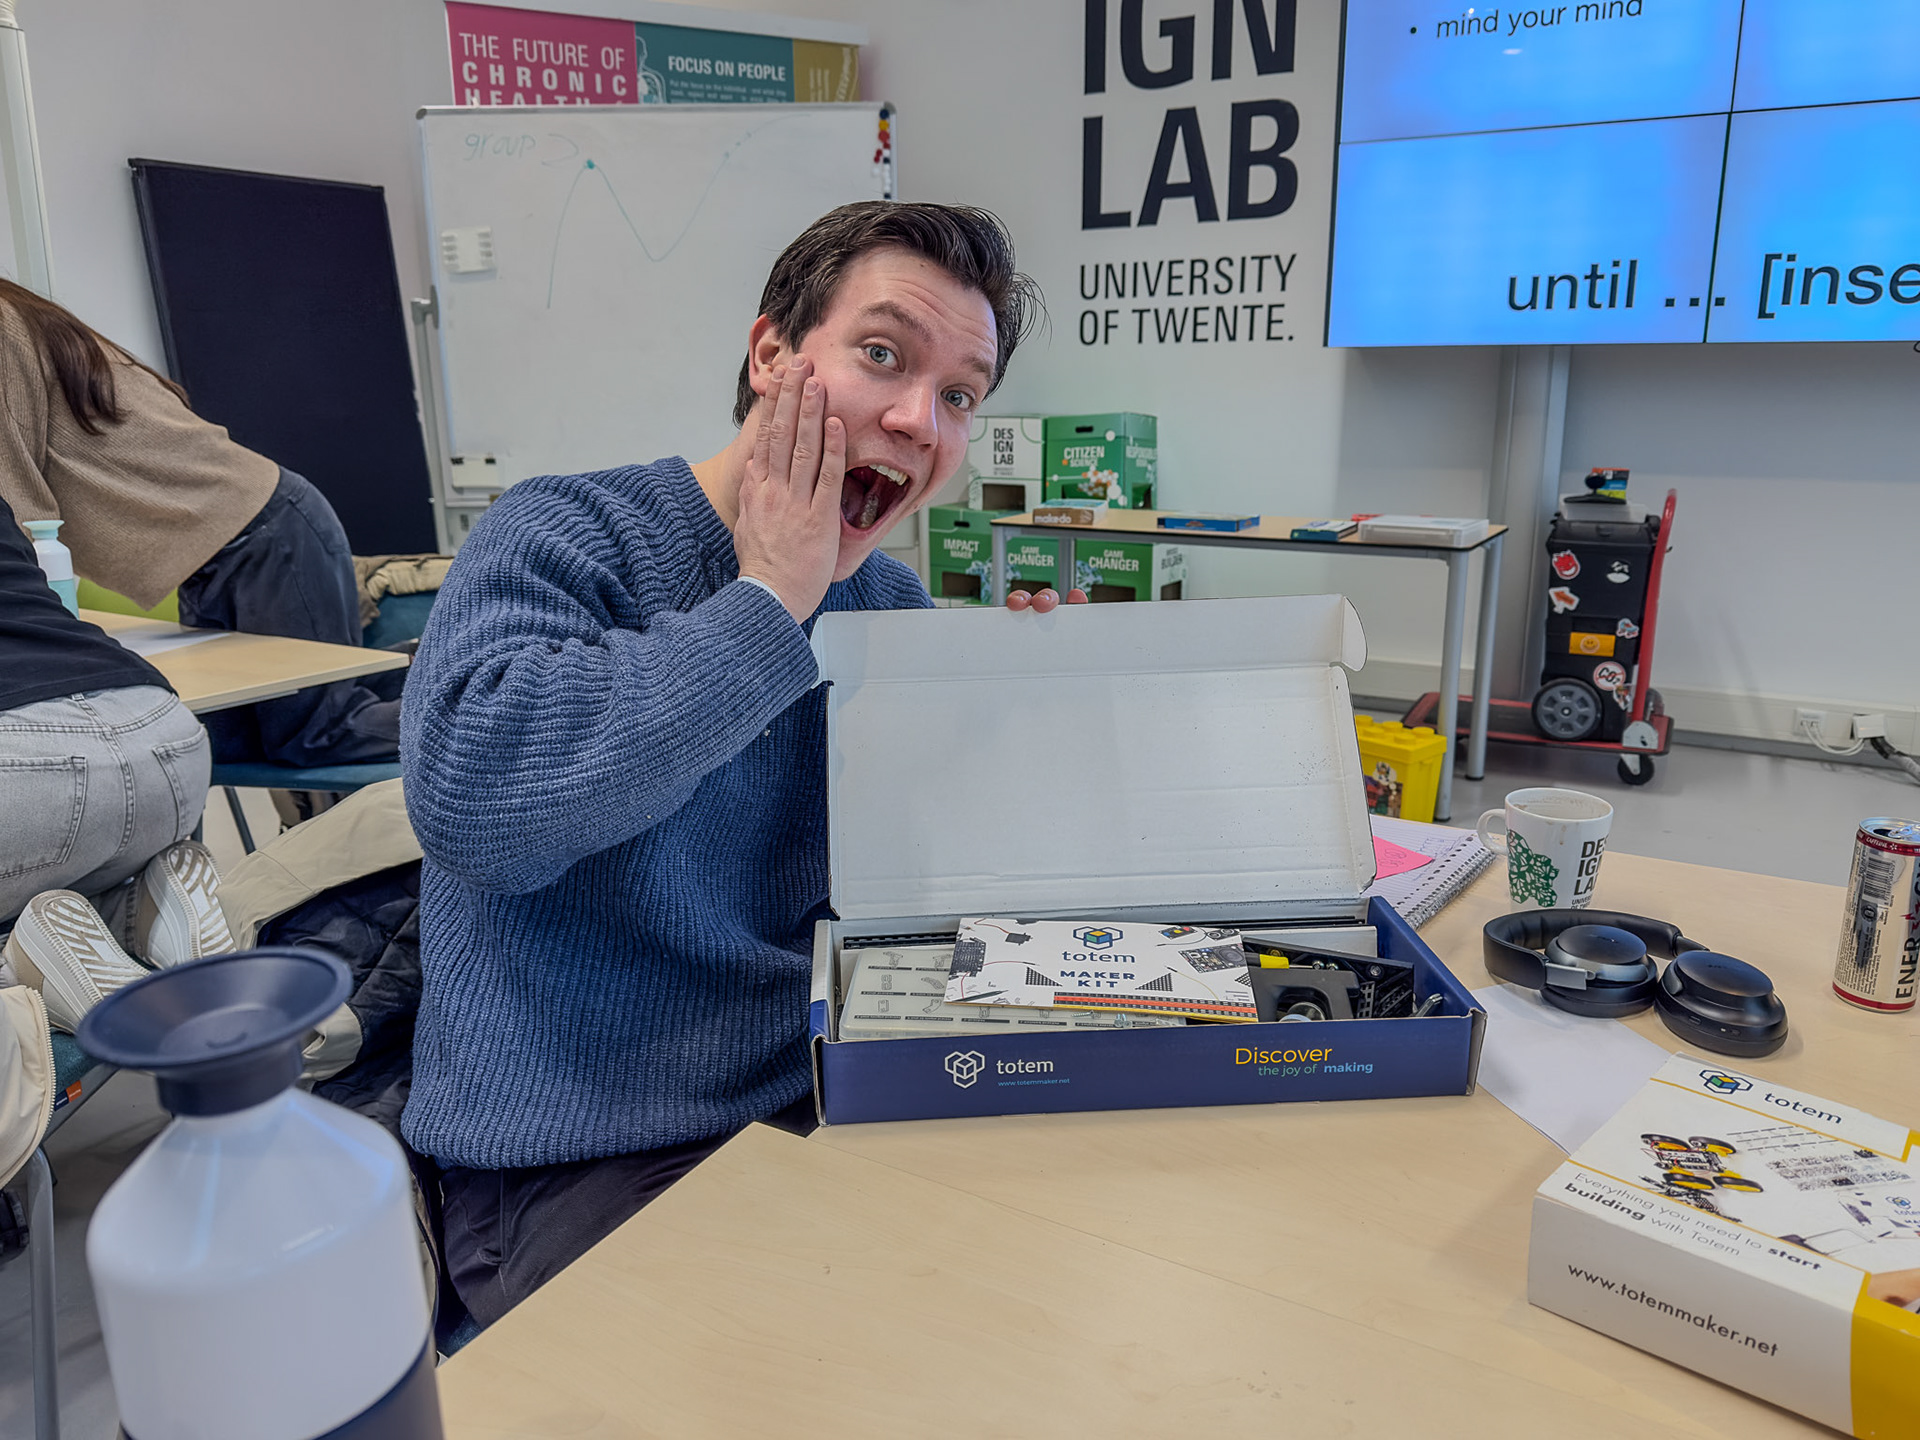
Figure 3. Unboxing the Totem Maker Kit.
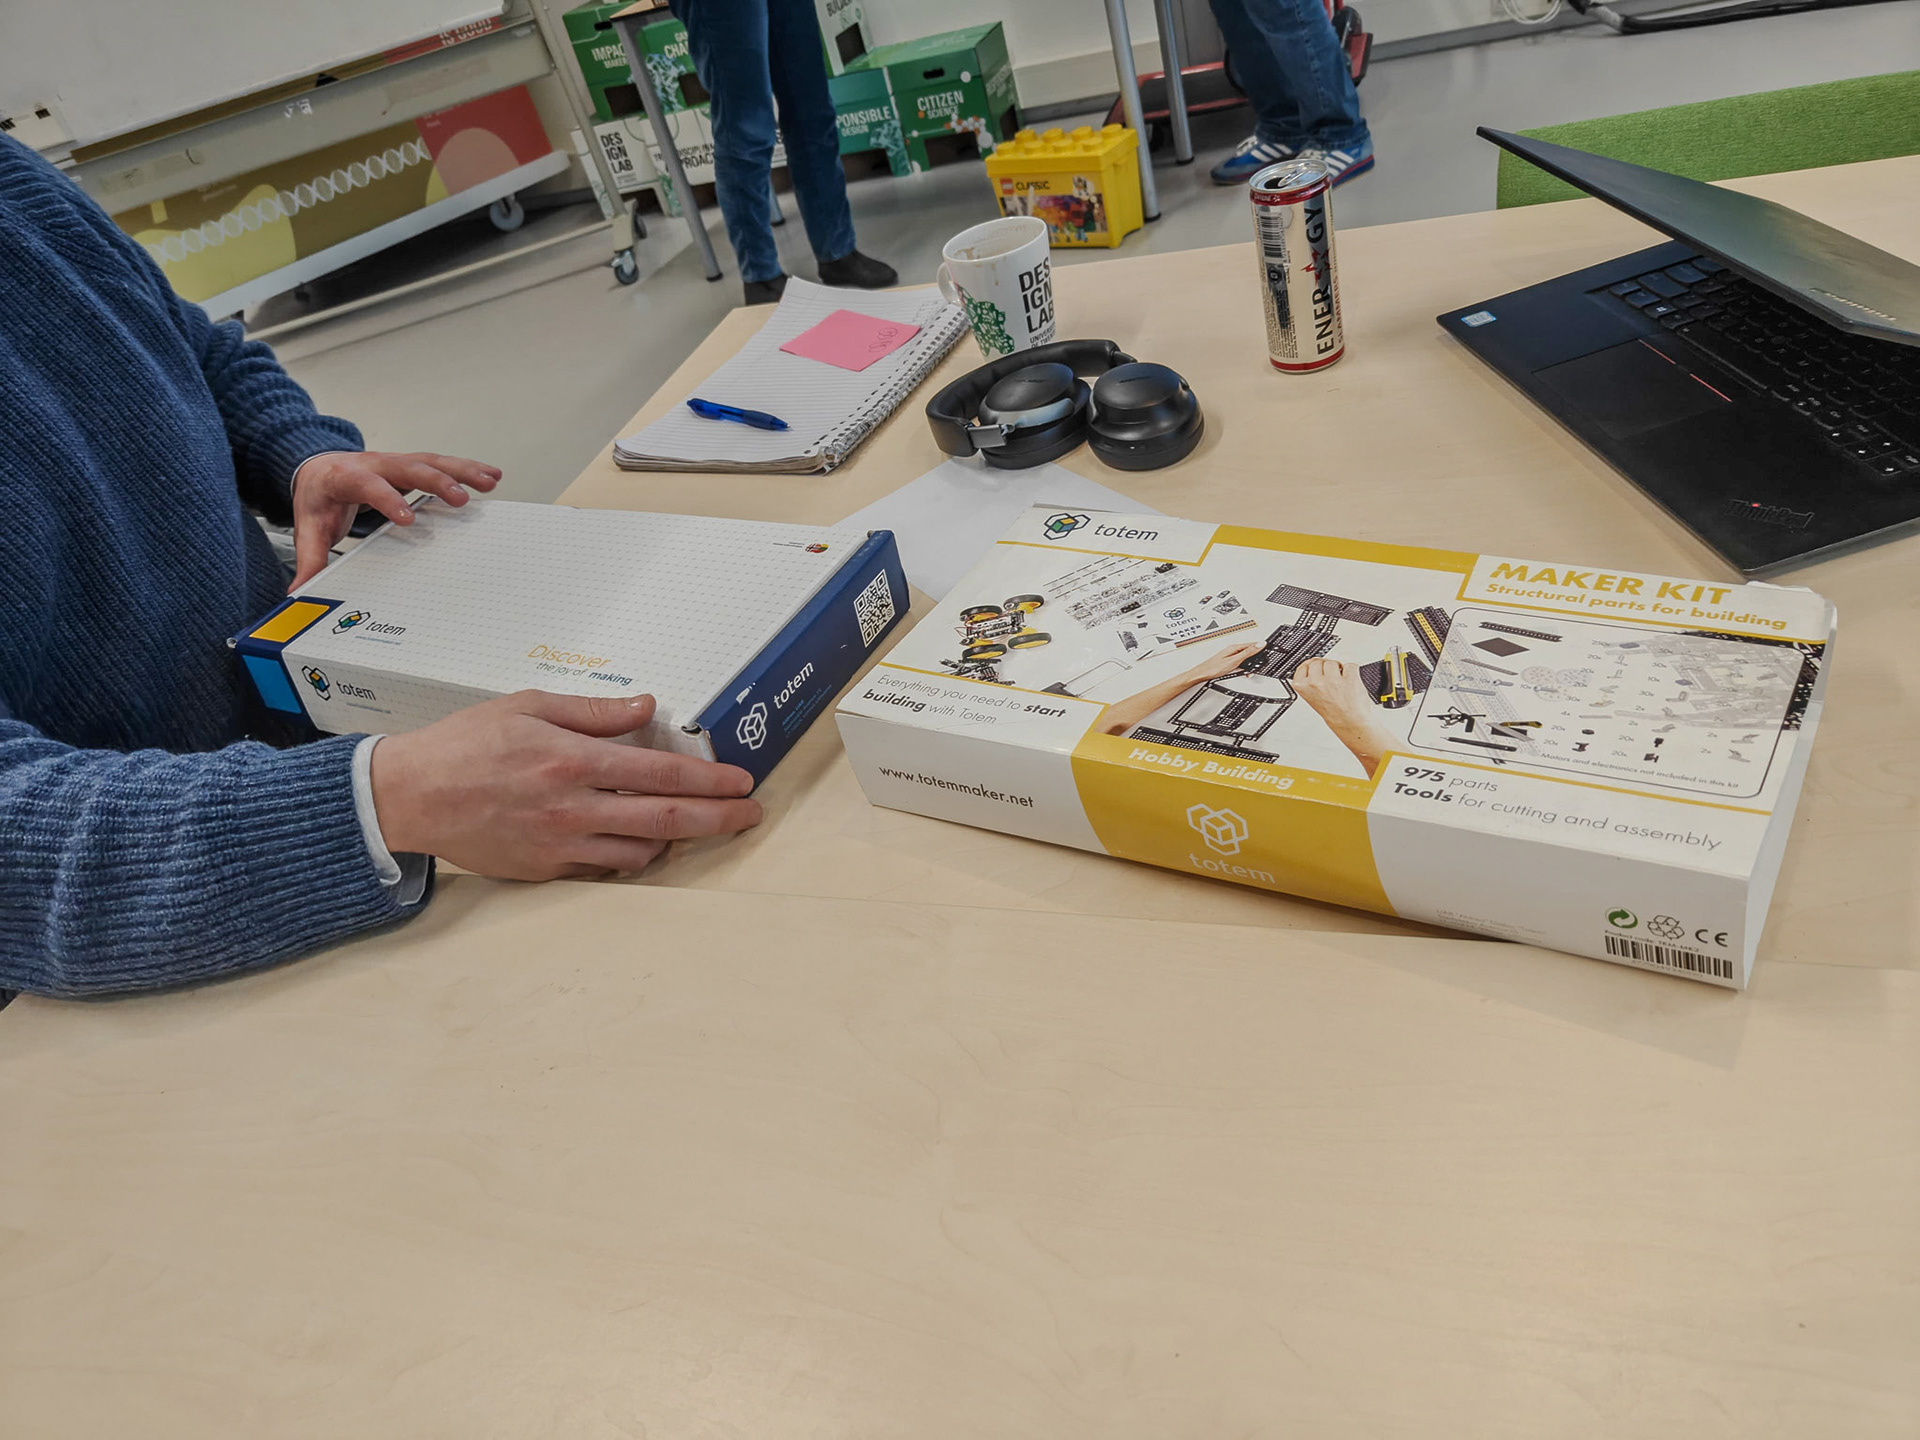
Figure 4. Unboxing the Totem Maker Kit.
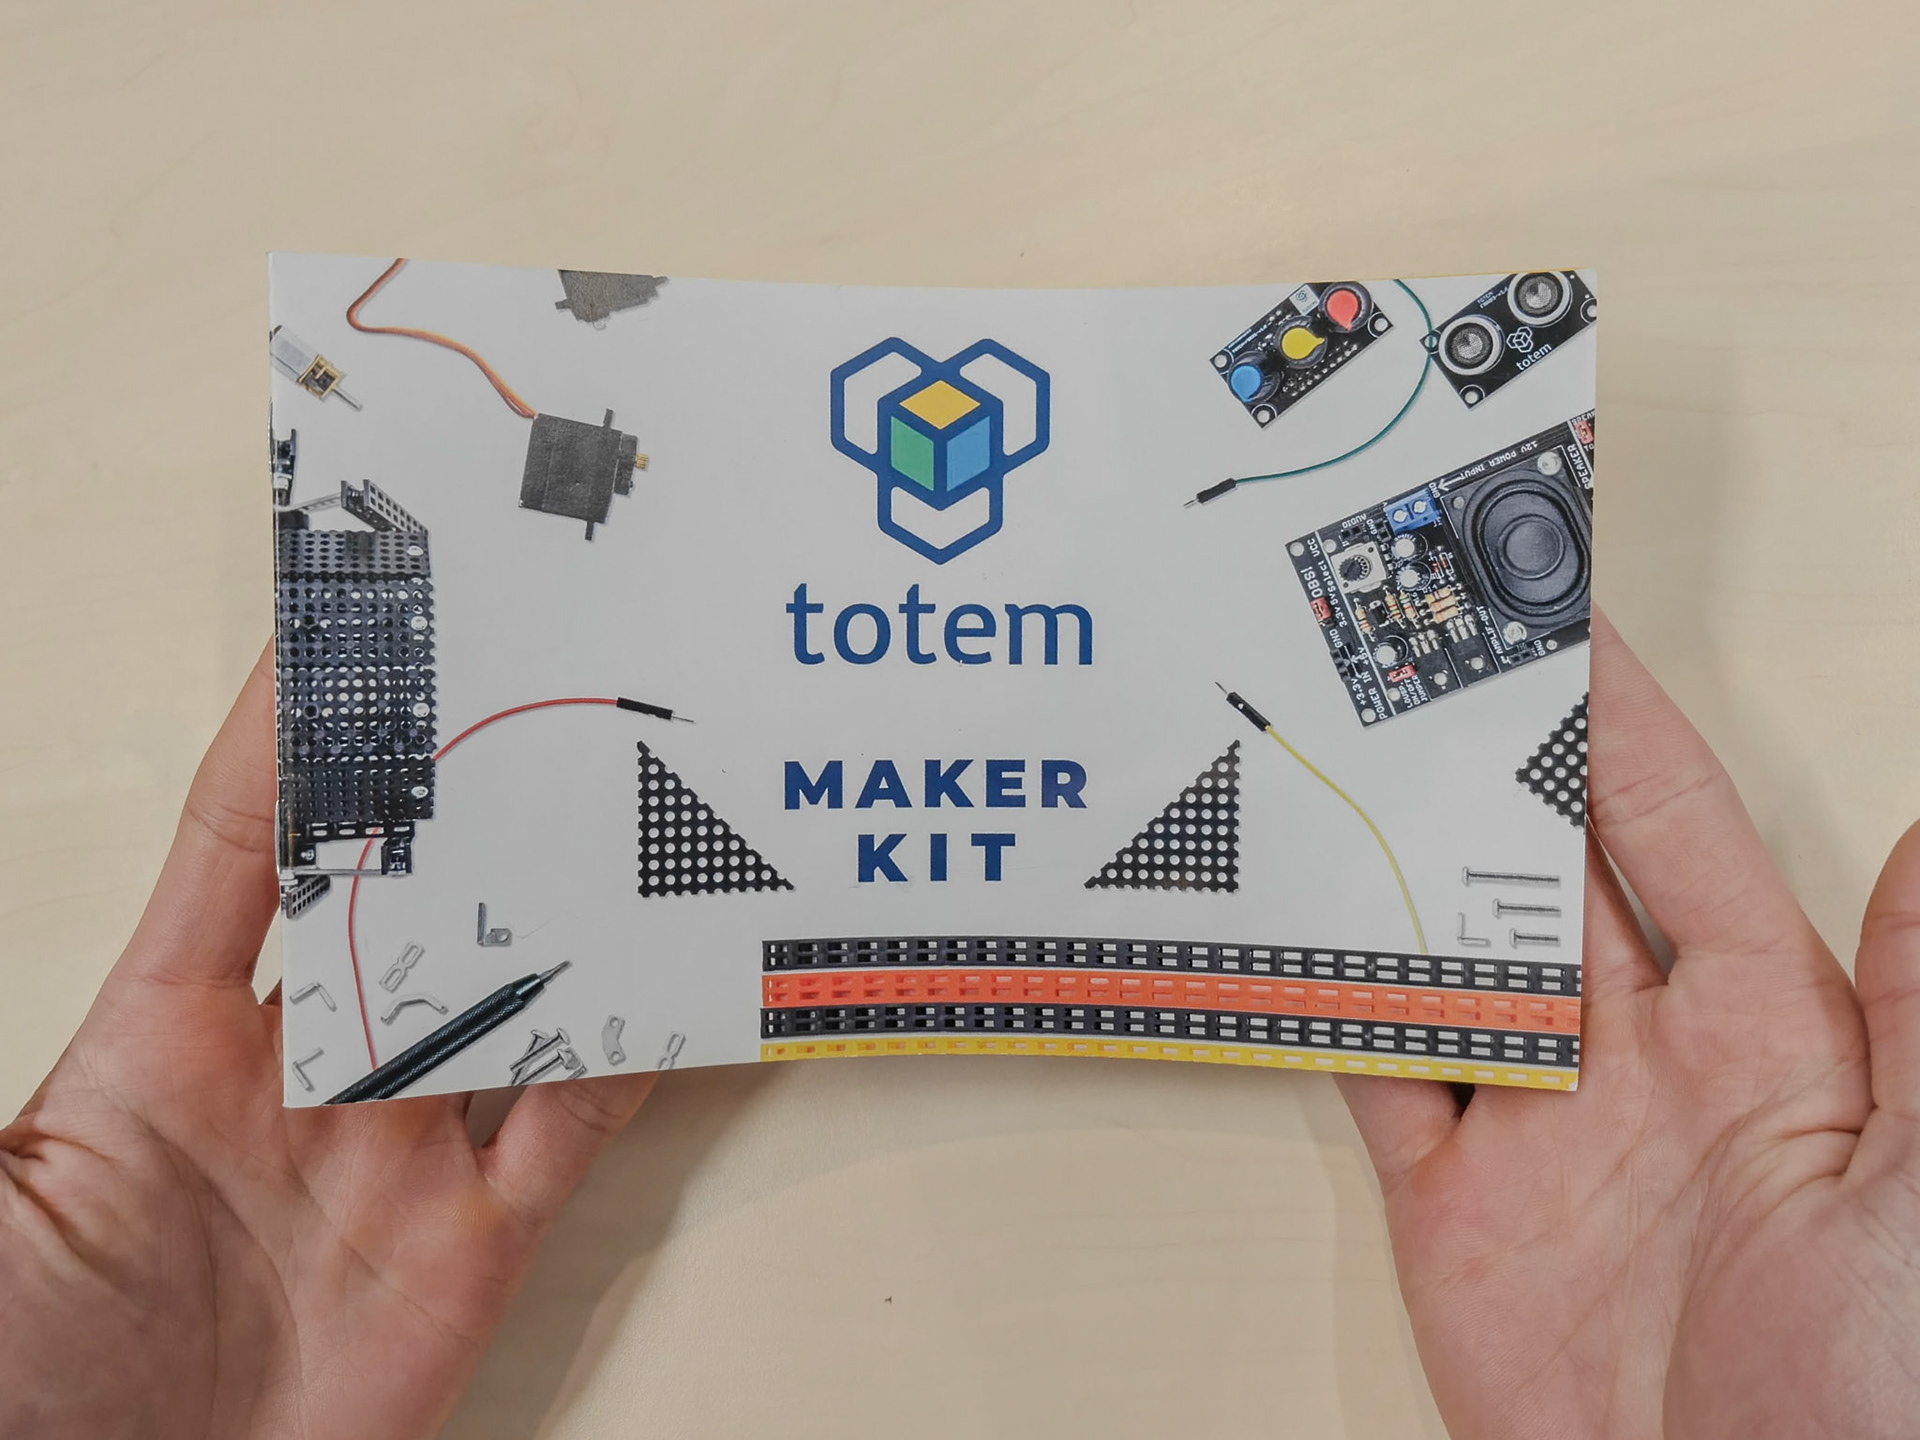
Figure 5. The instructions for the Totem Maker Kit.
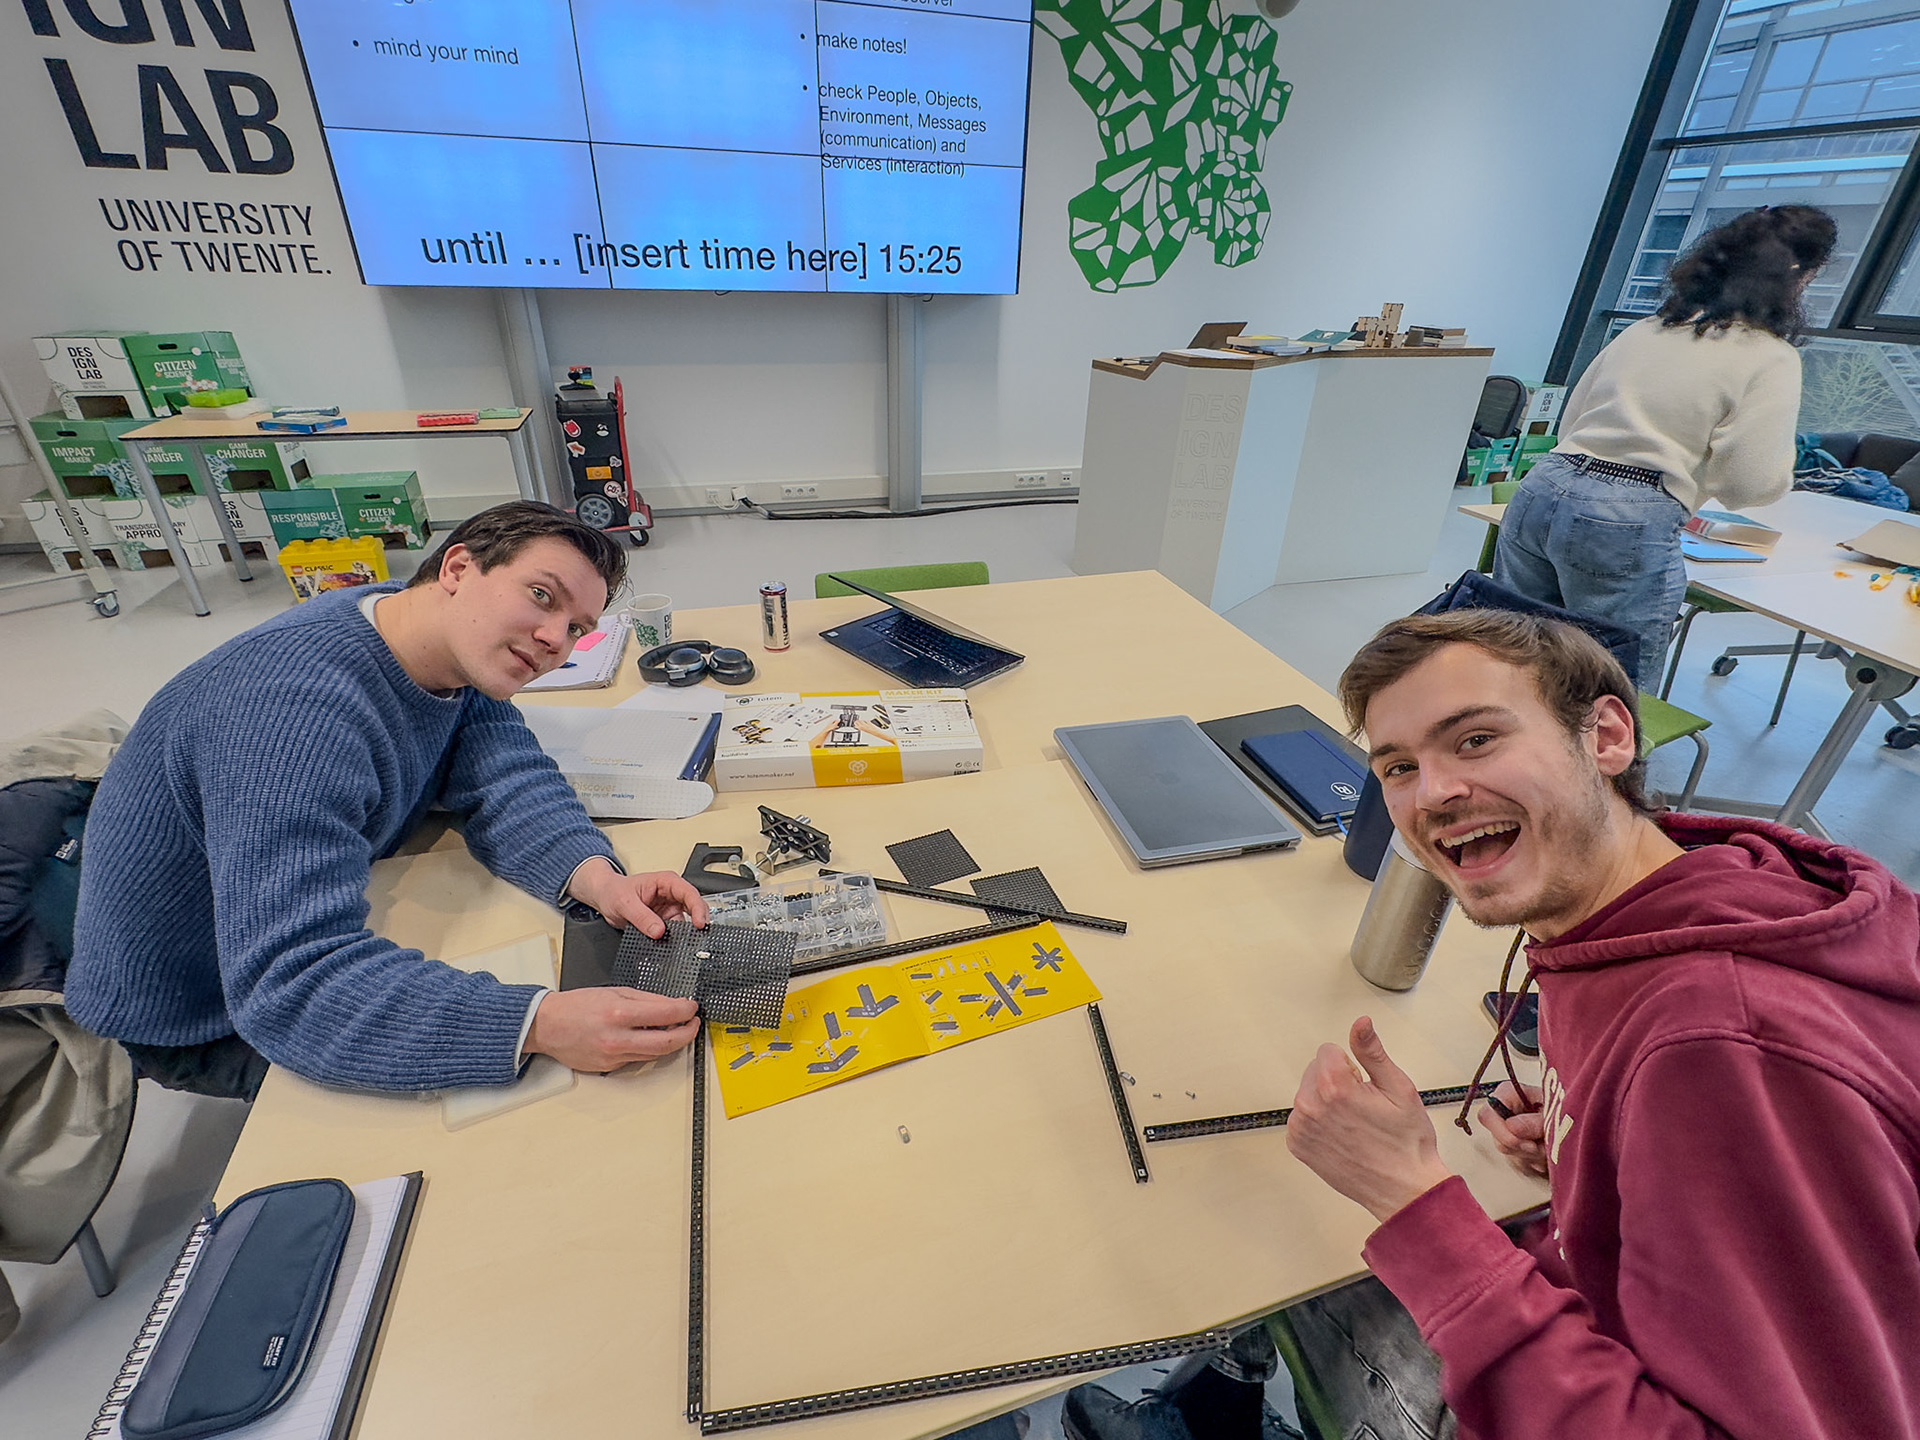
Figure 6. Tinkering with the Totem Maker Kit.
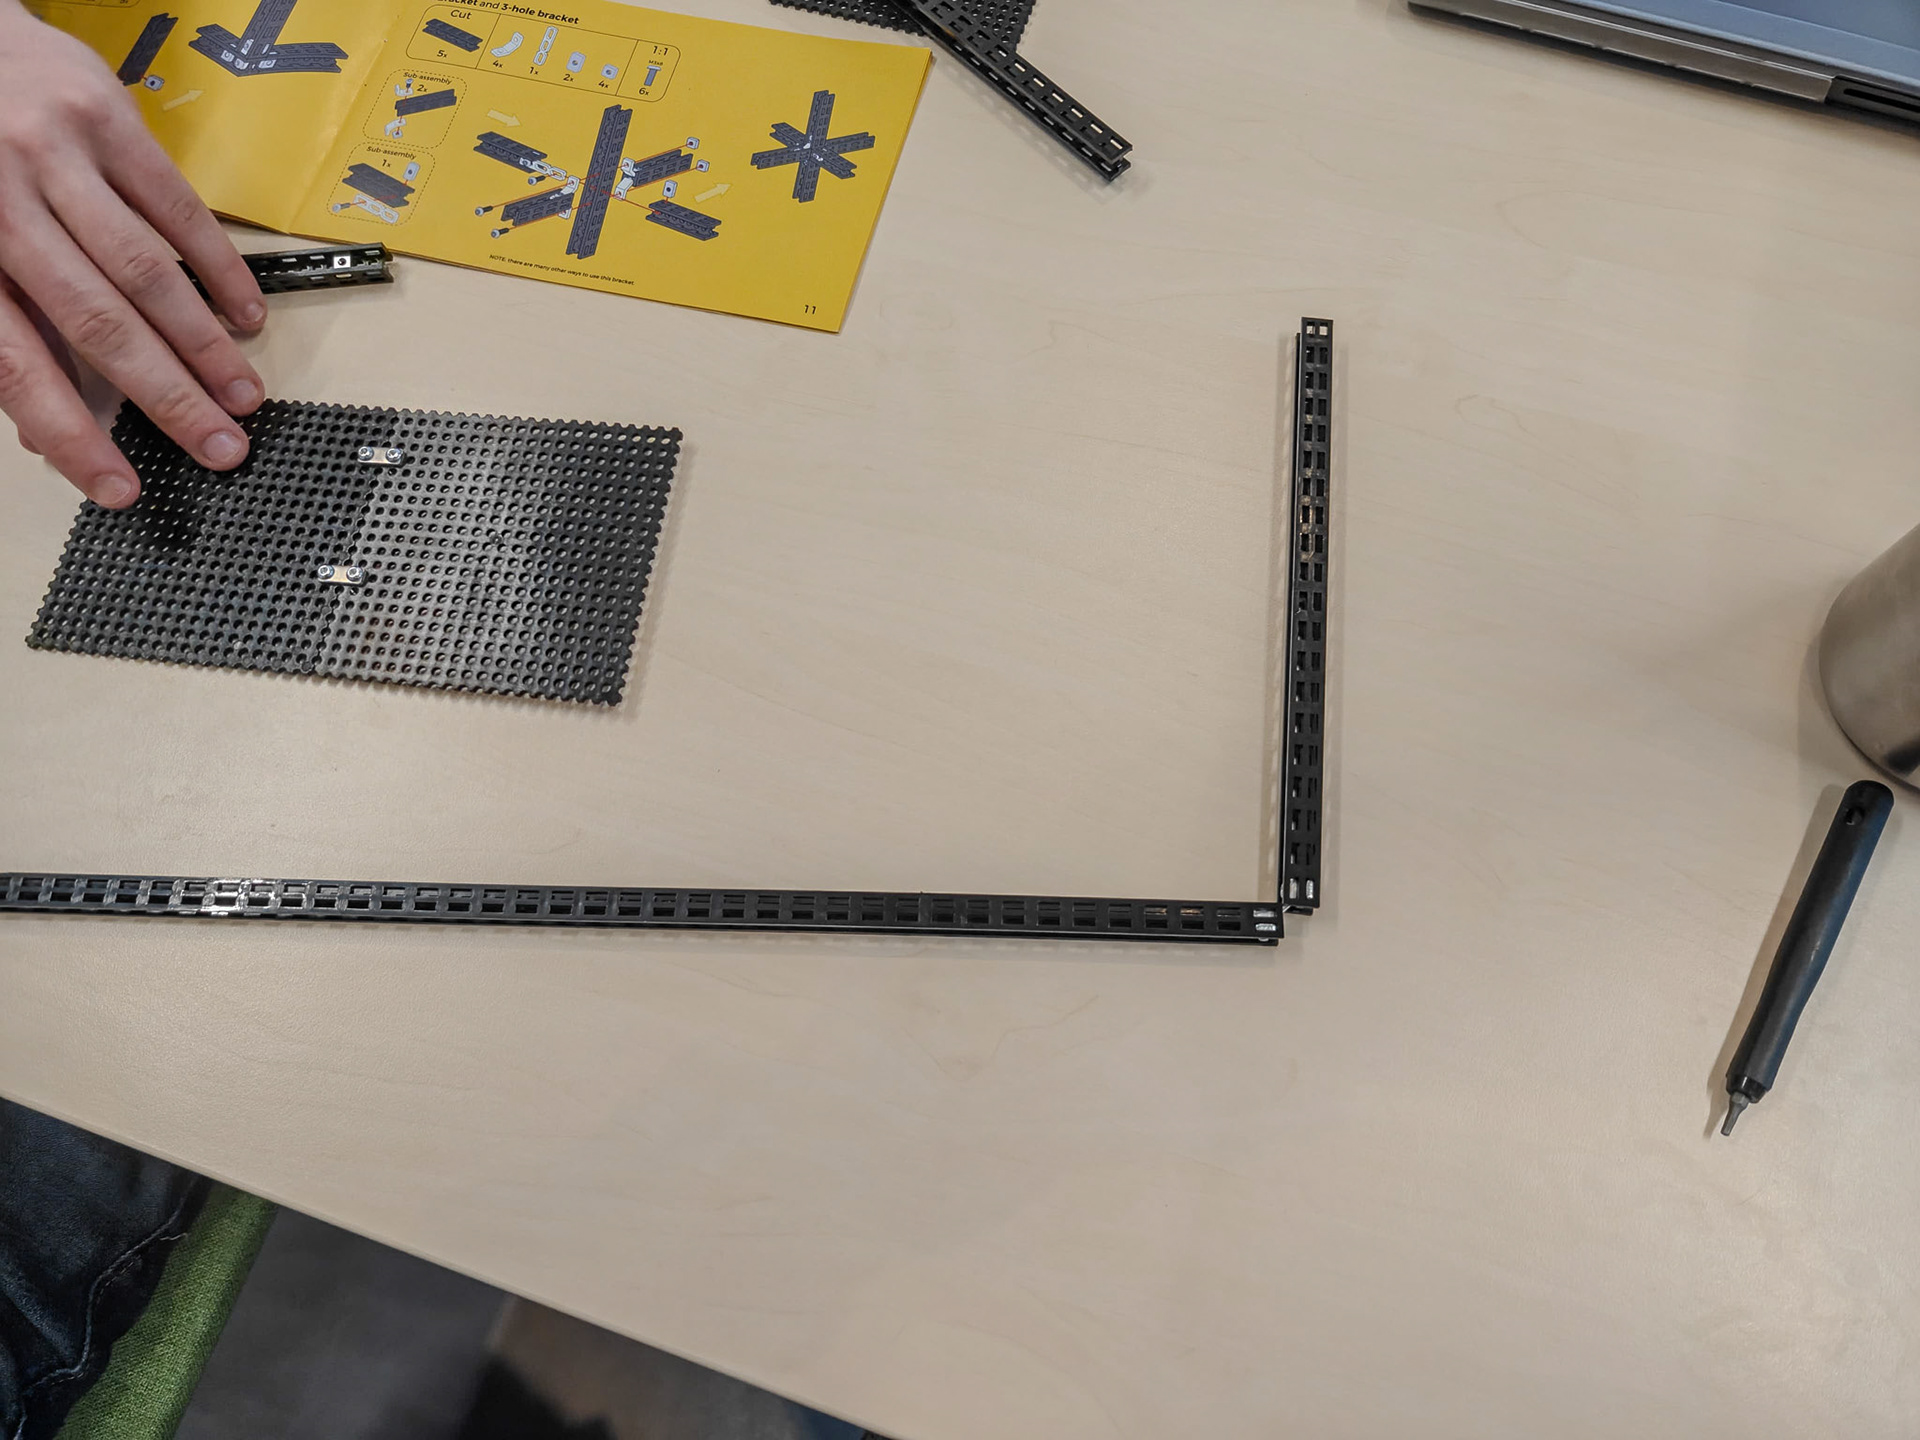
Figure 7. Tinkering with the Totem Maker Kit.
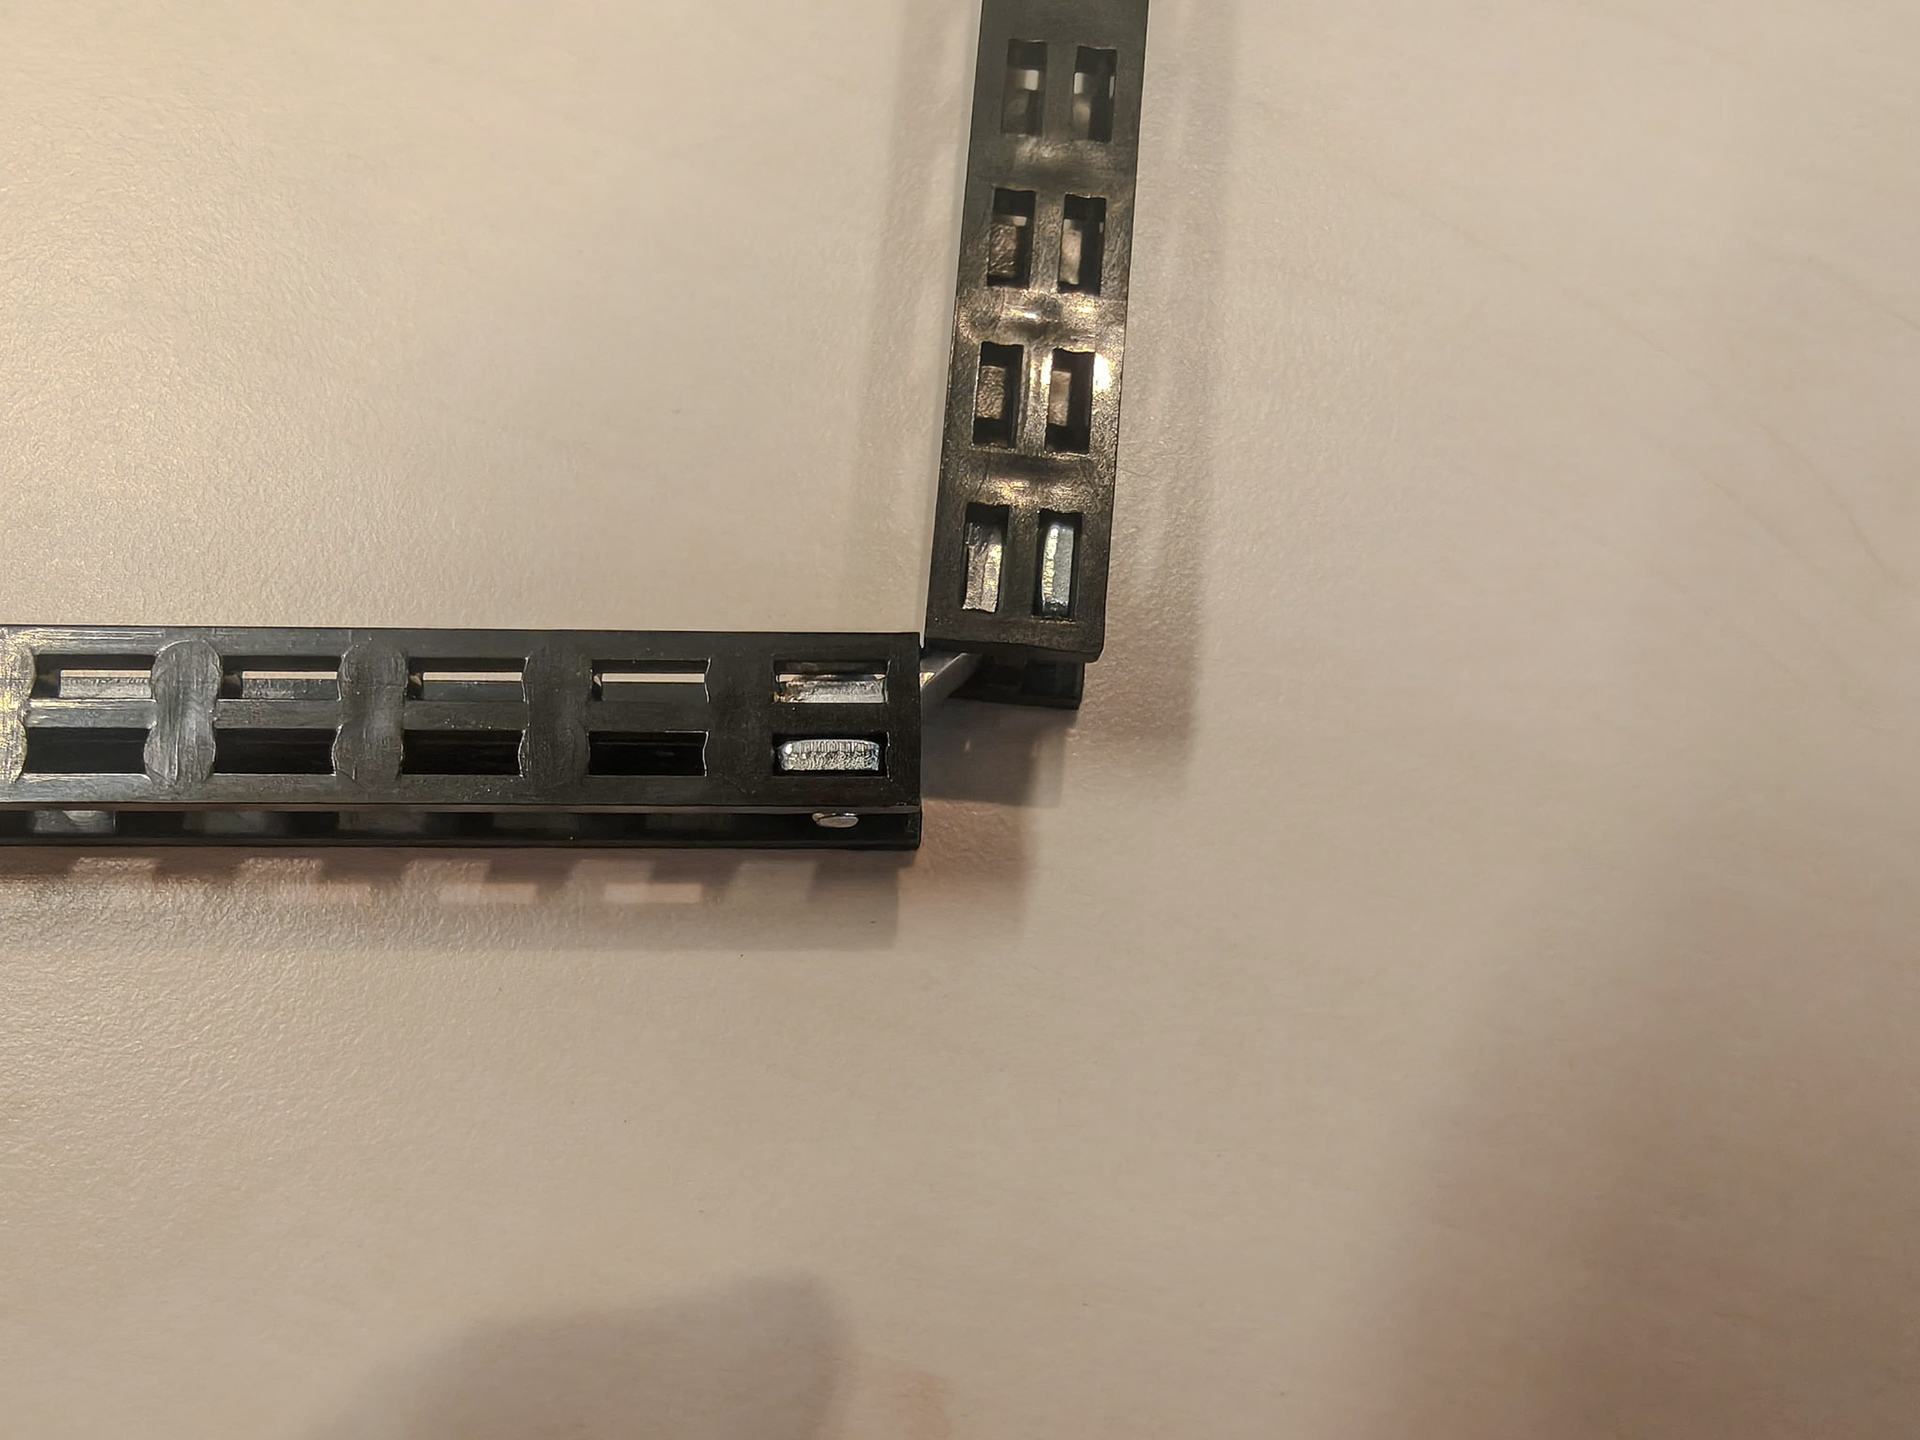
Figure 8. Tinkering with the Totem Maker Kit.
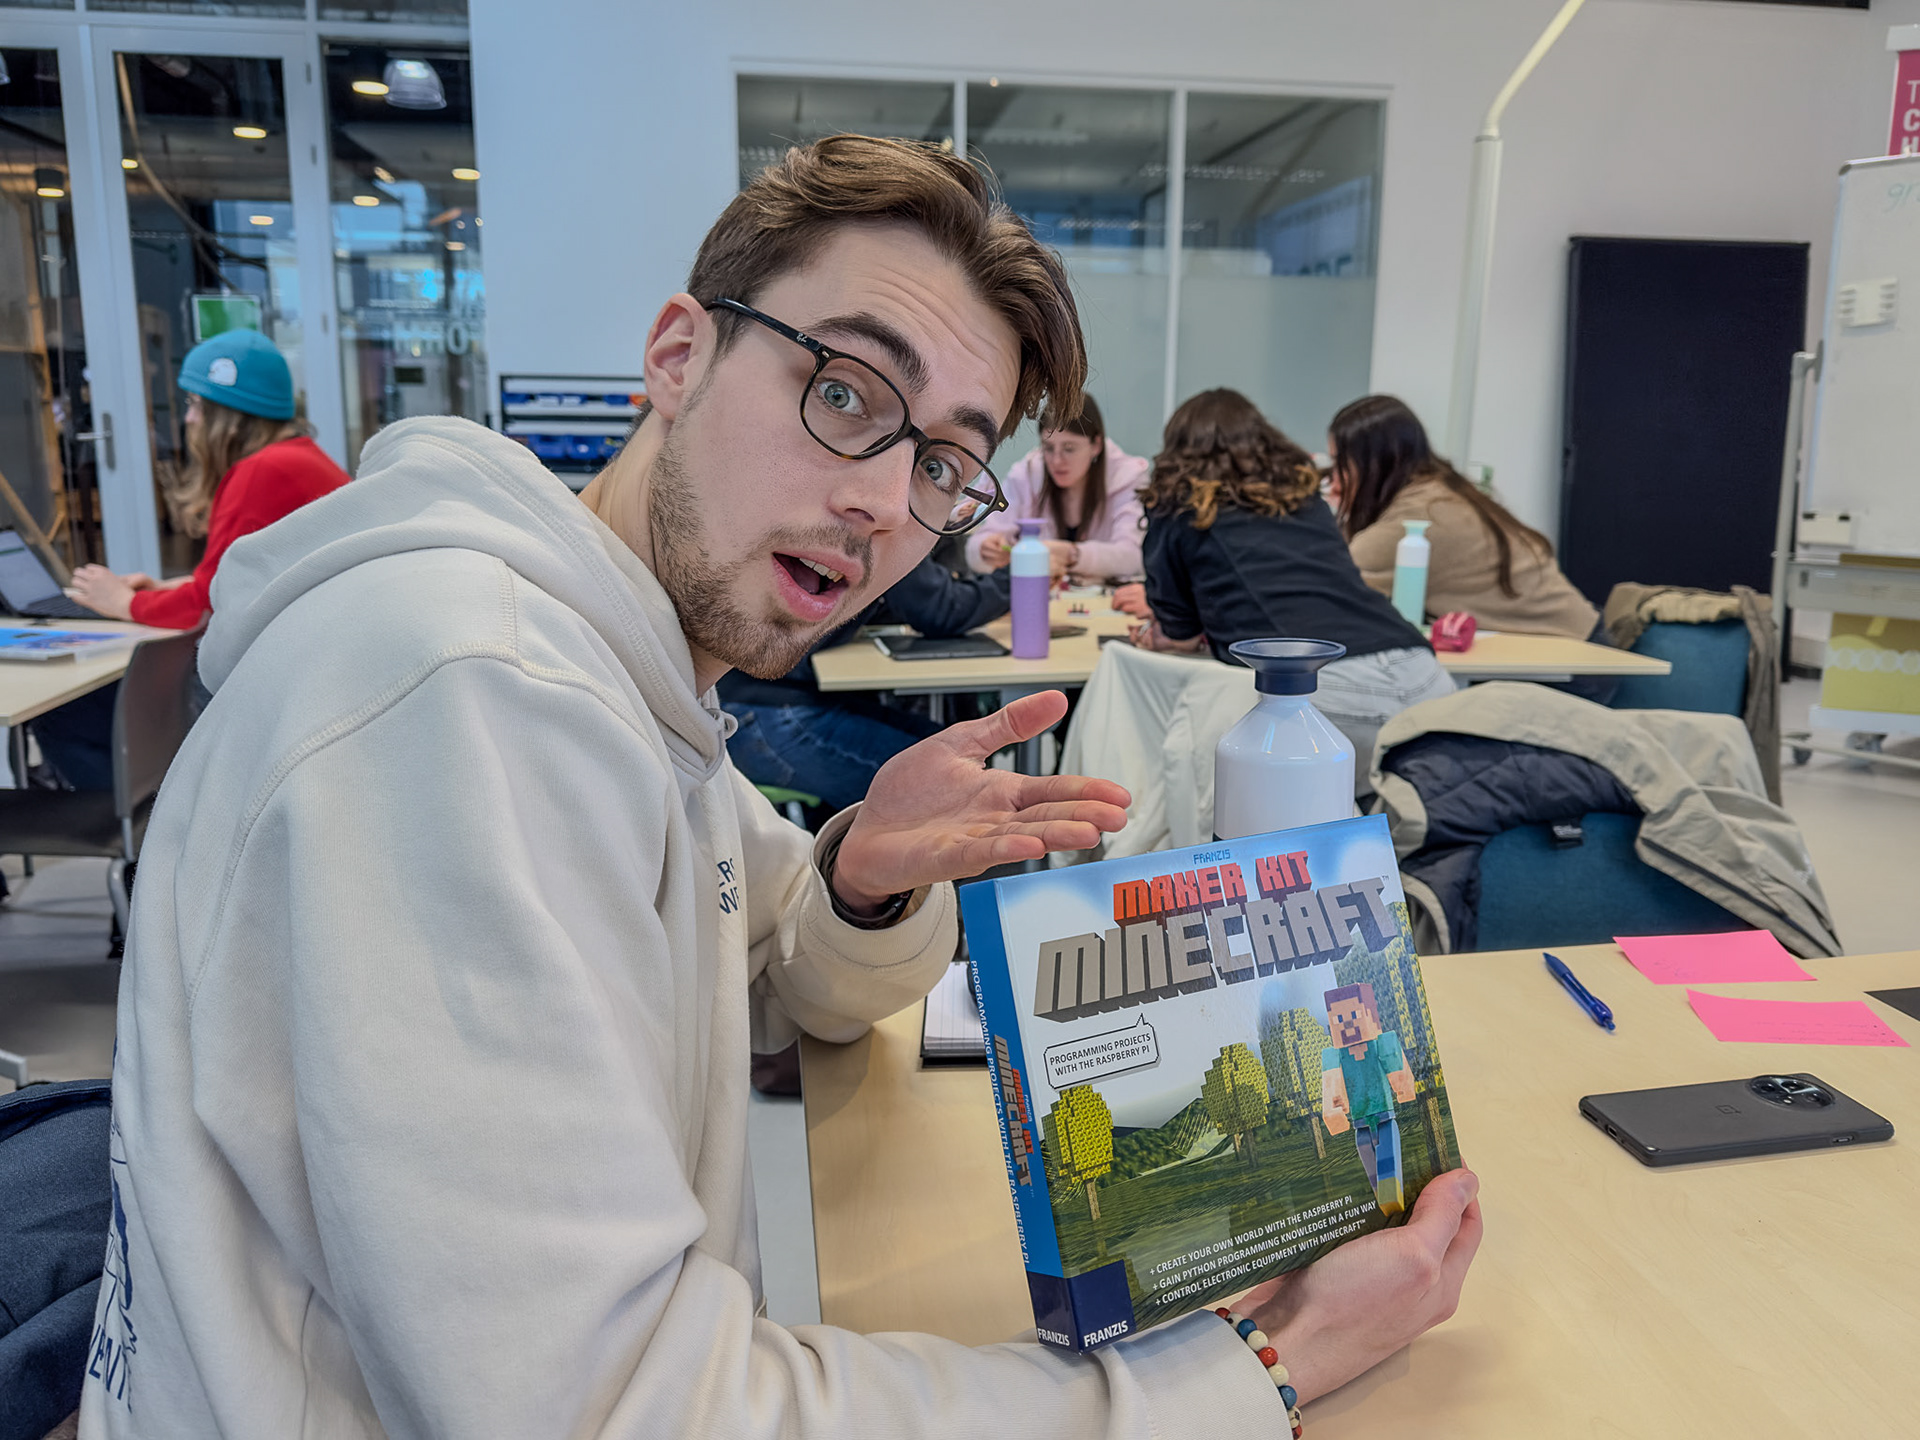
Figure 9. Unboxing the Maker Kit Minecraft.

Figure 10. Unboxing the Maker Kit Minecraft.
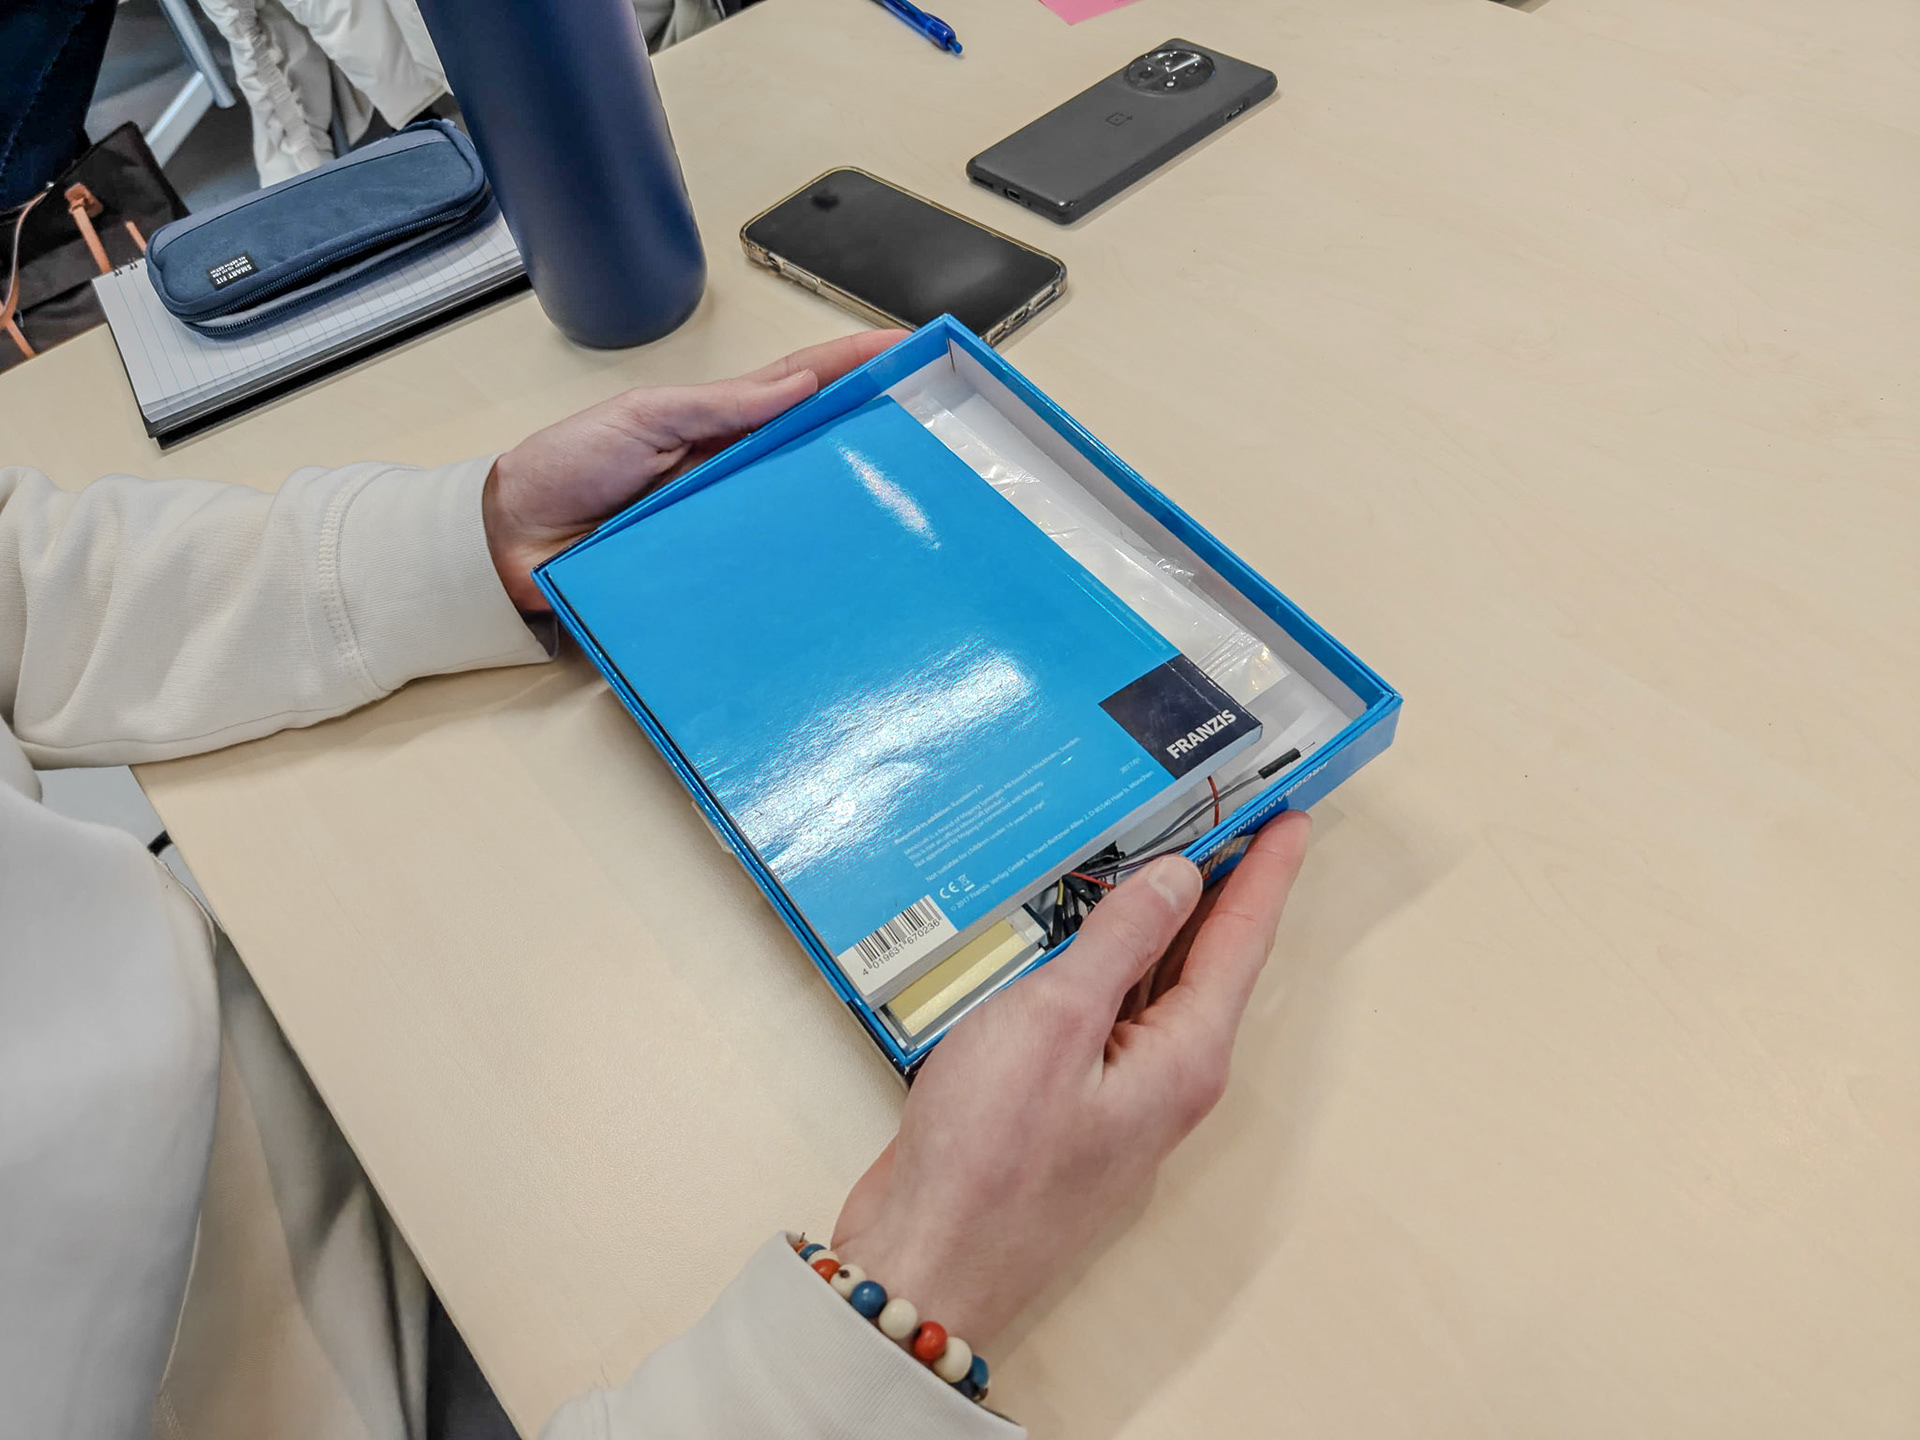
Figure 11. Unboxing the Maker Kit Minecraft.
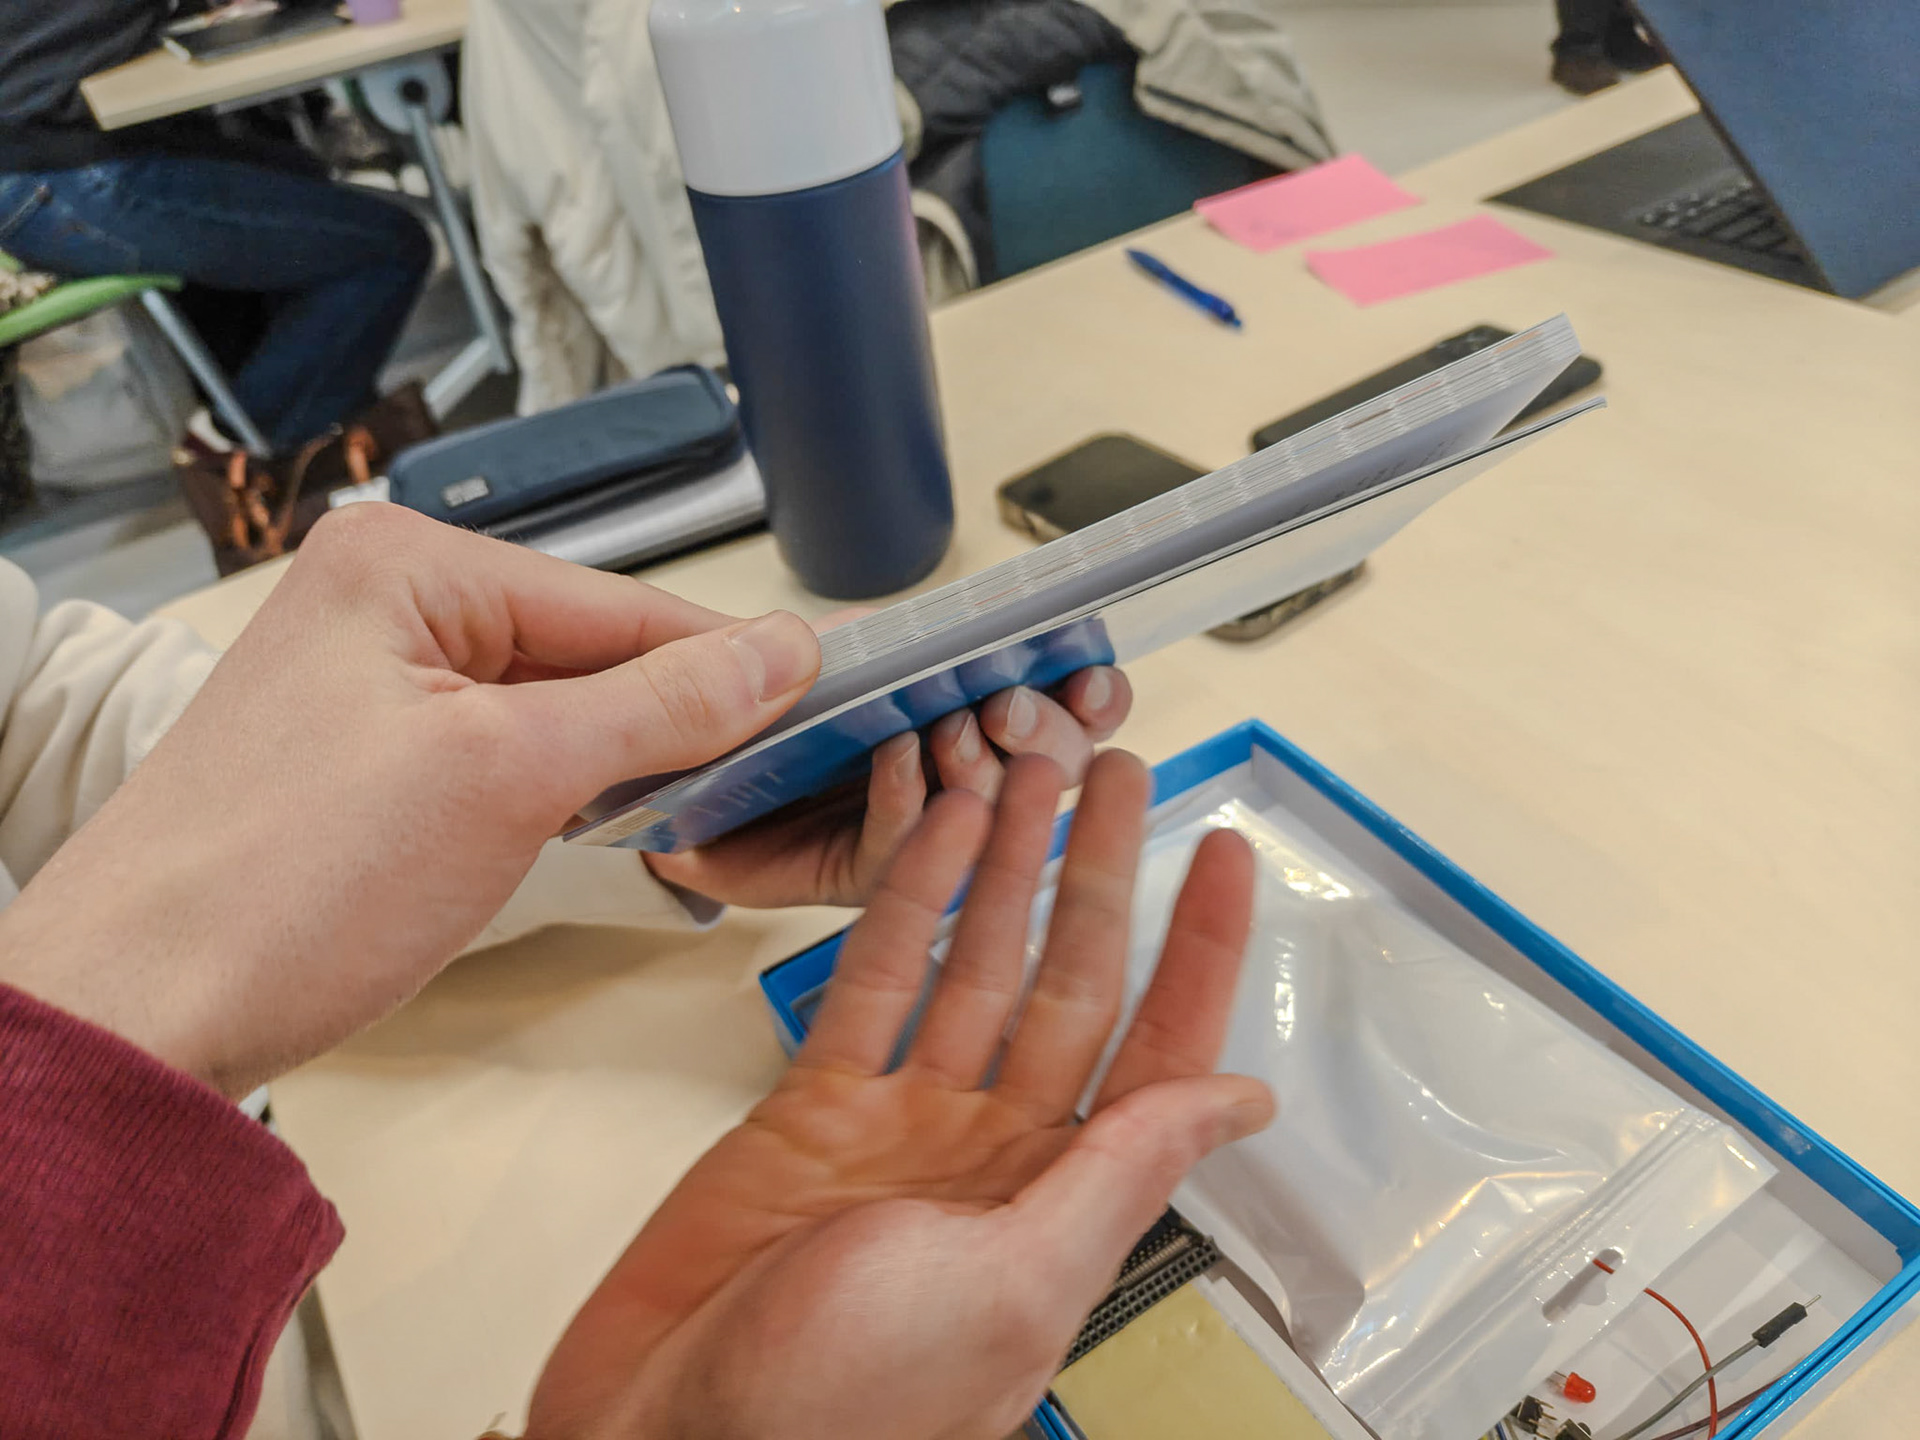
Figure 12. The instructions of the Maker Kit Minecraft.

Figure 13. Tinkering with the Maker Kit Minecraft.
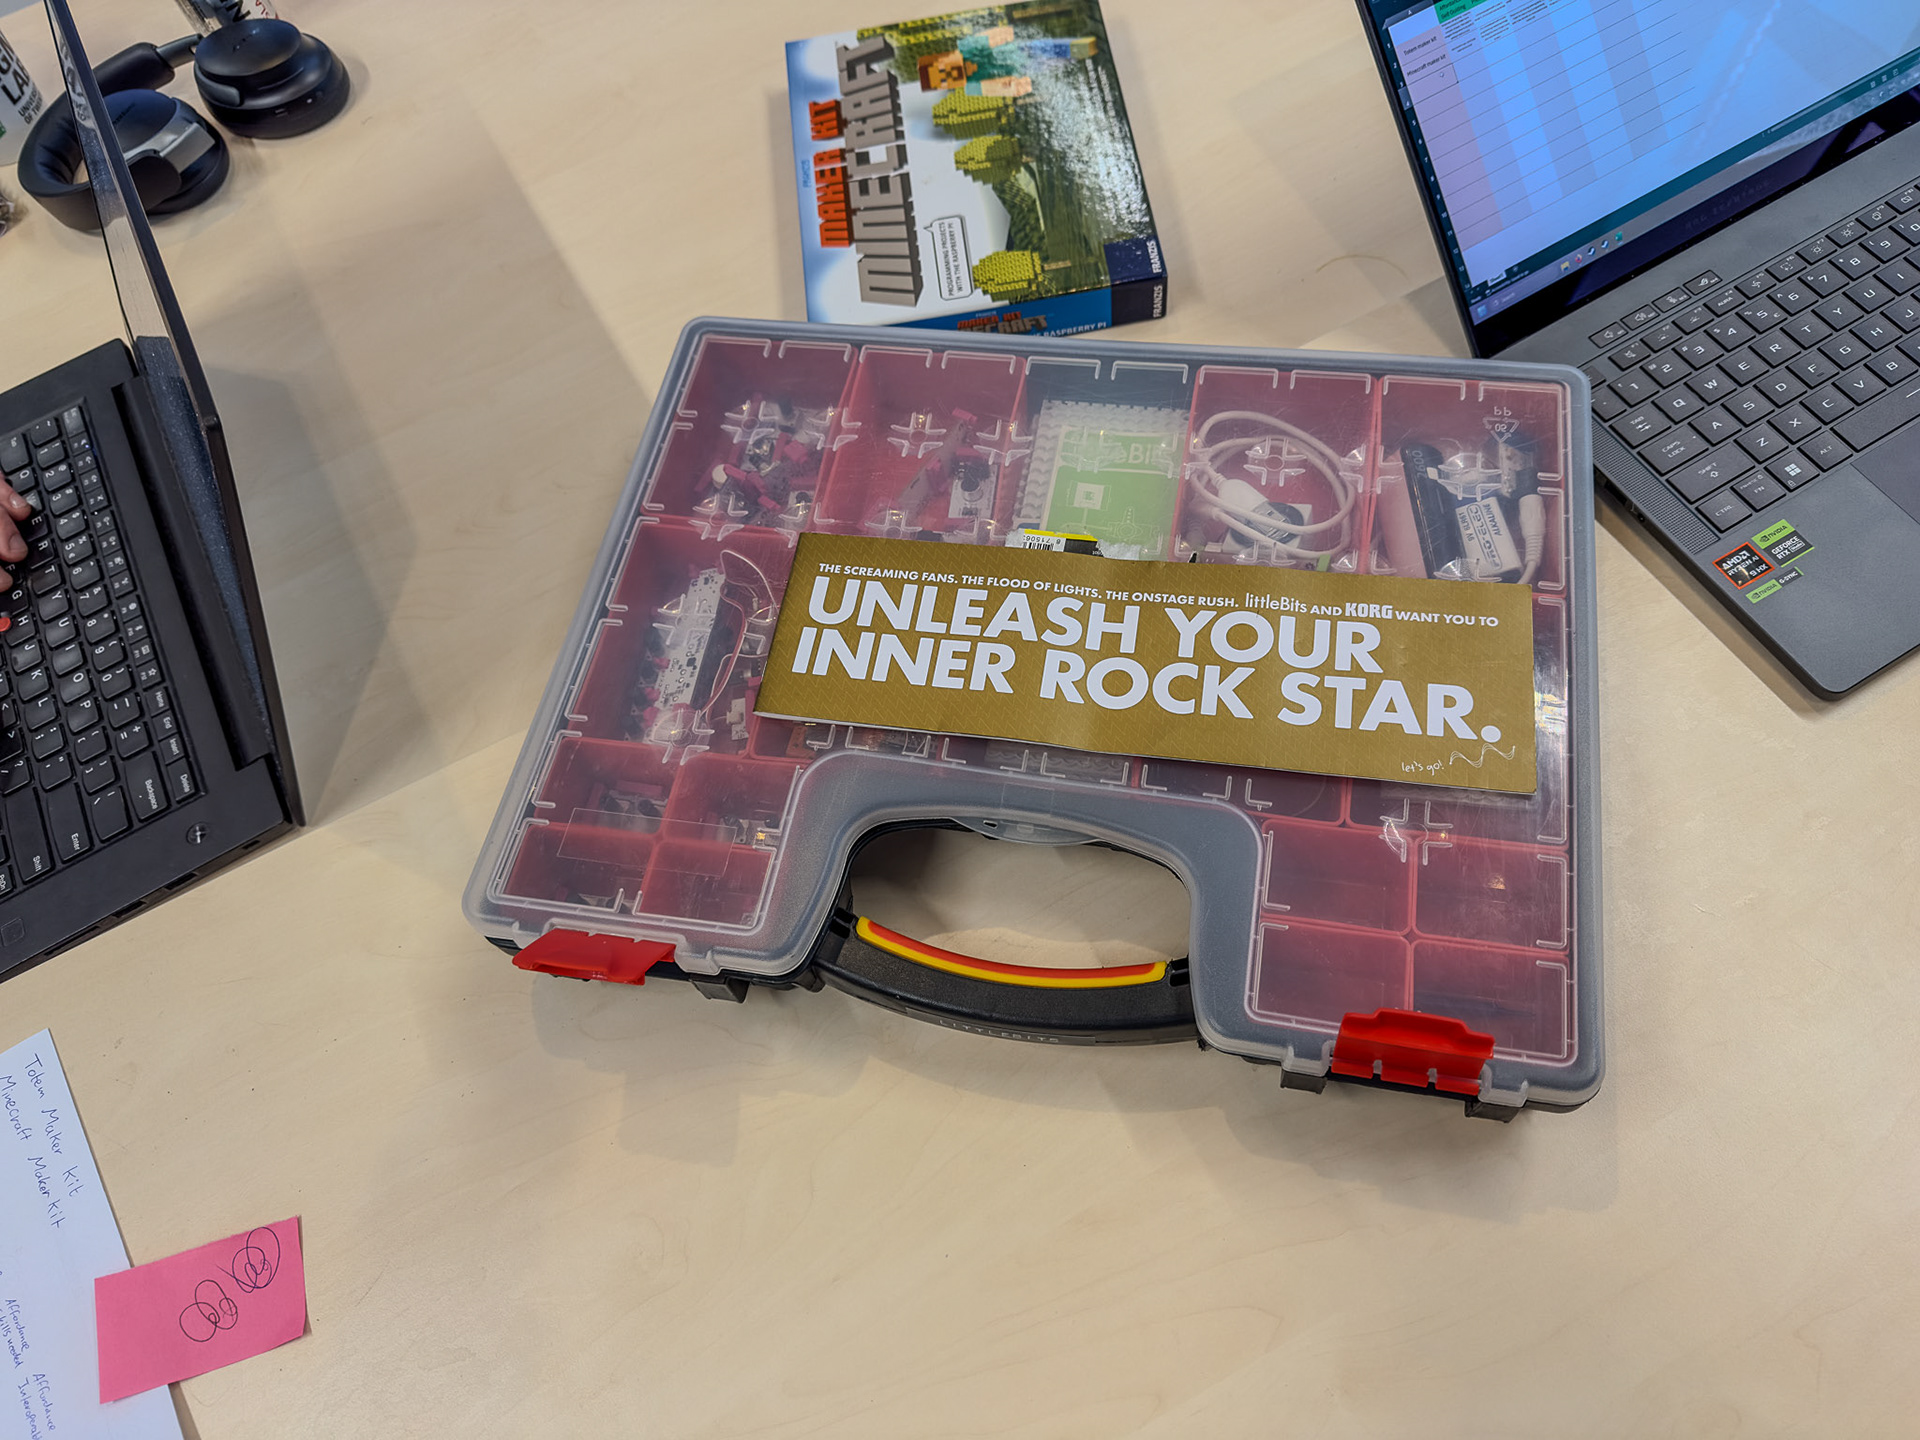
Figure 14. Unboxing the littleBits.
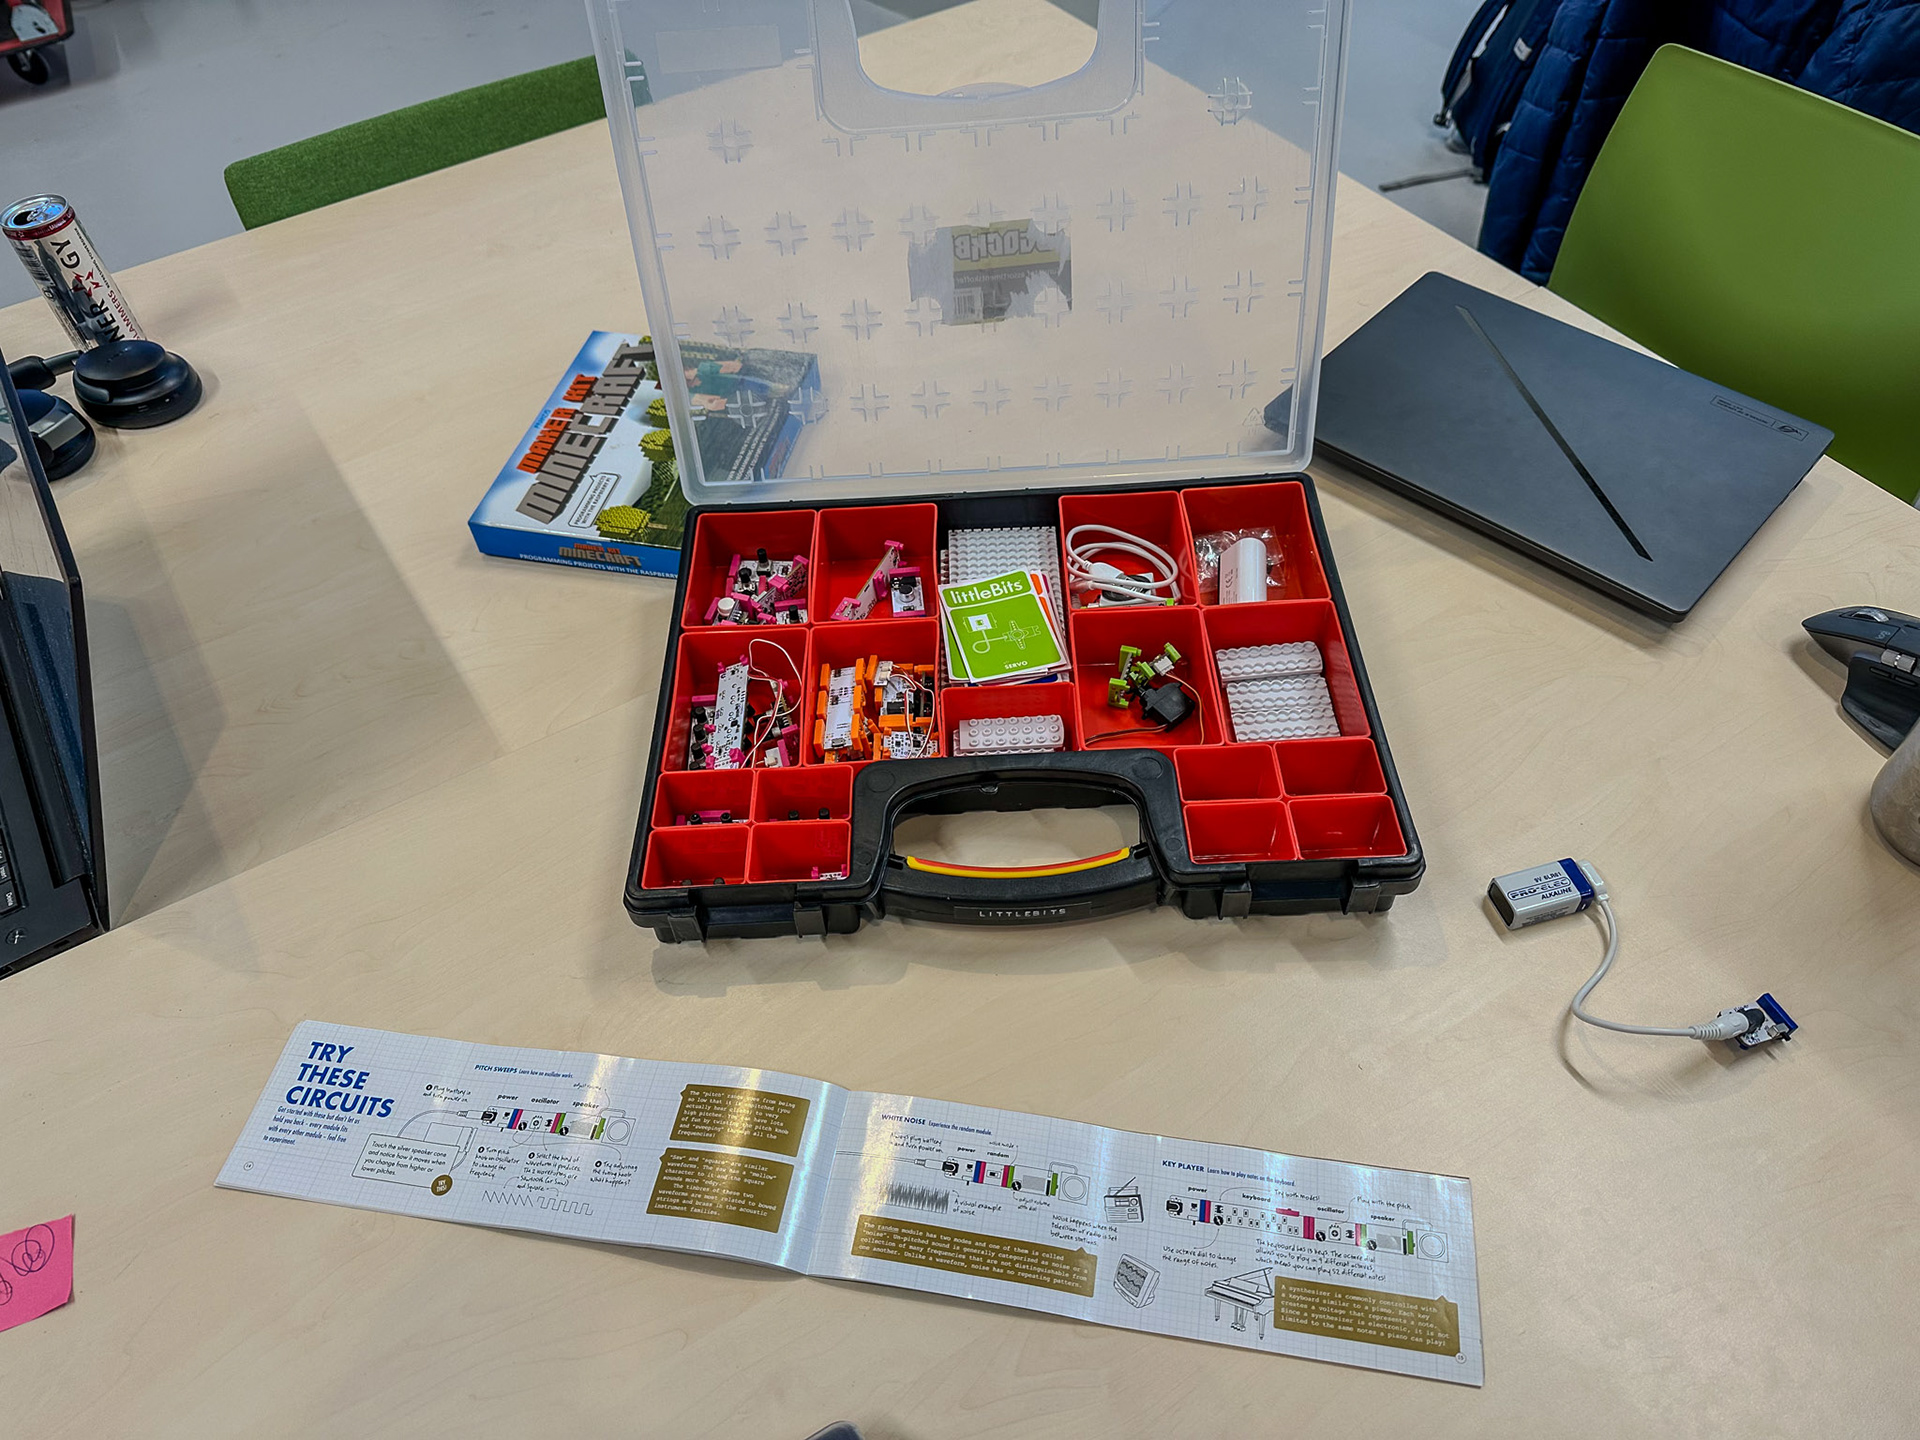
Figure 15. Unboxing the littleBits.
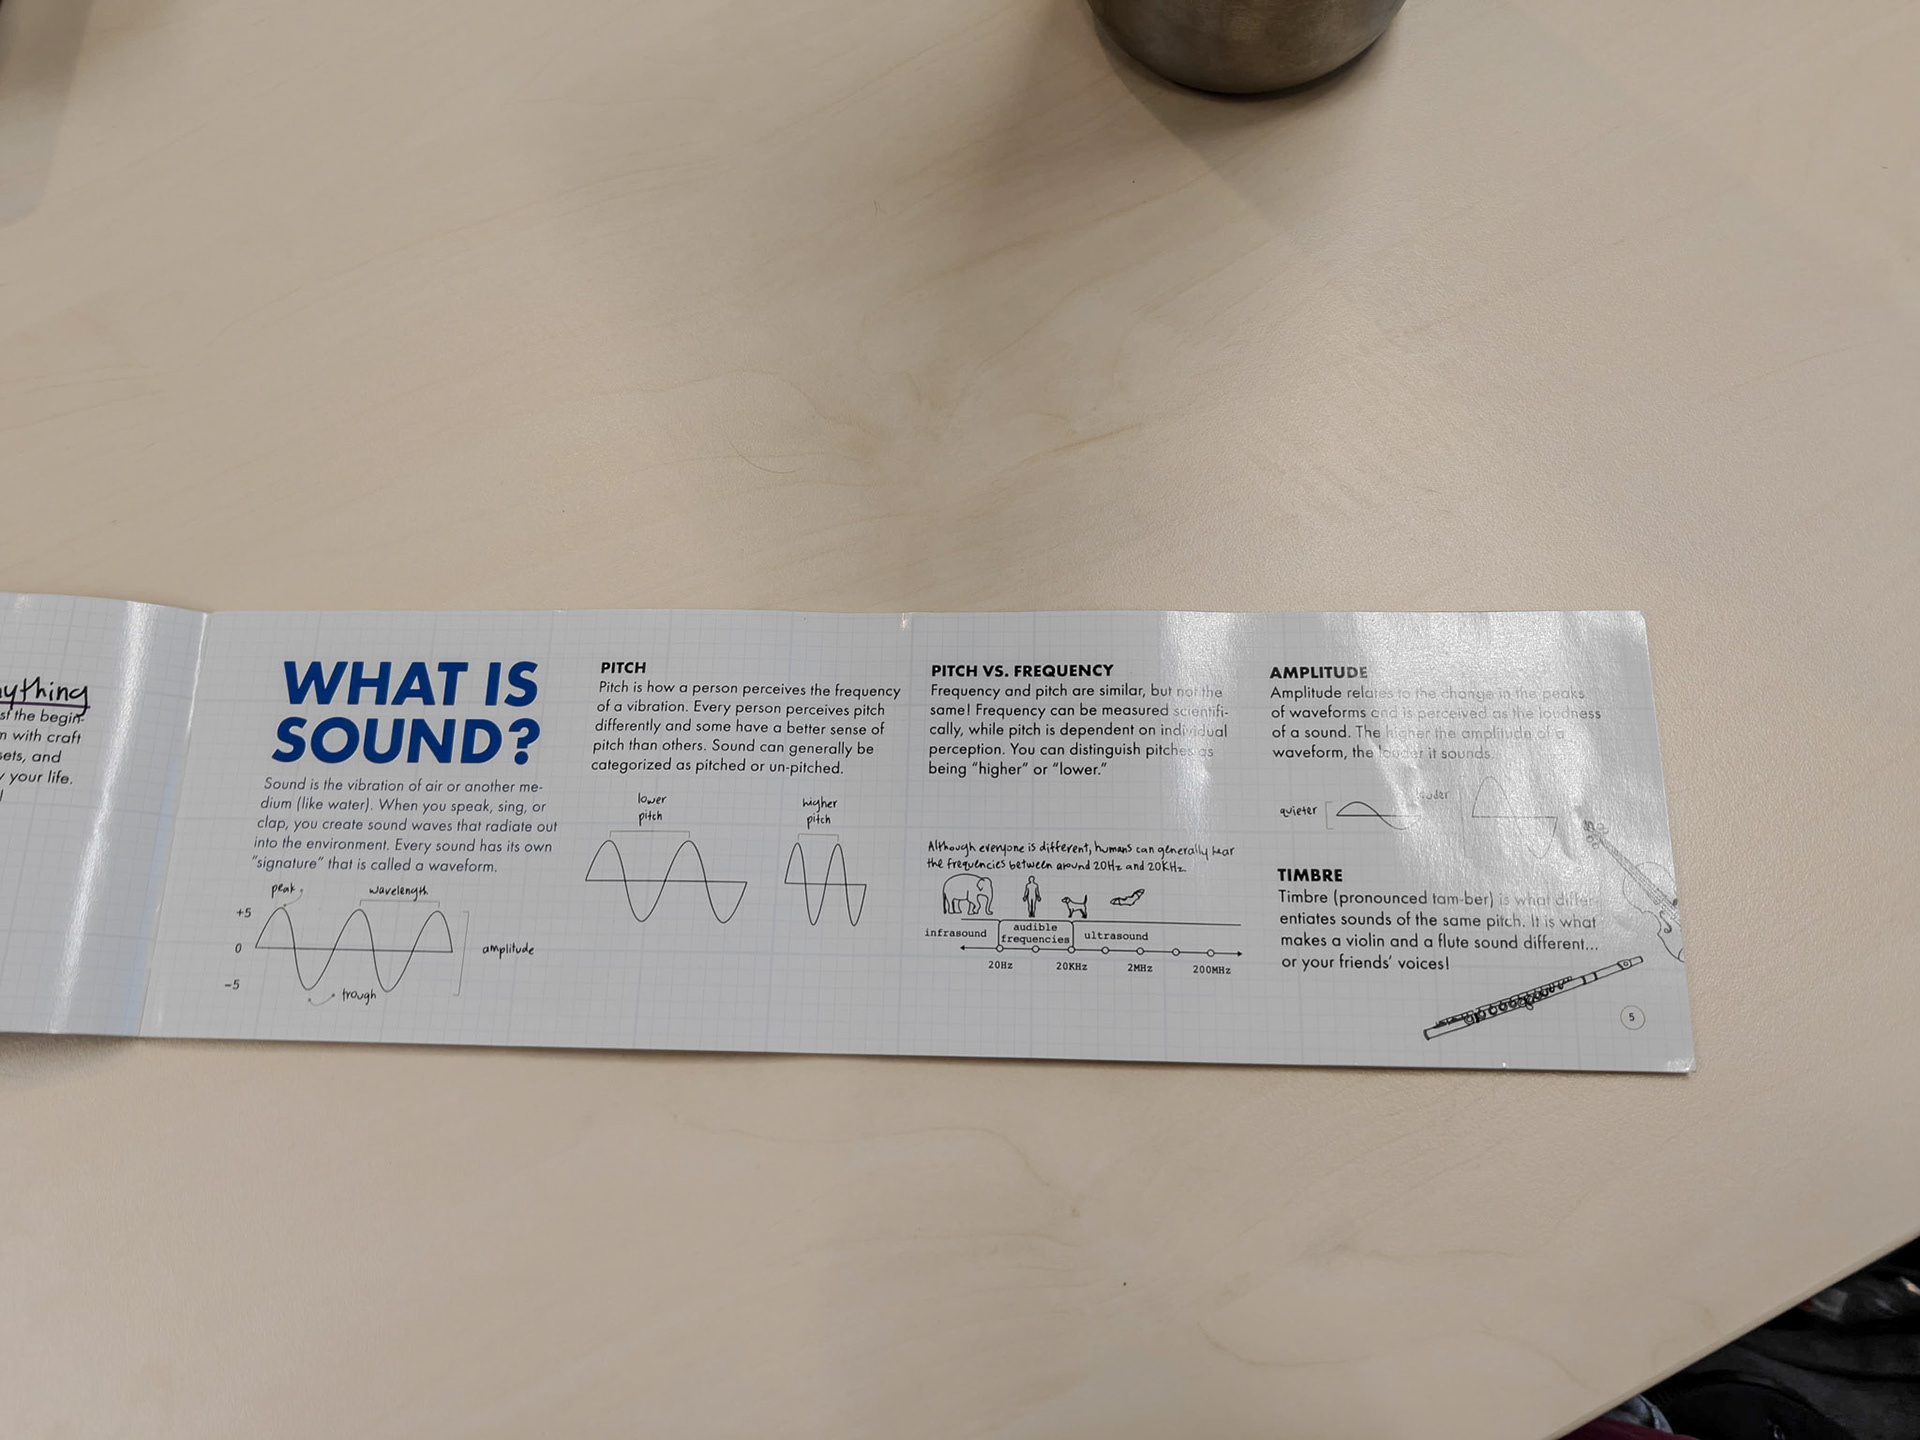
Figure 16. The instructions of the littleBits.

Figure 17. Tinkering with the littleBits modules.
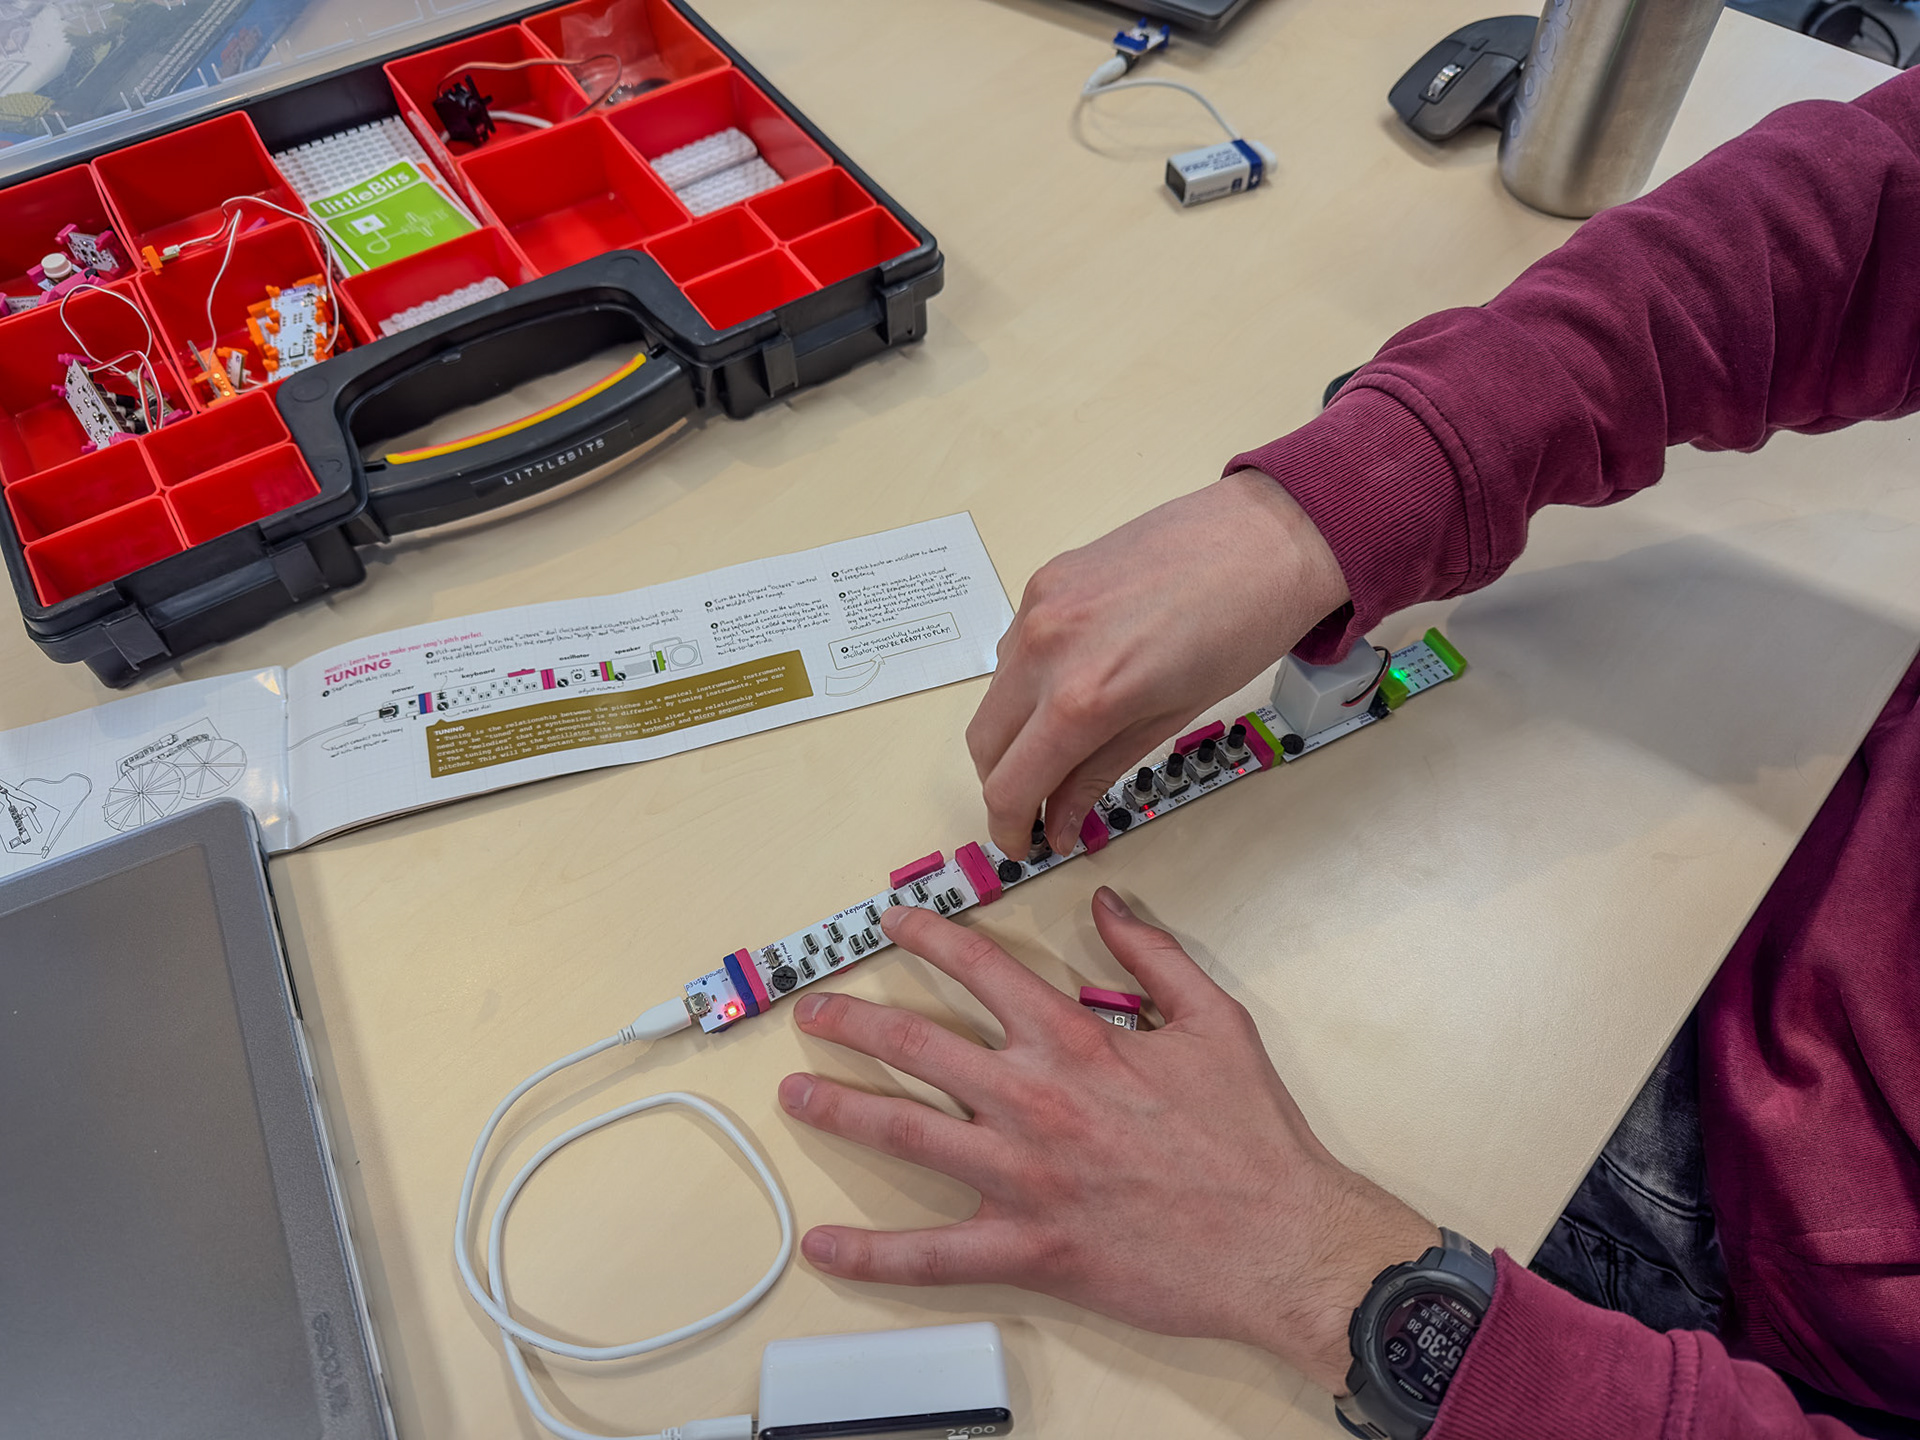
Figure 18. Tinkering with the littleBits.
