Reflection
Looking back at my photo safari, I notice that I was already pointing out many criteria of a tinkering environment, even if I did not always use the course vocabulary yet. What stands out most is that my spaces do not all support the same part of the process. Some spaces are better for ideation, like the shower, guitar corner, and walking routes (Figures 1-3), while others are better for physically or digitally trying things out, such as the LEGO setups, desks, and prototyping table (Figures 4-10). That made me realise that a tinkering environment is not just one room or one desk, but a combination of place, tools, mindset, and the kind of activity that can happen there.
One important criterion I see in almost all of my examples is that the threshold to begin is low. In the ideation spaces, that low threshold comes from routine and comfort. The shower (Figure 1) works because there is little distraction, and my mind can wander. The living room with my guitar (Figure 2) also lowers the barrier, because I do not feel pressure to “perform” or make something good immediately. Walking outside with or without my camera (Figure 3) works in the same way: I can just go, and ideas start to move with me. In the more hands-on spaces, this low threshold comes from accessibility. My LEGO drawer (Figure 4), standing desk (Figure 9), and living room table (Figure 10) all make it easy to begin without much setup. For me, that matters a lot, because if starting takes too much effort, I often stay stuck in thinking mode.
Another thing I recognise is that my best tinkering spaces have a high ceiling. I can start small, but I am not limited to staying small. That is very visible in LEGO Technic and EV3 (Figures 5 and 6). With Technic, I could begin with something simple and slowly make it more mechanical or more ambitious. With EV3, I could combine building, coding, and sensors, which meant one small experiment could quickly grow into many new variations. The same applies to my big desk in Apeldoorn and my standing desk in Enschede (Figures 8 and 9). They support many kinds of projects, from sketches and digital prototypes to more serious project work. A good tinkering environment, at least for me, should allow that kind of growth.
I also notice that many of my spaces have wide walls. There is not just one correct outcome. LEGO is probably the clearest example of that (Figures 4-6). The same pieces can lead to buildings, machines, robots, or weird experiments that make no sense at first but become interesting while making them. The Spektro kit (Figure 7) also had that quality, although in a more guided way. I first followed the booklet, but after that, I could make my own versions. Even my office work with photos and videos (Figure 11) has wide walls, because one idea can turn into multiple scripts, takes, edits, or formats. What I sometimes miss in digital environments like my standing desk setup (Figure 9) is that software can quietly push you toward the neat or expected solution. So even though the possibilities are huge, the environment can still feel more structured than playful.
When I look at the spaces through the idea of tinkerability, I also notice that affordances matter a lot. Some materials or spaces almost explain themselves. LEGO is a very obvious example here, because the bricks show how they connect and invite build-break-rebuild behaviour (Figure 4). LEGO Technic and EV3 do something similar, but with more mechanical and technical possibilities (Figures 5 and 6). Spektro also worked well for me because the feedback was immediate: a circuit either worked or it did not (Figure 7). That made the learning process very direct. My desks and tables (Figures 8-10) are less self-guiding than materials, but they do support a mix of tools and methods. I can switch between digital and physical work, which makes those spaces flexible. At the same time, I also notice that some setups can feel a bit too precious. A neat desk, expensive camera gear, or complete LEGO set can sometimes make me more careful than experimental.
Scaffolding is another criterion that becomes clearer when I look back. Some of my spaces are good at helping me get into the activity, while others assume I already know what I am doing. Spektro was one of the strongest examples of scaffolding for me (Figure 7). The booklet gave just enough support to get started, but still left room to experiment later. LEGO EV3 also had that balance, because it made the step from playful building to programming less intimidating (Figure 6). In contrast, my current digital setup in Enschede (Figure 9) is very efficient, but not always very supportive when I am learning something completely new. It is great when I already know the tools, but less gentle when I need onboarding. So in that sense, it supports production more than discovery.
Another thing that matters is feedback and facilitation. I noticed in my photo safari that some spaces naturally include other people, while others are more individual. Walking with Tycho (Figure 3) gives me quick feedback during ideation, because we can throw ideas around and react immediately. The office / Pre-U space (Figure 11) works in a similar way. Brainstorming with colleagues, testing scripts, filming multiple versions, and improving them together makes that space more tinkerable. The environment is not just the desk or the room, but also the people in it. By contrast, the shower (Figure 1), guitar corner (Figure 2), and solo desk work (Figures 8 and 9) are more private spaces. They are very good for focus or idea generation, but less good when I get stuck and need someone else’s perspective.
The book also helped me look at space more literally. Then I realised how important the physical setup is. My living room table in Enschede (Figure 10) works well for prototyping because there is enough room to spread things out, make a mess, and leave materials visible. My big desk in Apeldoorn (Figure 8) worked as a stable base where different projects could stay present for longer. That visibility matters a lot to me. The LEGO drawer (Figure 4) is a good example too: because it is nearby and accessible, it invites use. When materials disappear into storage, the chance that I start experimenting also becomes smaller. So a good tinkering environment is not only about what tools are there, but also whether they stay visible and easy to grab.
Finally, I notice that my spaces support different modes of tinkering. Figures 1-3 show environments where ideas form, shift, and become clearer before anything is built. Figures 4-7 show childhood and early tinkering spaces where materials, modularity, and feedback were central. Figures 8-11 show how that process later moved into desks, software, prototyping surfaces, and collaboration. That shift from physical to digital did not remove tinkering from my process, but it did change what it looks like. It became less about loose parts on the floor and more about trying versions, changing methods, and testing workflows.
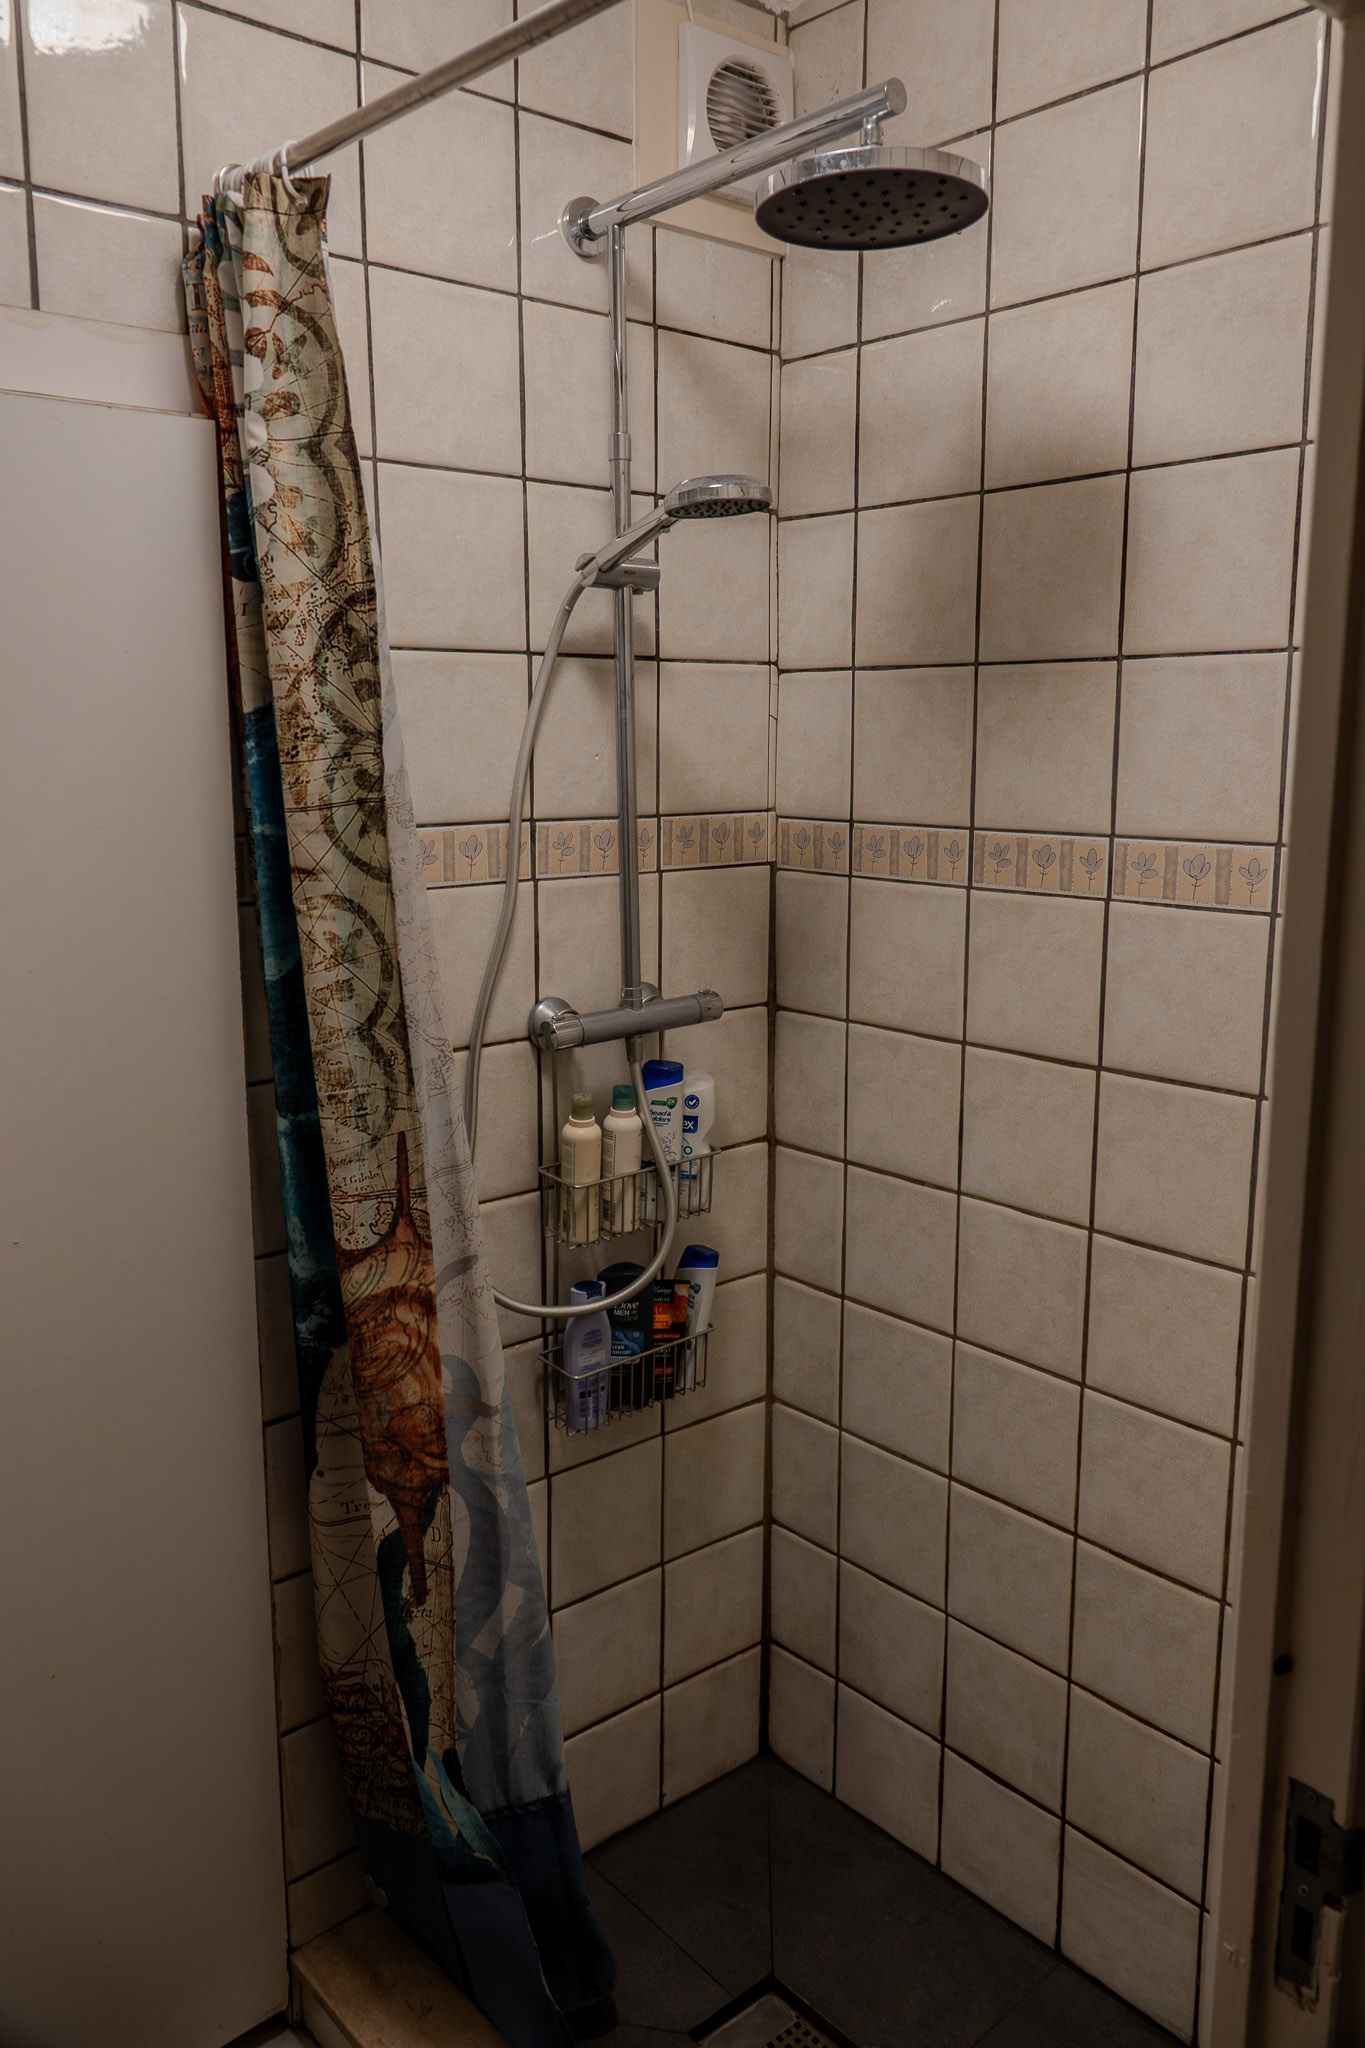
Figure 1. Our shower in Enschede.
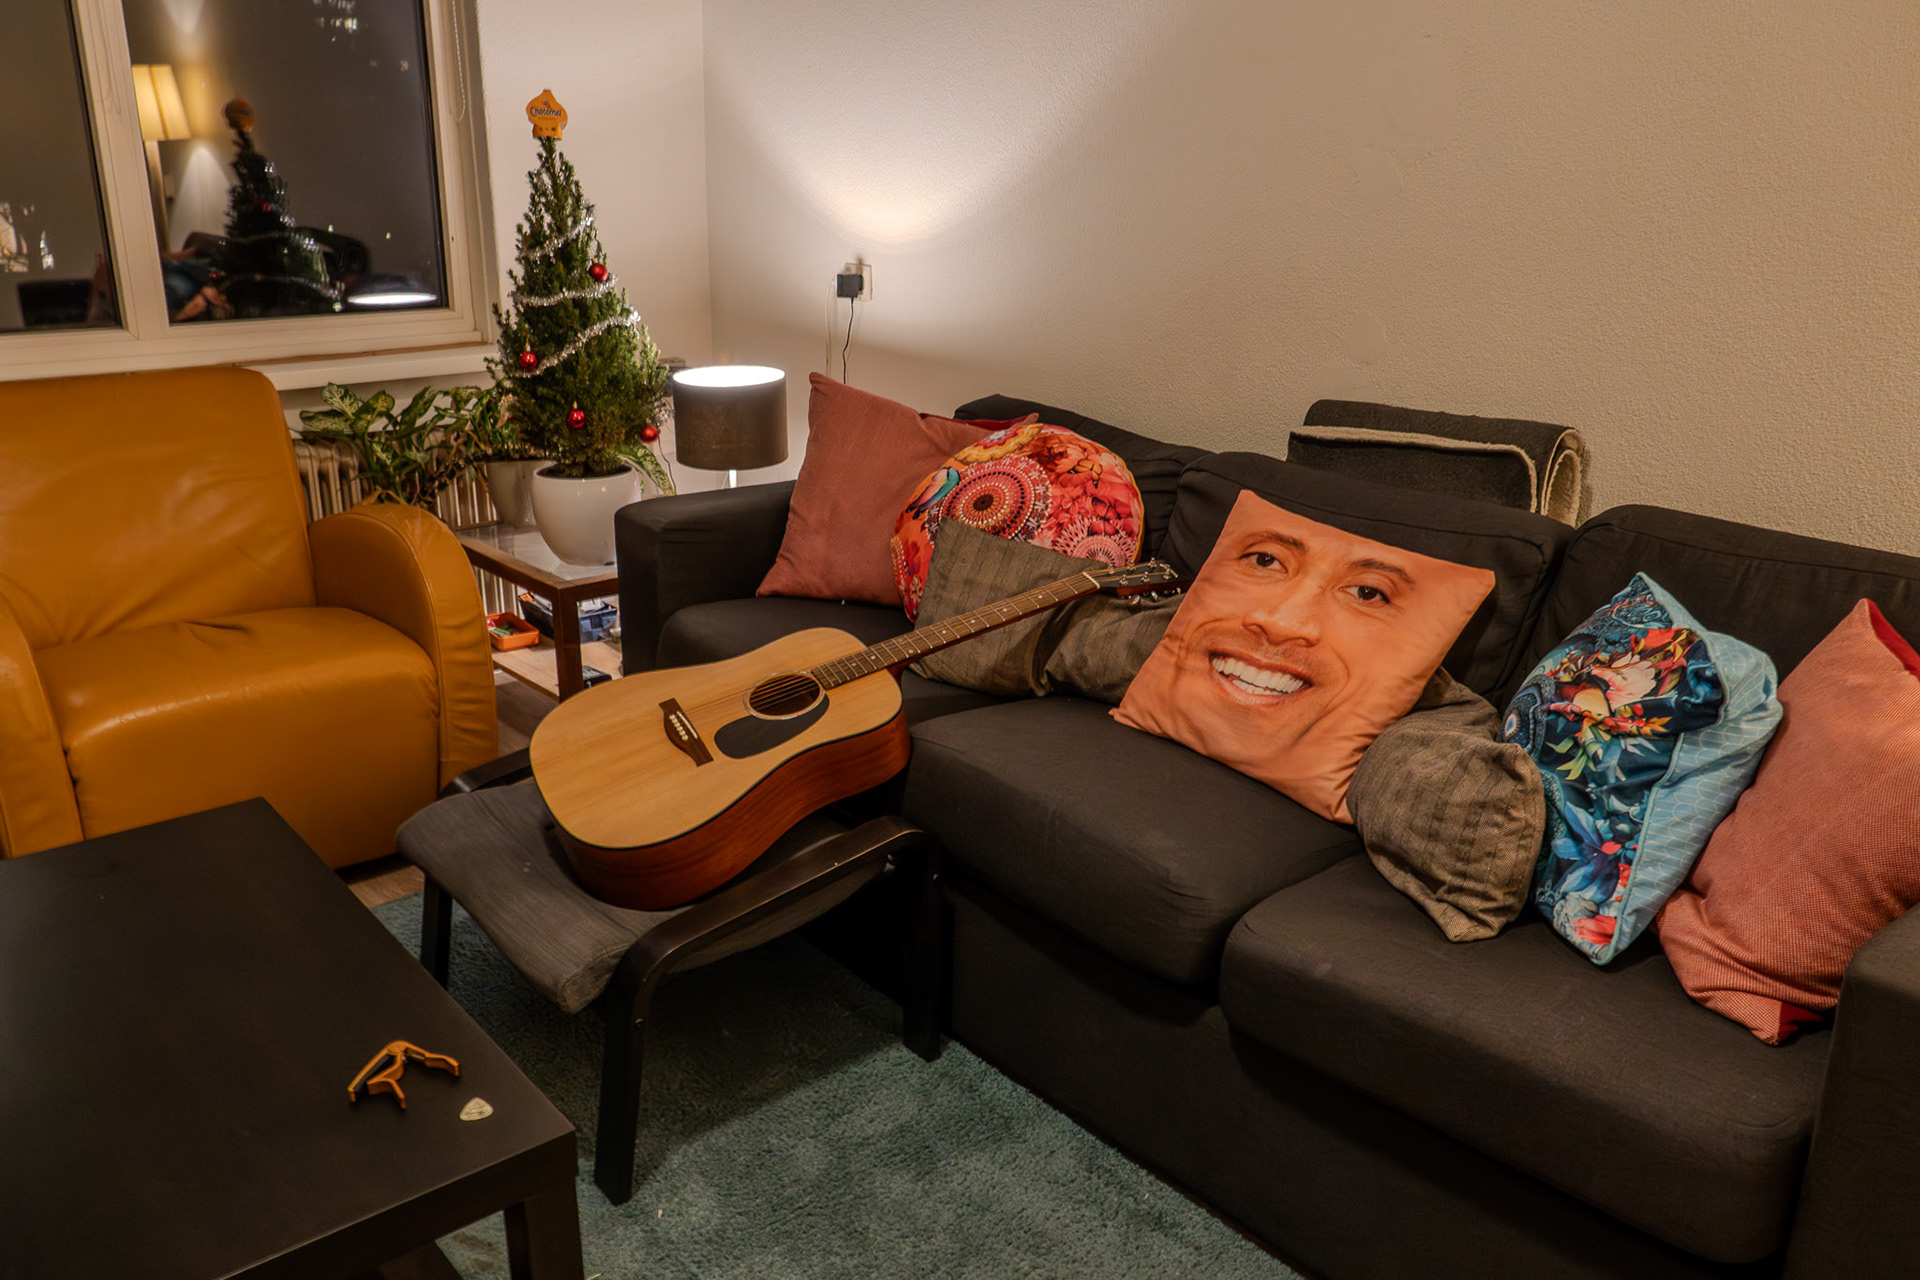
Figure 2. Our living room in Enschede where I play the guitar.
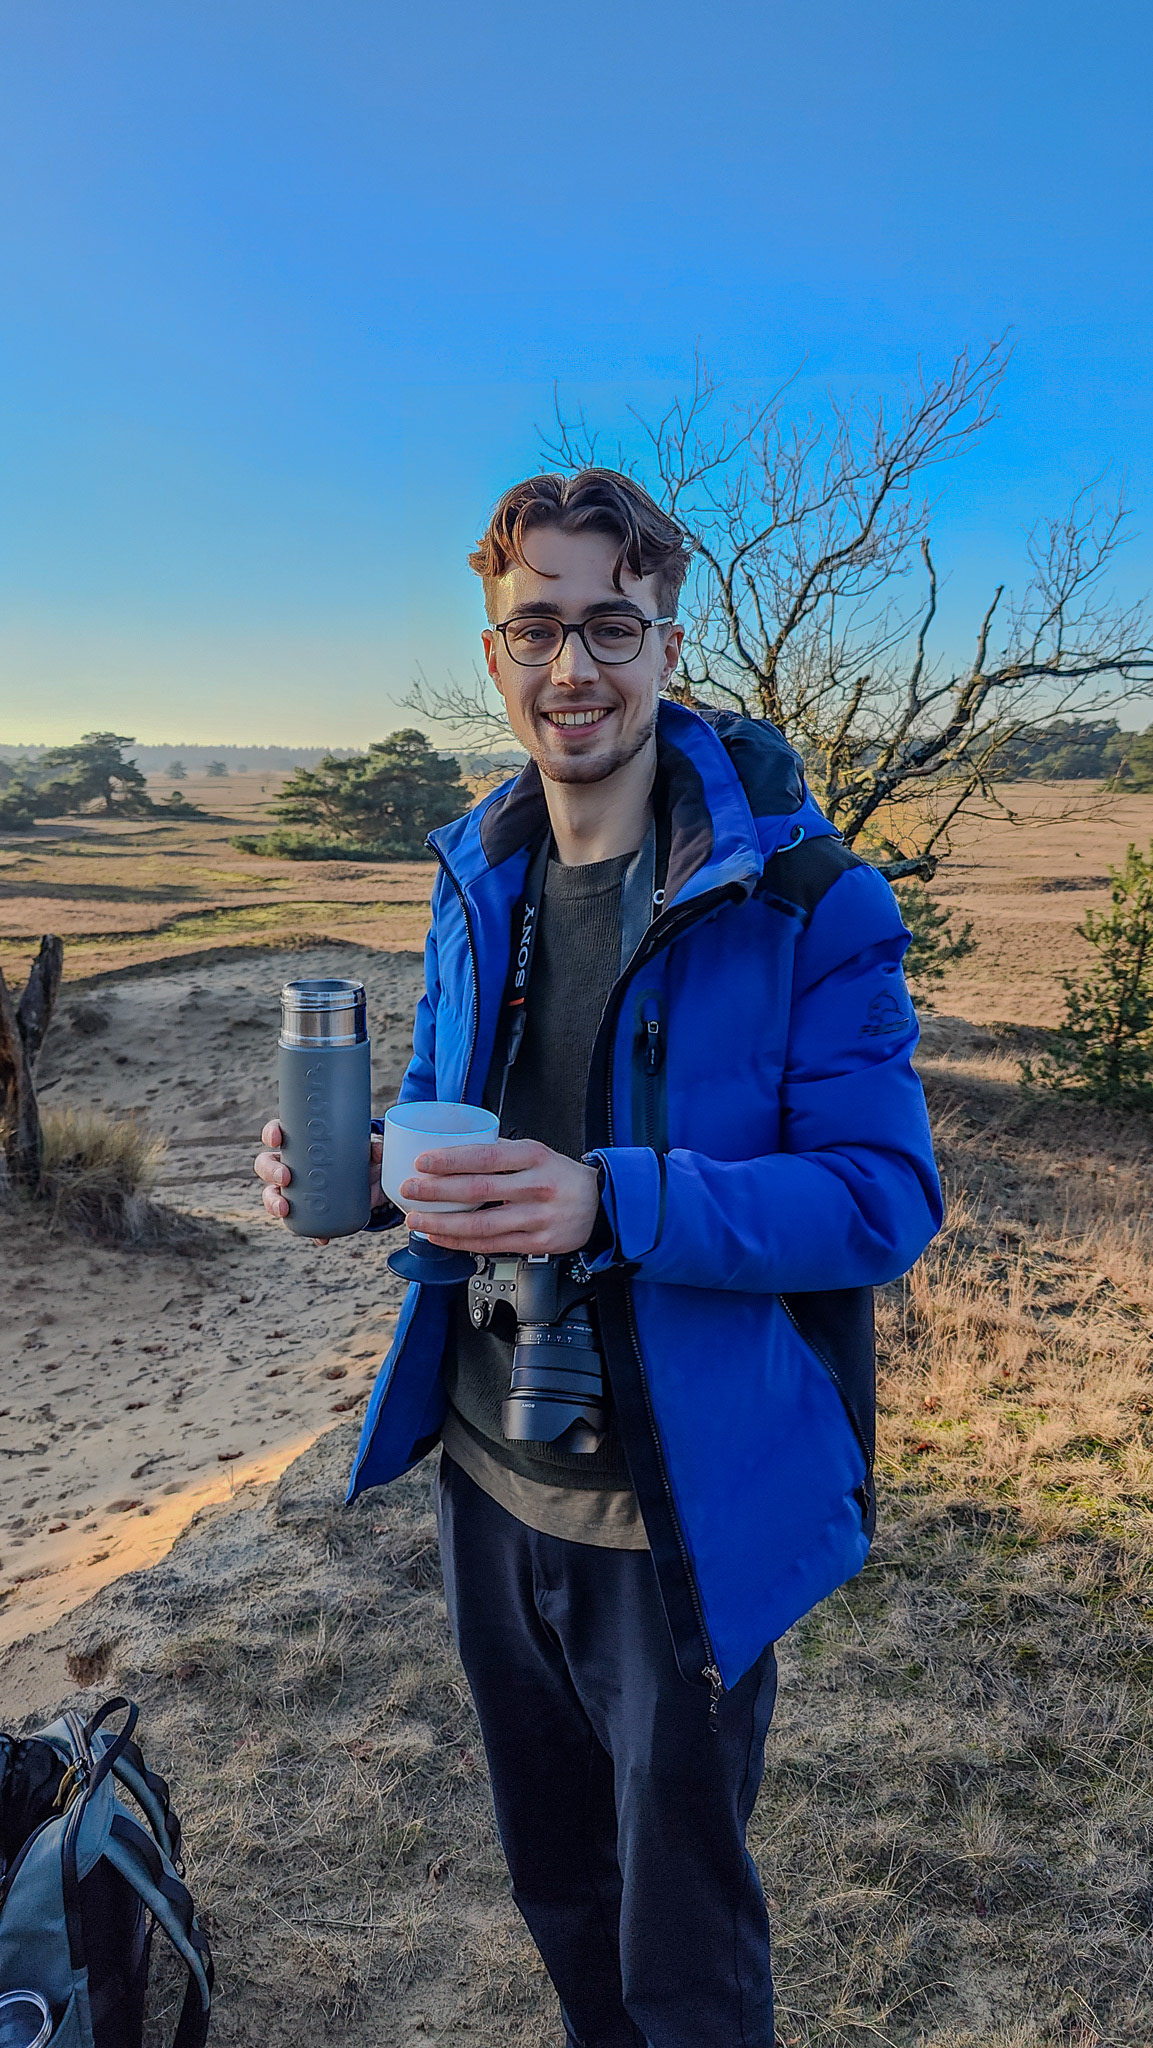
Figure 3. Walking at the Hoge Veluwe in Hoenderloo with my camera (and hot chocolate milk).
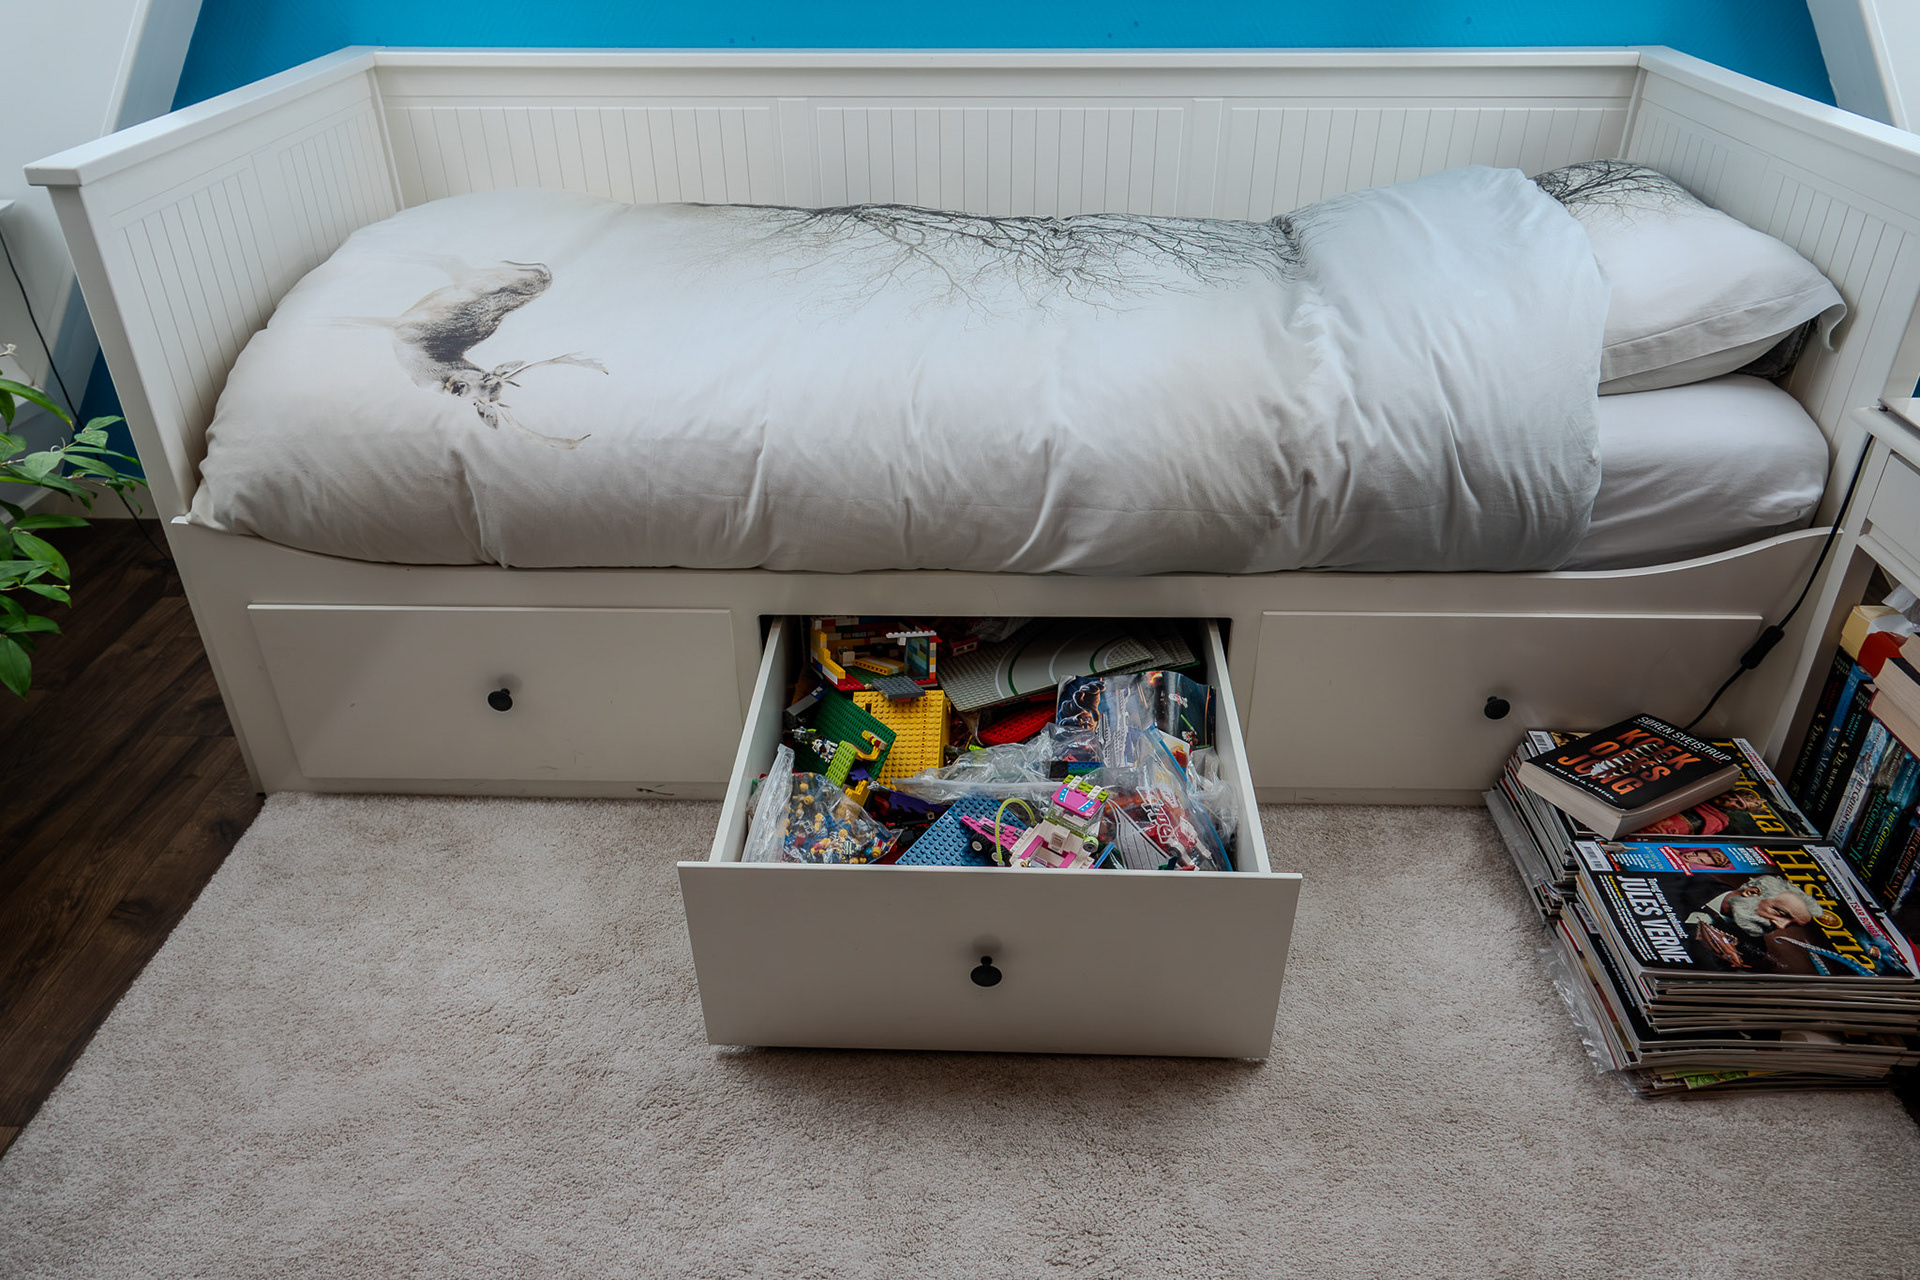
Figure 4. My bedroom in Apeldoorn with my LEGO drawer.
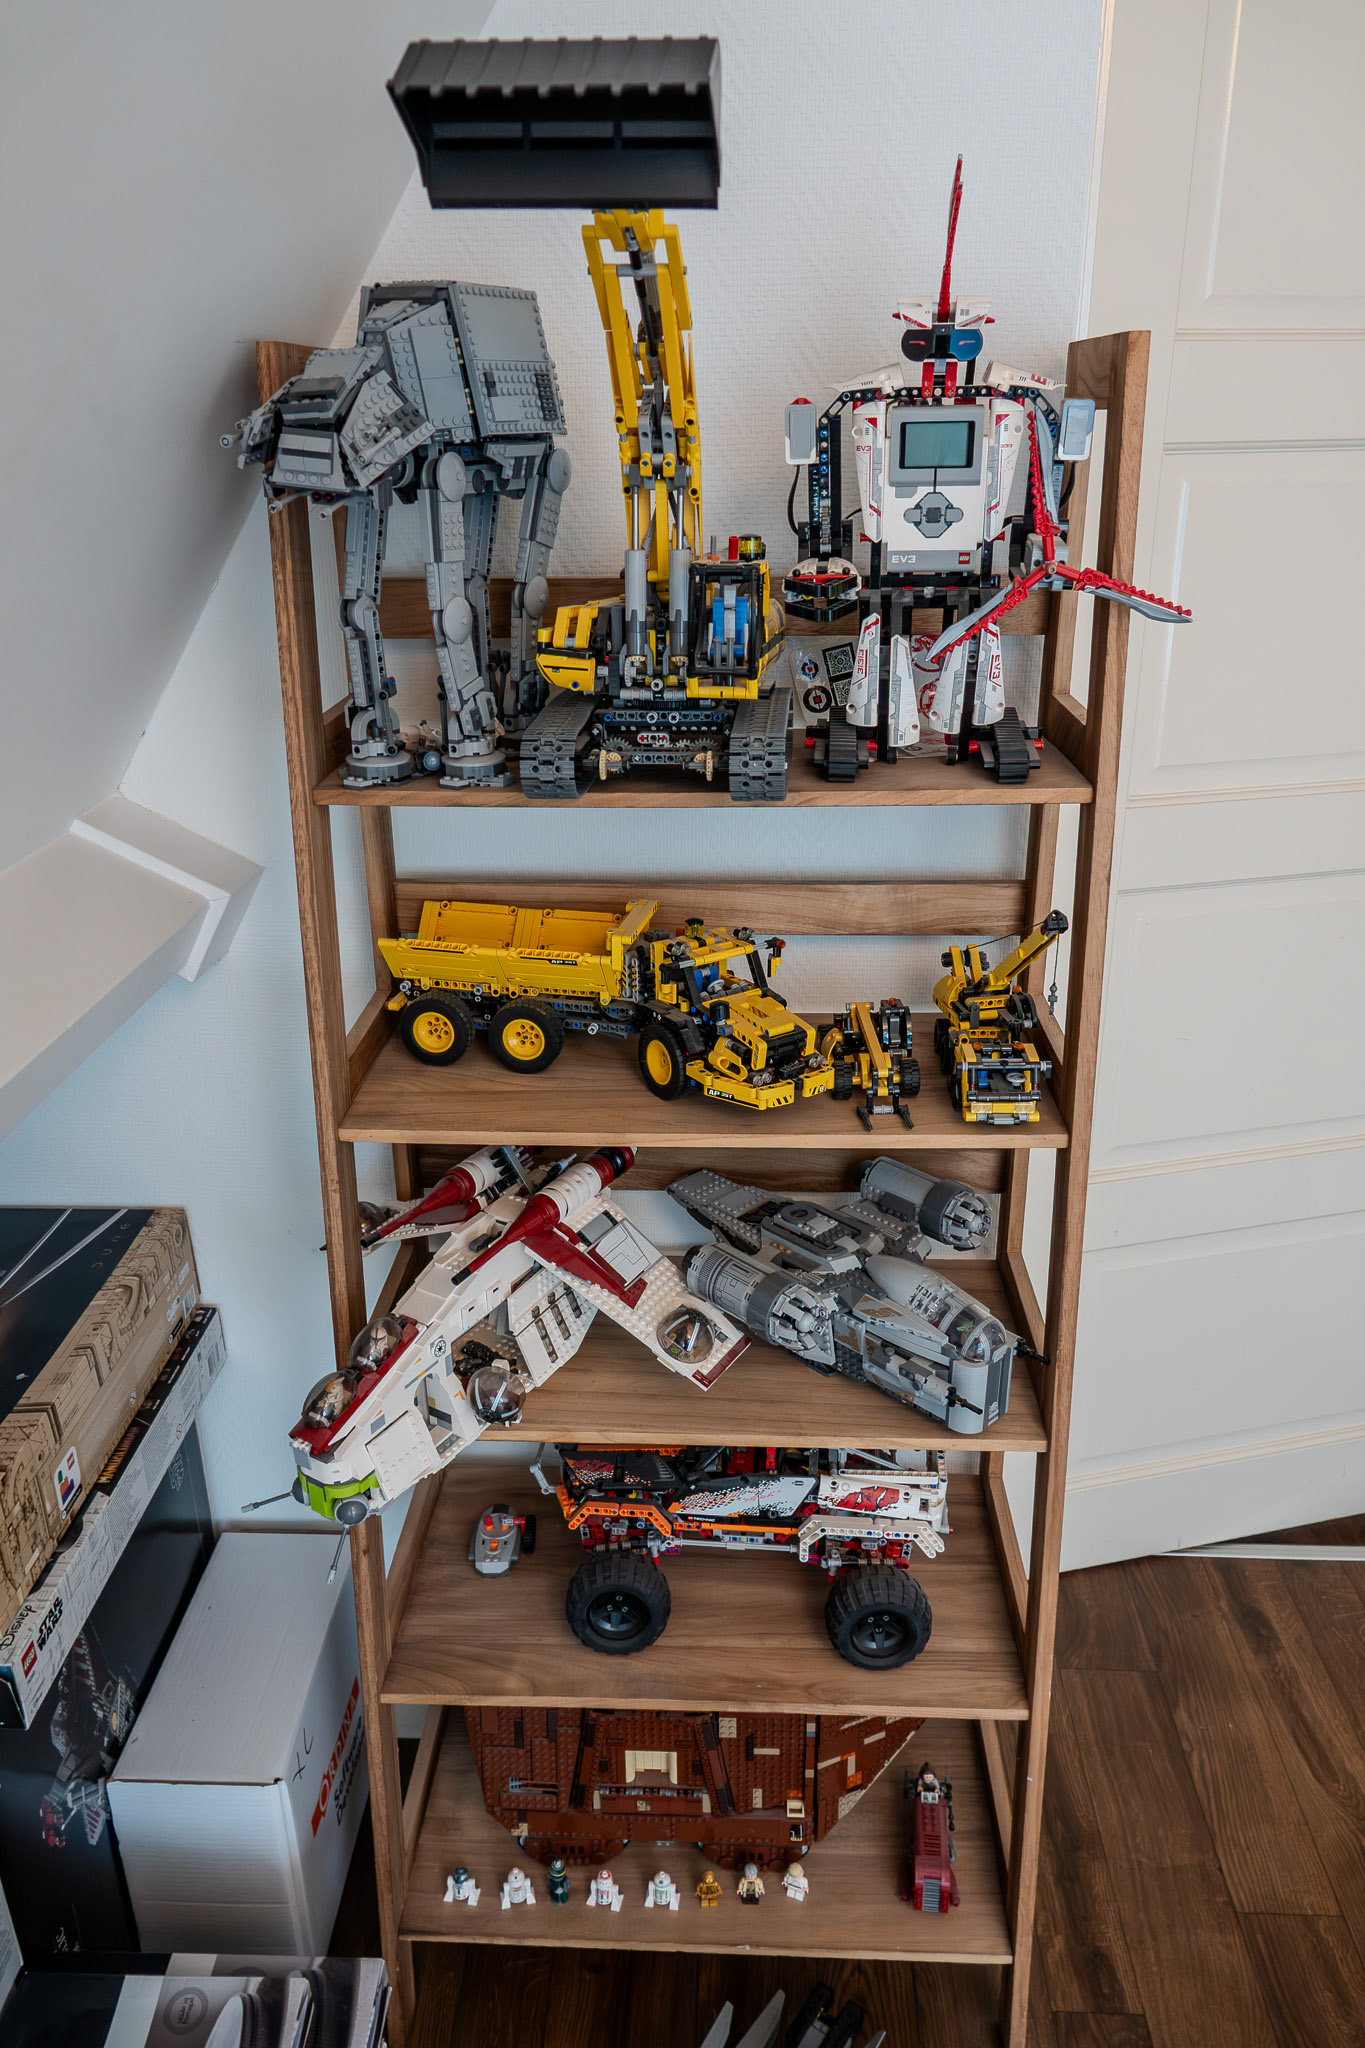
Figure 5. The cabinet in my bedroom with some of my LEGO Technic sets.
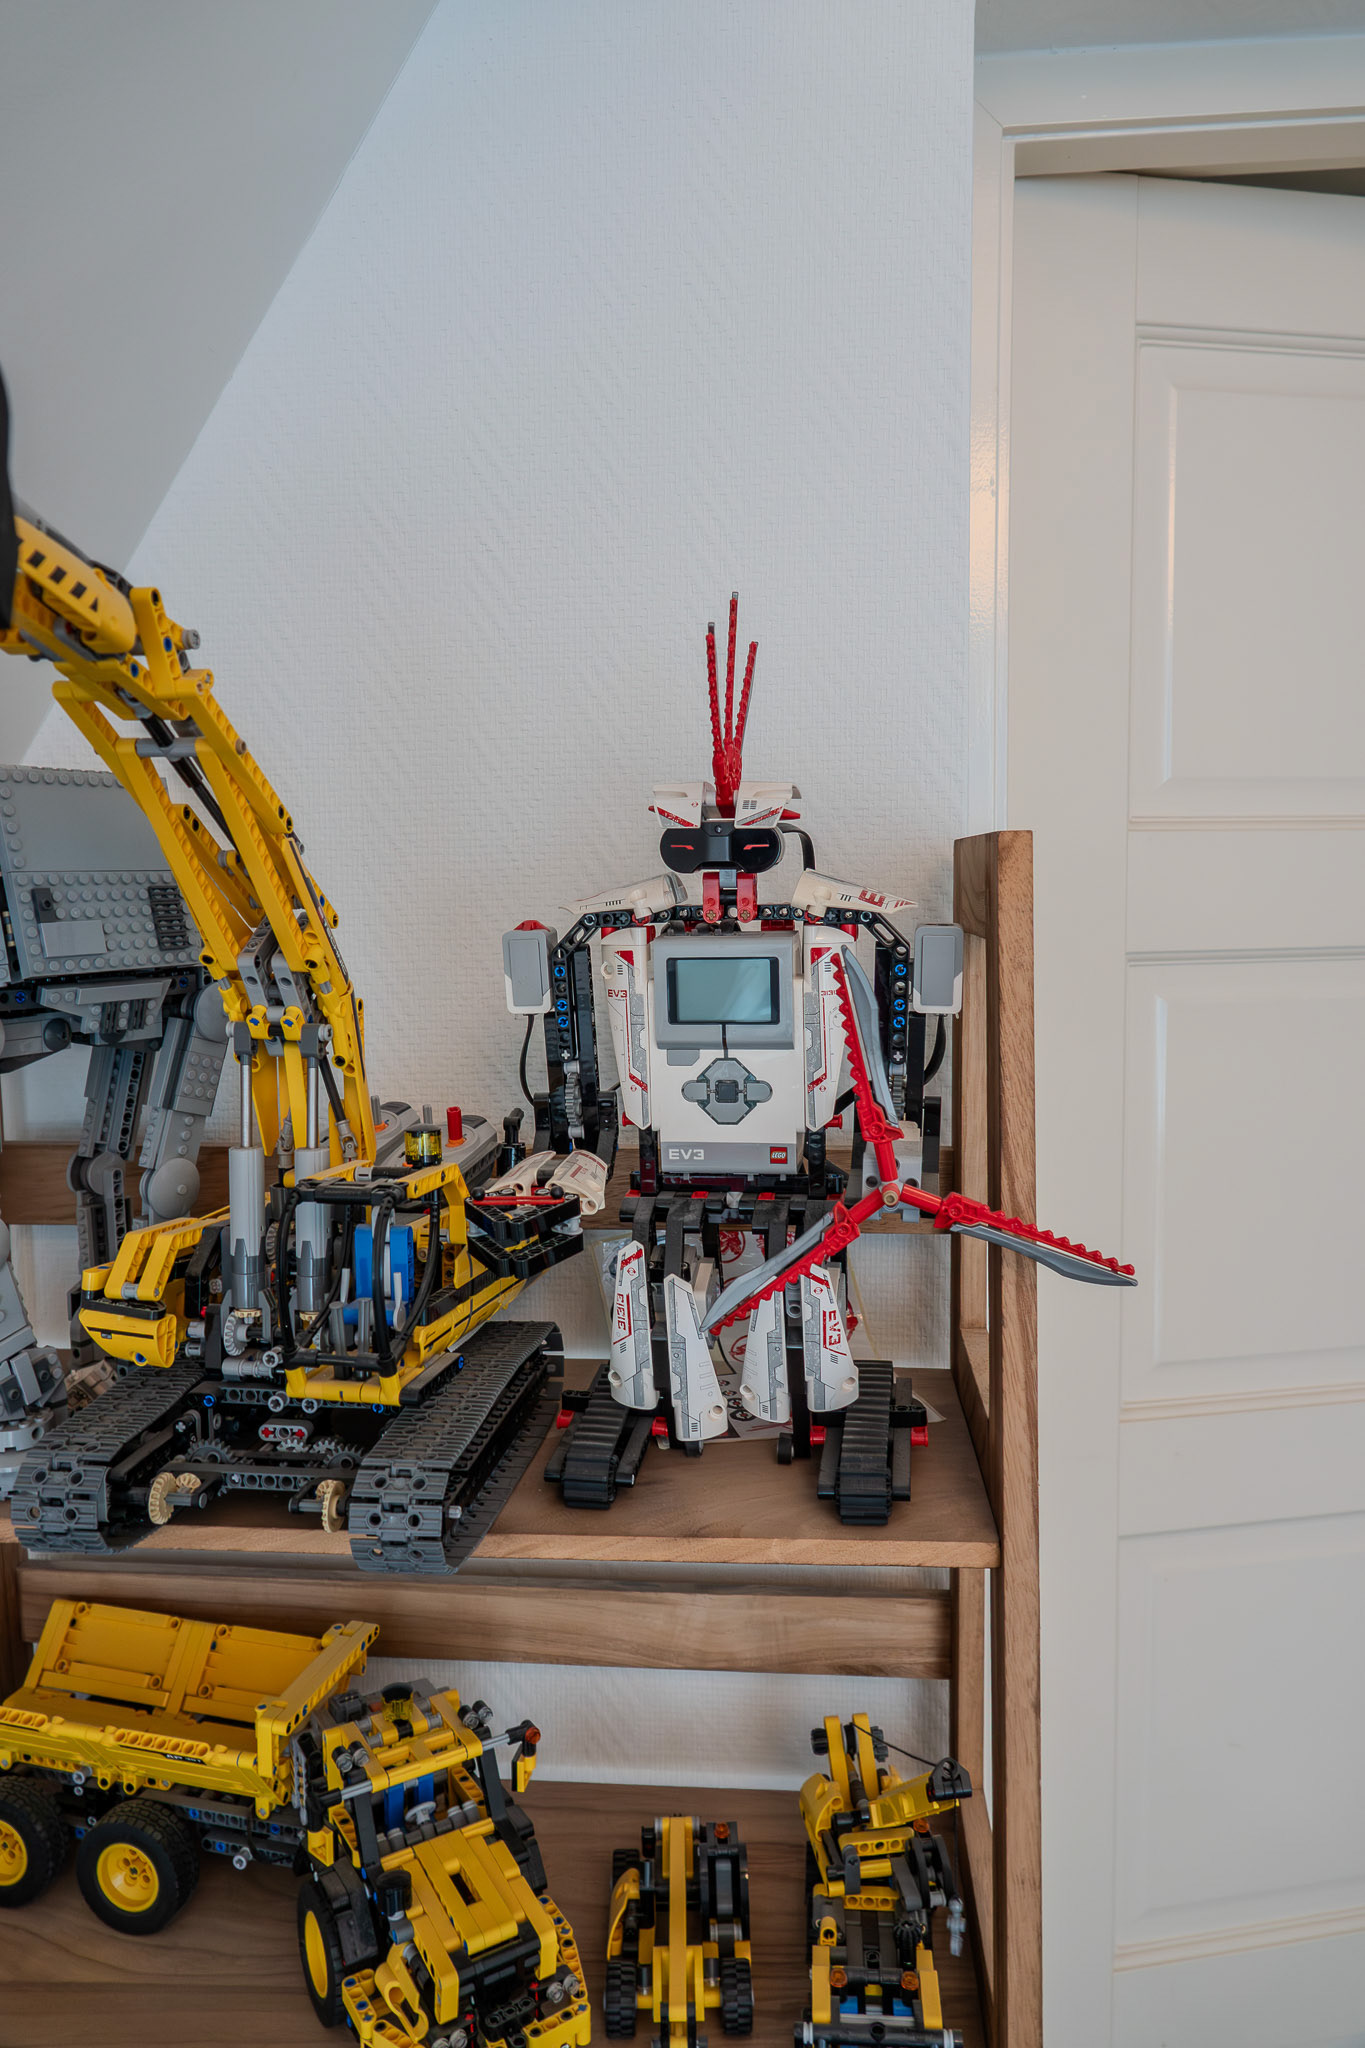
Figure 6. The LEGO EV3 in its basic form (note the different sensor types).
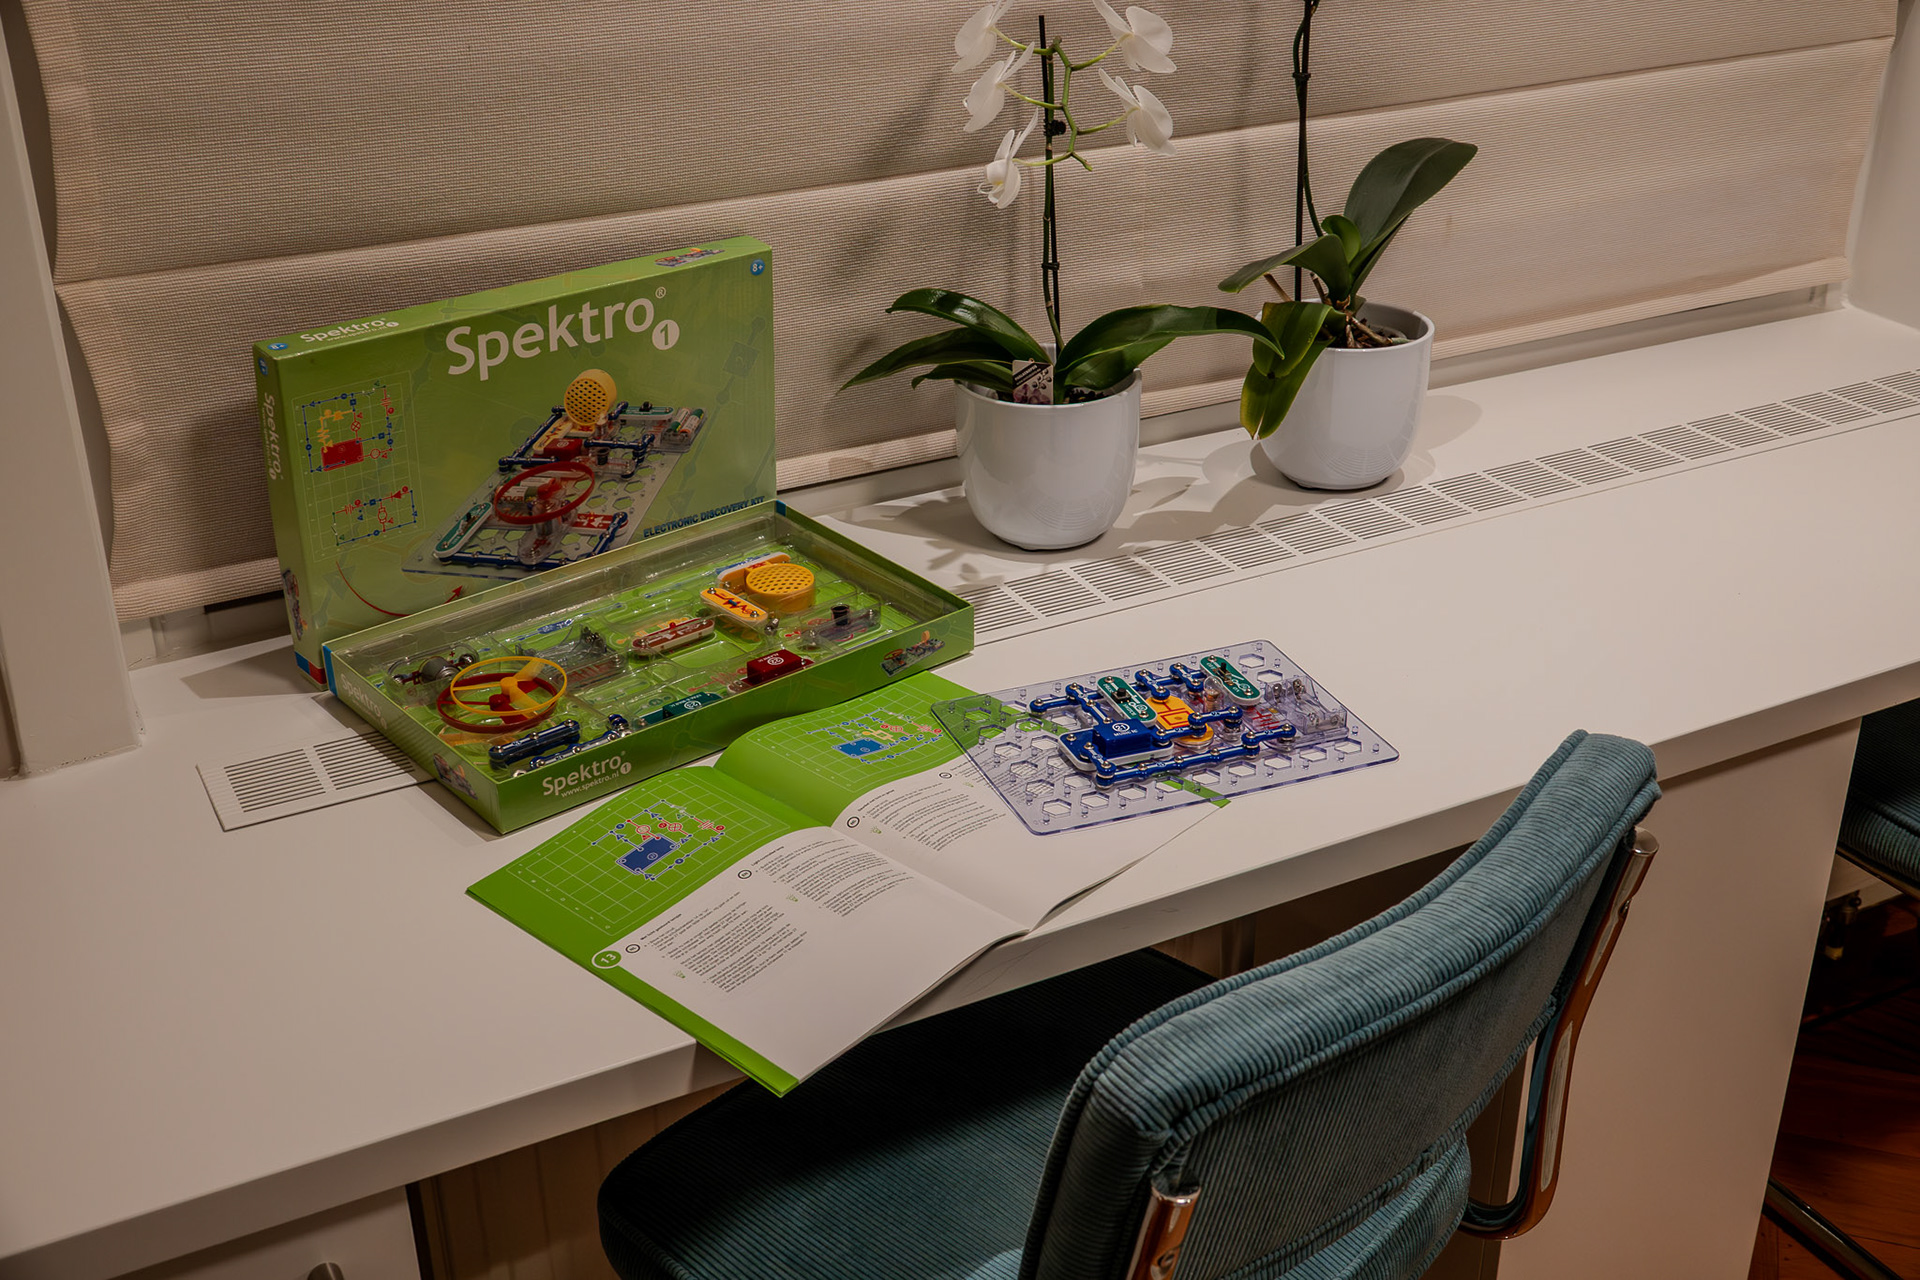
Figure 7. The Spektro kit I always played with when I was younger.
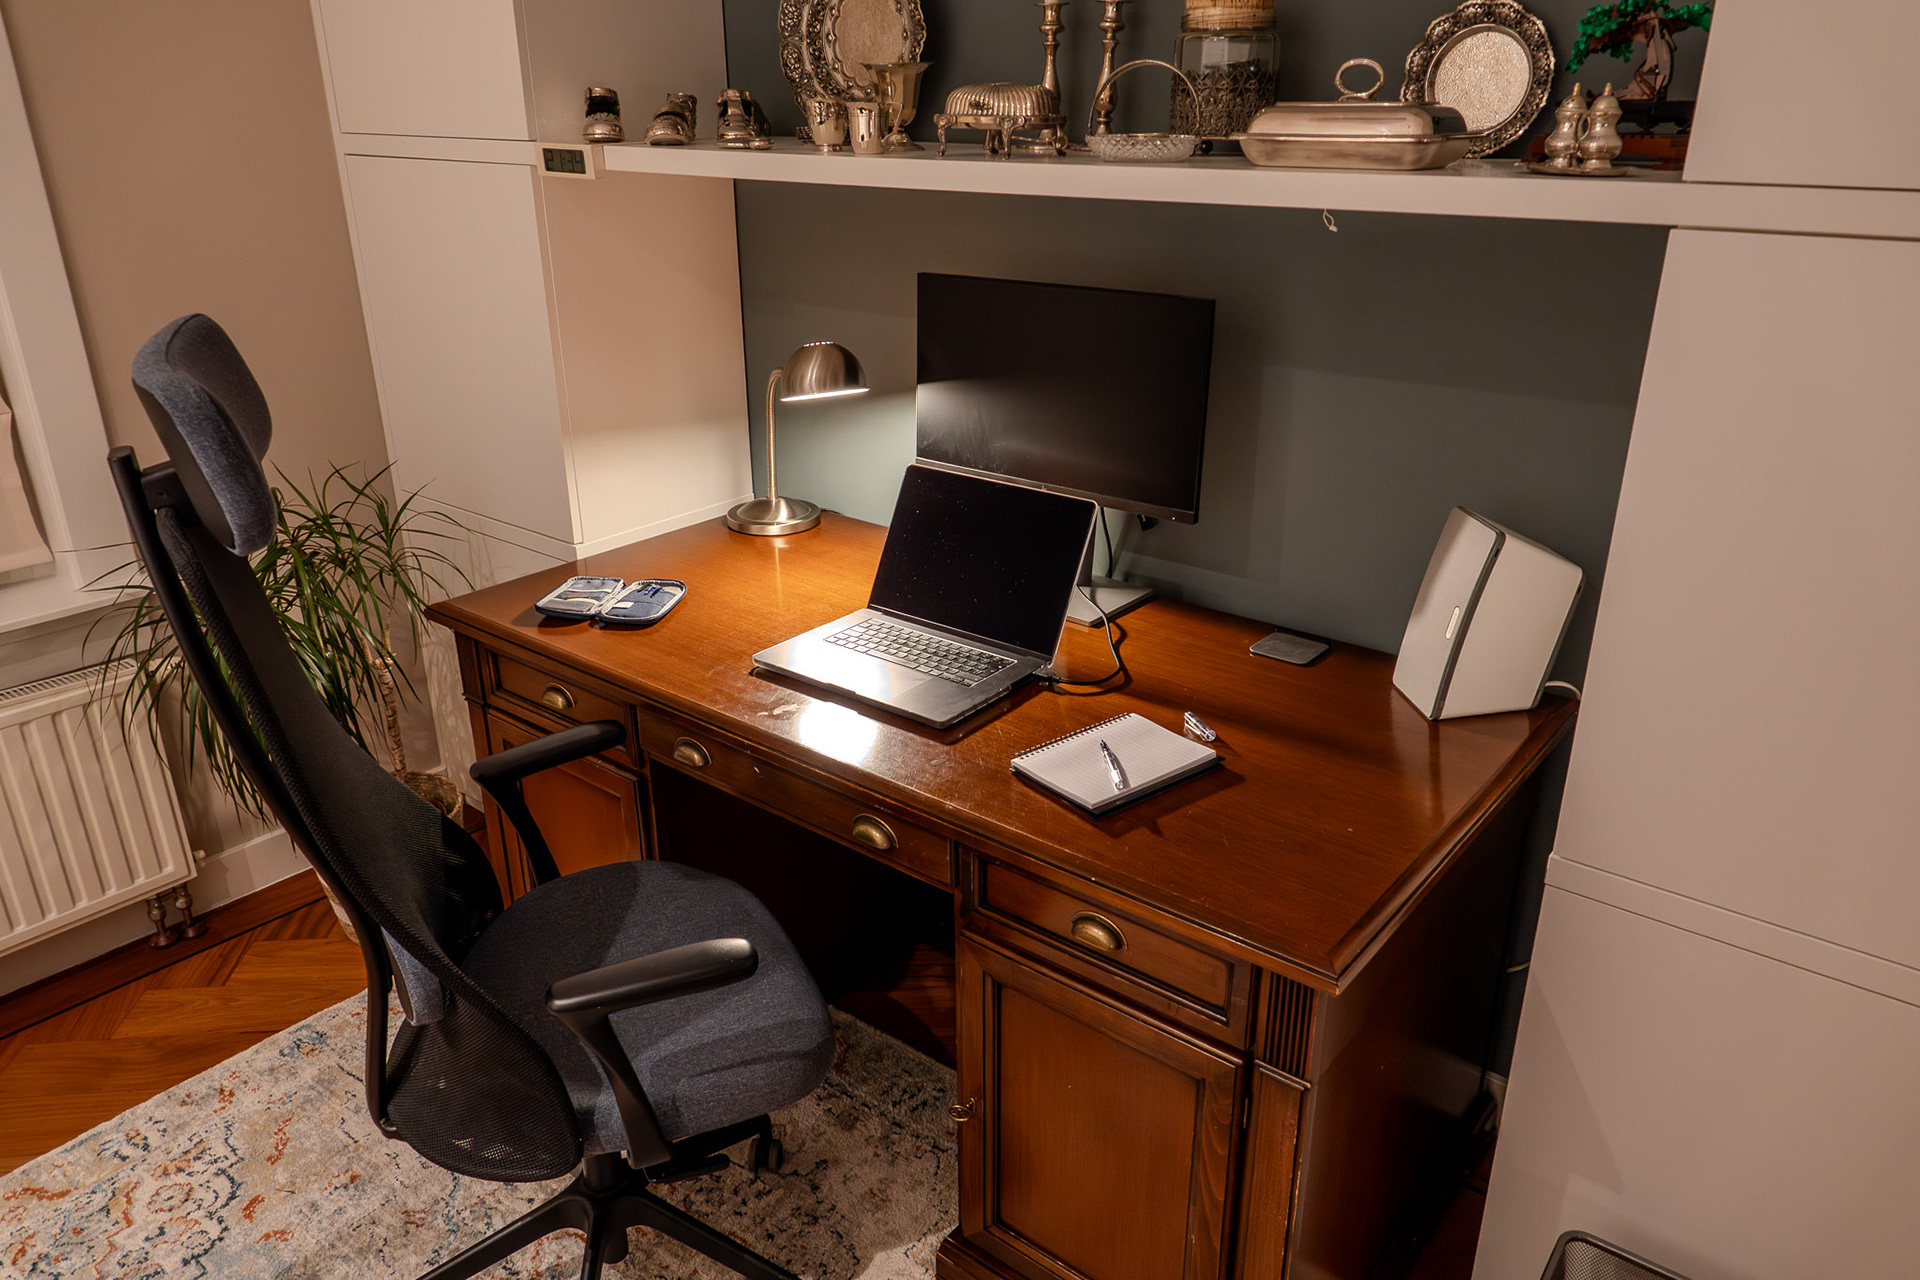
Figure 8. My big desk in Apeldoorn.
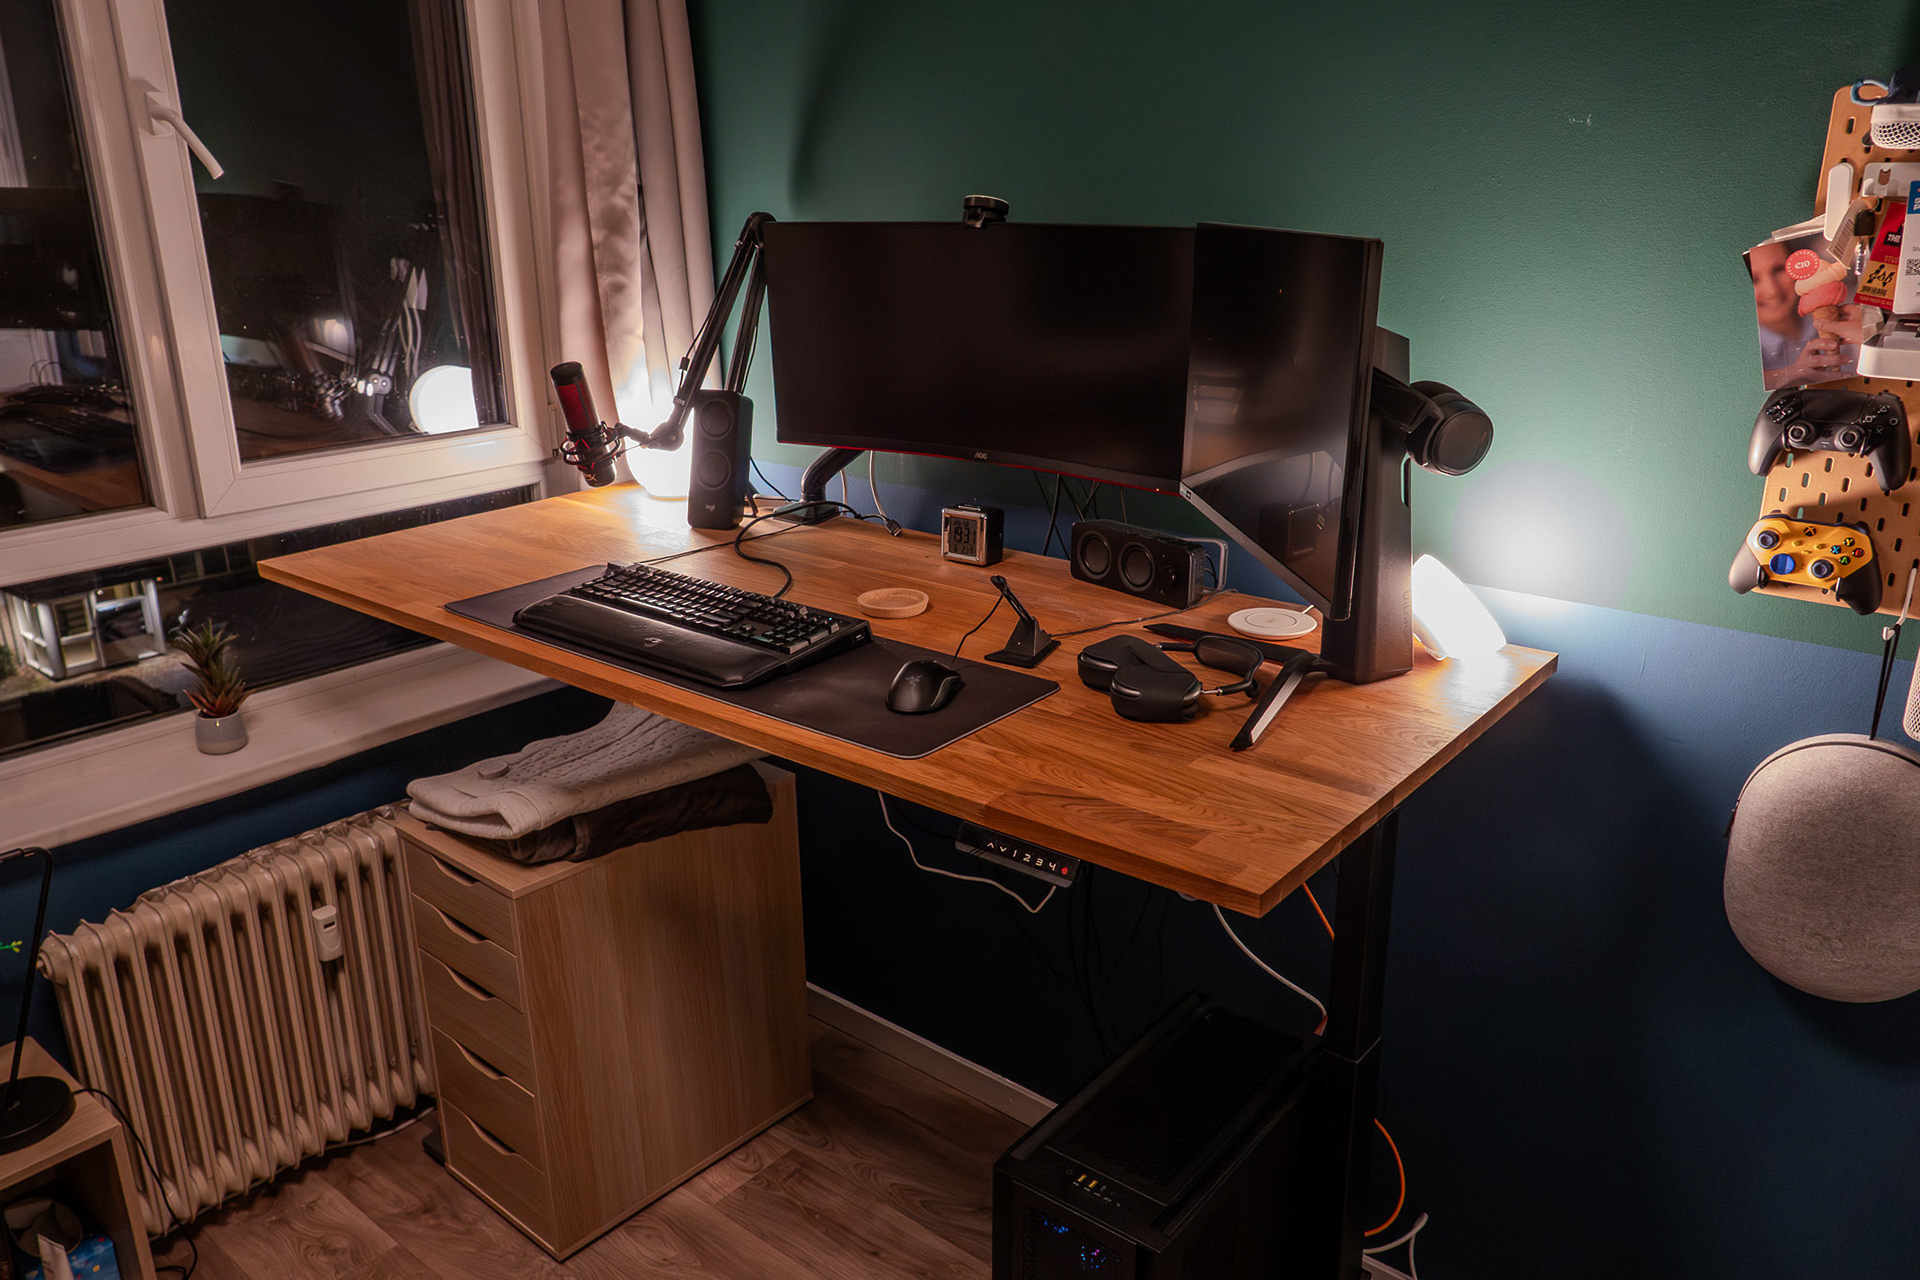
Figure 9. My standing desk in Enschede with my two monitors.
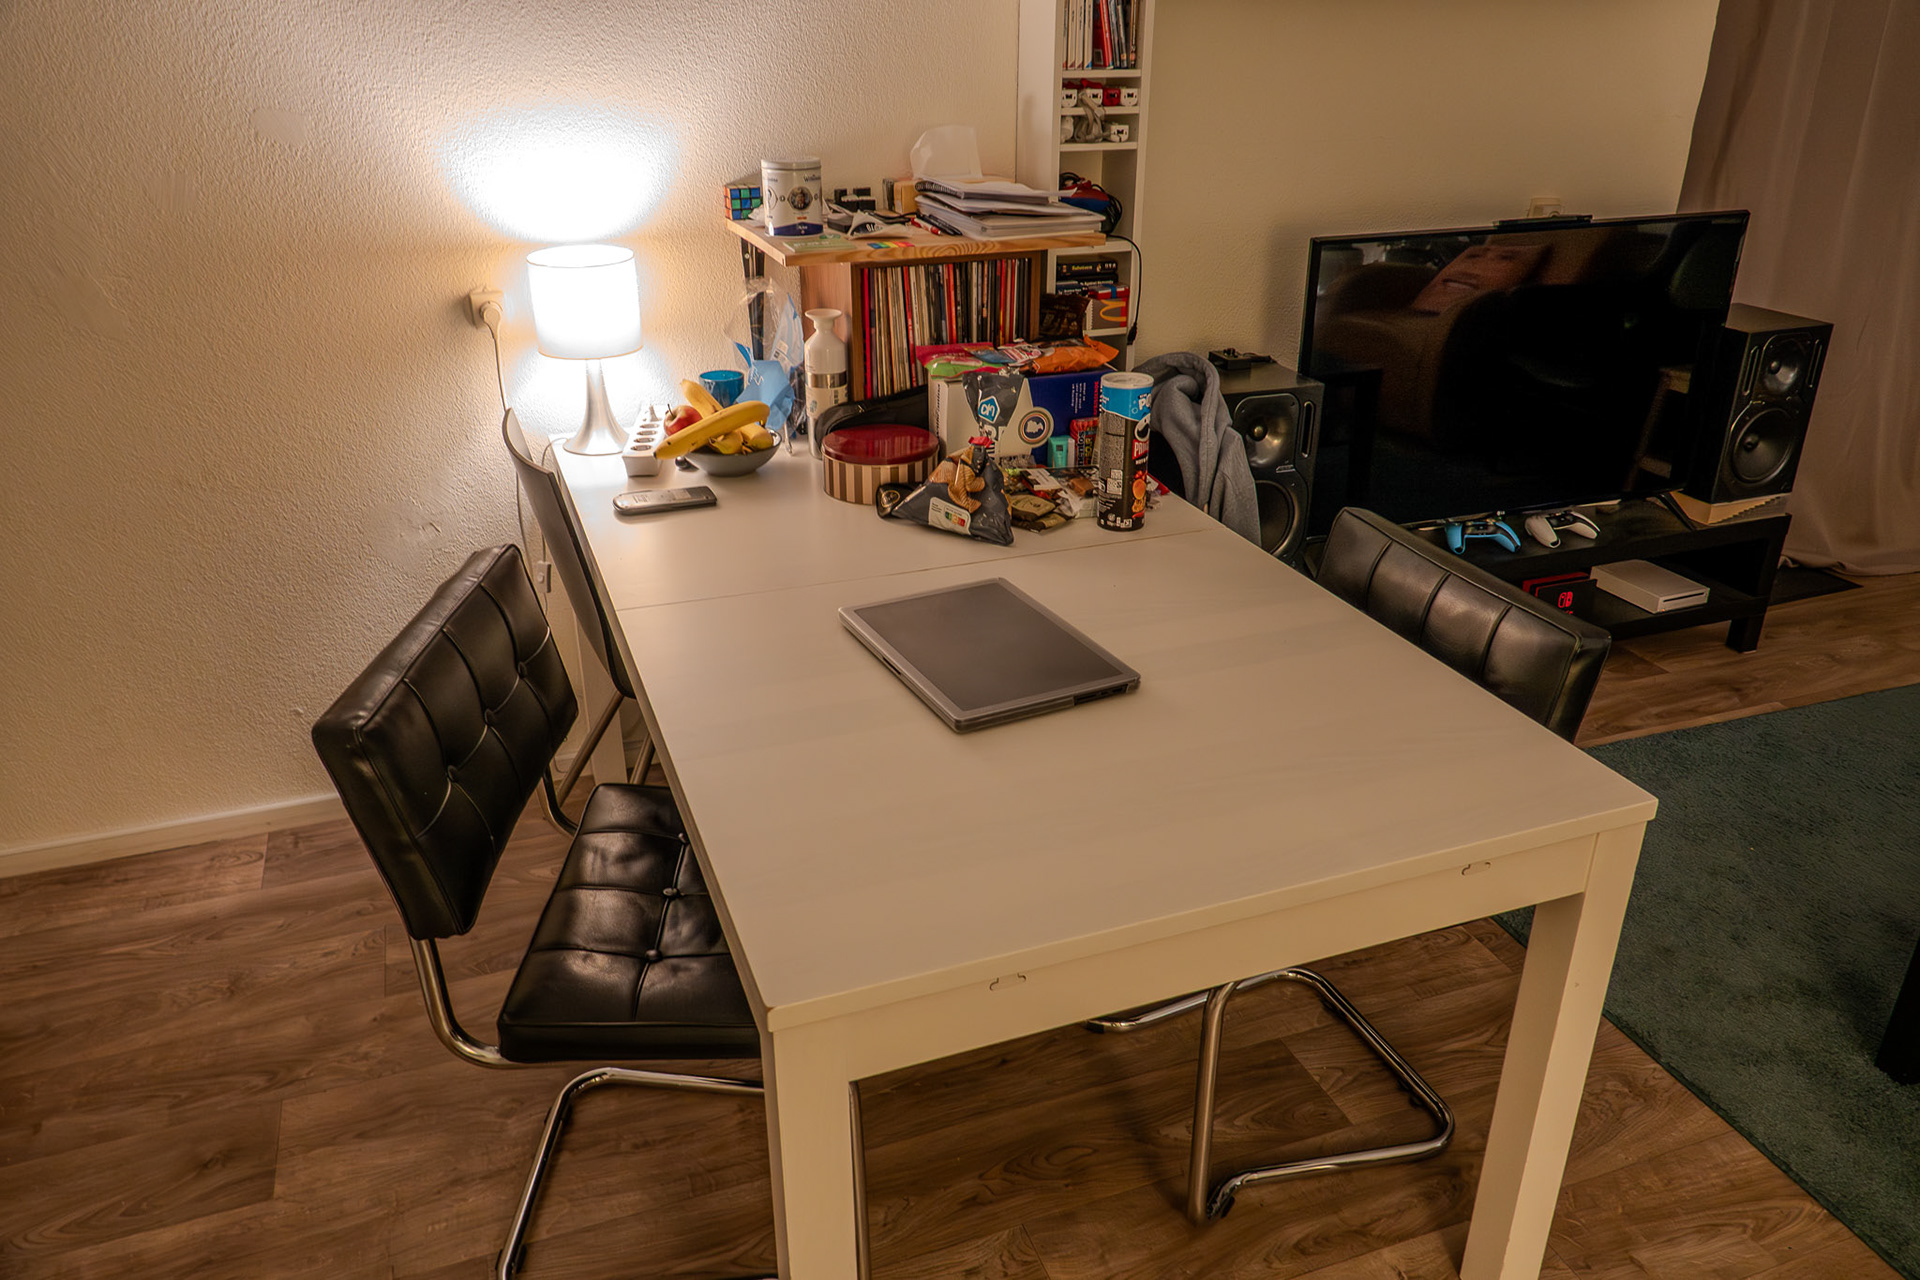
Figure 10. Our table in the living room in Enschede.
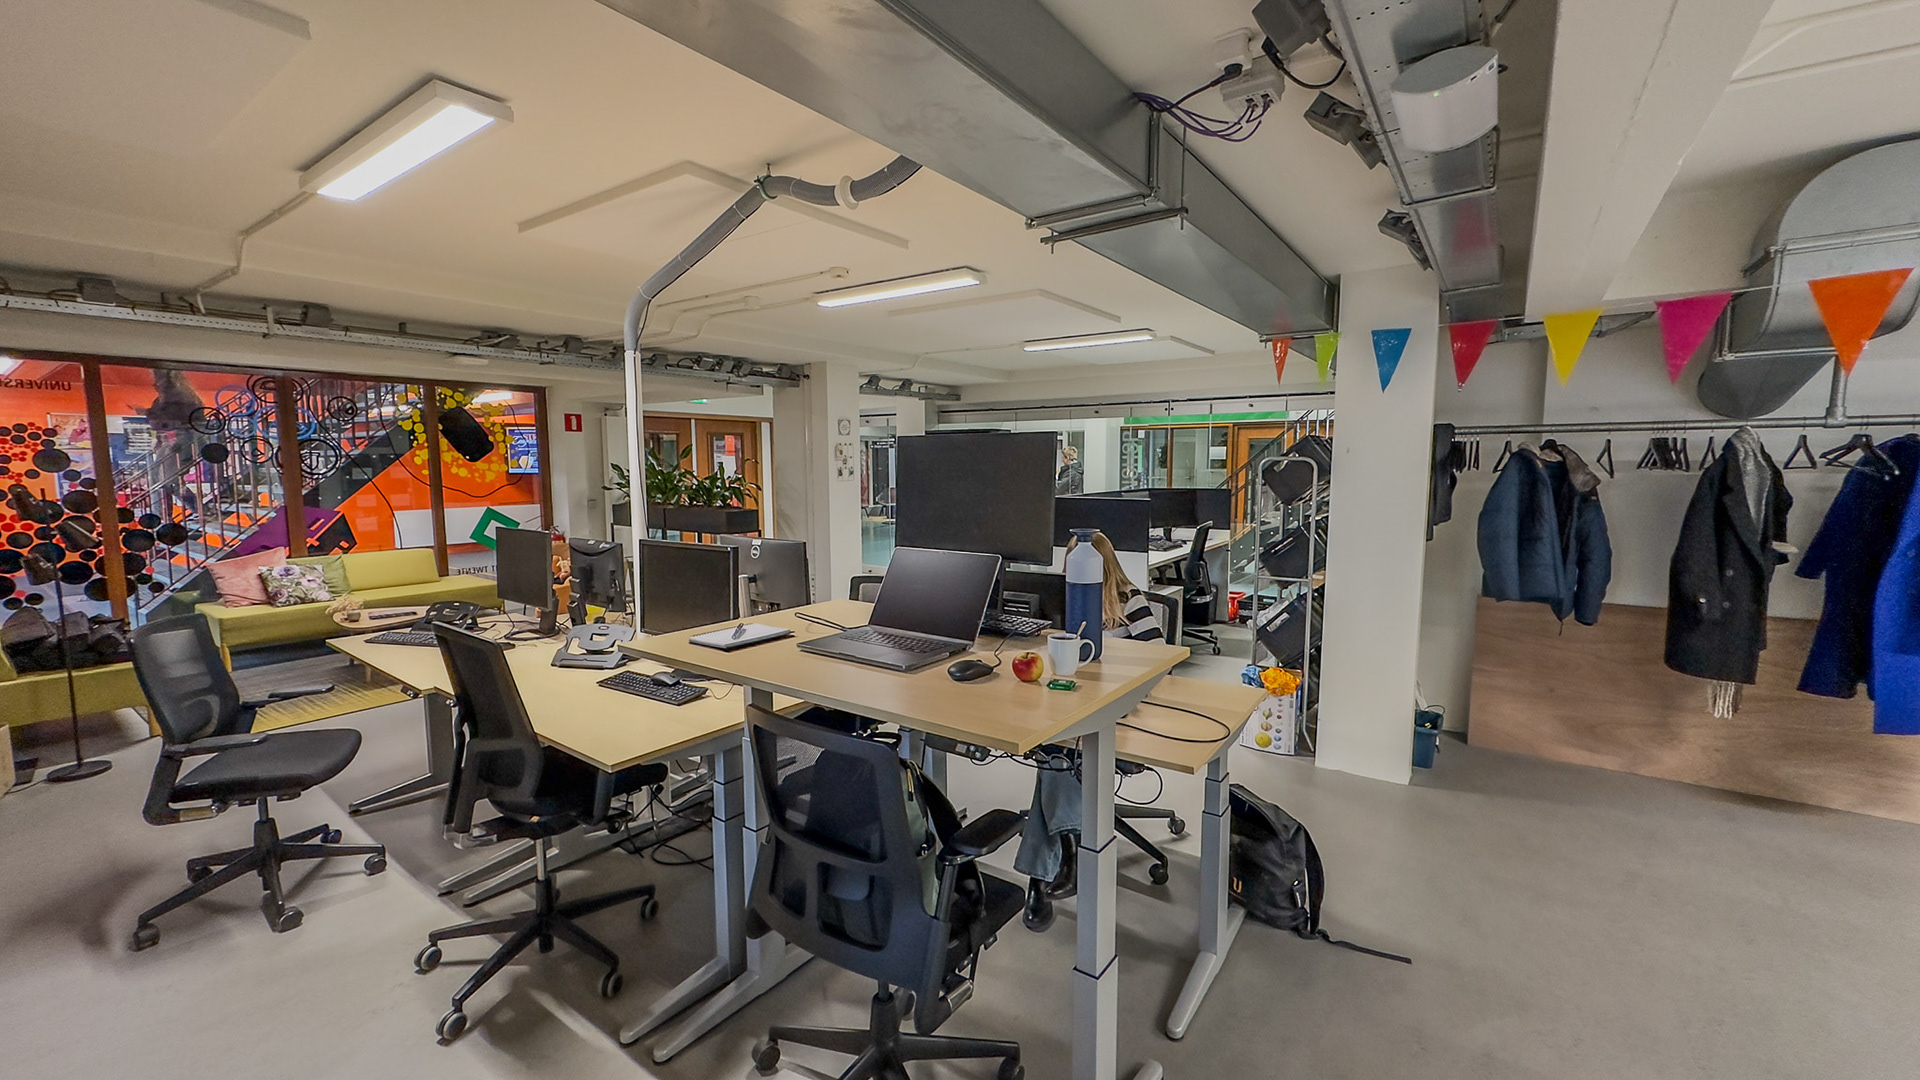
Figure 11. The standing desk at the office (with some fruit and hot chocolate milk).
Design Implications
With the ideas from Invent to Learn in mind, I now see even more clearly that a tinkering environment should not only contain tools, but should also support direct experience with materials, easy iteration, collaboration, and visible process. Martinez and Stager describe tinkering as learning through direct experience, experimentation, and discovery, and they also stress that makerspaces do not need to be one special type of room, but can emerge in many different settings when those settings support making, sharing, and invention. That fits my photo safari well, because my own tinkering does not happen in one single space, but across multiple environments that each support a different part of the process.
At the same time, this reflection makes it easier for me to identify what could be designed better in these spaces. My ideation spaces, such as the shower, guitar corner, and walking routes, are strong in openness and low distraction, but weak in capturing and continuing ideas. To improve them as tinkering environments, I would add low-threshold ways to record thoughts immediately, for example, a waterproof notepad near the shower, a notebook near the guitar, or a fixed voice-note habit while walking. That would make these spaces not only good for generating ideas, but also better connected to later making.
My digital workspaces, especially the standing desk in Enschede, are efficient and ready to use, but they are less supportive of playful experimentation when I am learning something new. To improve that, I would redesign the space so that one part stays permanently available for rough trials, unfinished prototypes, and visible materials. Instead of only supporting productivity, the setup should also invite exploration. This also connects to the idea that the environment itself can guide learning, similar to the Reggio Emilia principle described in Invent to Learn, where the environment functions as a "third teacher".
The collaborative spaces in my safari, such as the office and shared walks, already support quick feedback well, but they could become stronger tinkering environments if ideas and iterations stayed visible over time. A wall, pinboard, whiteboard, or shared digital archive with sketches, screenshots, photos, and unfinished attempts would make the process easier to revisit and discuss. Martinez and Stager also emphasise that students should be able to see and hear ideas from others, and that reflection and sharing are important parts of iterative design. In that sense, a better tinkering environment for me would not only make it easy to start but also make it easier to capture, revisit, and share evolving ideas.
Conclusion
In conclusion, my photo safari shows that my best tinkering environments are the ones where it is easy to start, easy to iterate, and easy to move between thinking and making. I can clearly recognise criteria such as low threshold, high ceiling, wide walls, feedback, visibility, and flexibility in spaces like the LEGO drawer (Figure 4), EV3 (Figure 6), the desks (Figures 8 and 9), the living room table (Figure 10), and the office (Figure 11). What I sometimes miss are stronger forms of scaffolding in my digital workspaces and more direct feedback in the spaces where I work alone. So for me, a tinkering environment is not just a place with tools. It is a place where ideas can emerge, materials invite action, and the setup makes it easy to keep going.