Goal
To get more knowledge about the different file types that can be used to export a 3D model, I wanted to do some research and tests to know which file type is the best for exporting a model from Blender into Unity. The research I did and the conclusion of that research can be read below.
Research time
Spread over 2 weeks
---------- Research ----------
File types
Unity supports different types of model file formats:
- .fbx
- .dae (Collada)
- .3ds
- .dxf
- .obj
Blender can export models as the following file formats:
- Collada (Default) (.dae)
- Alembic (.abc)
- Universal Scene Description (.usd, .usdc, .usda)
- Grease Pencil as SVG
- Grease Pencil as PDF
- Motion Capeture (.bvh)
- Stanford (.ply)
- Stl (.stl)
- FBX (.fbx)
- qlTF 2.0 (.glb/gltf)
- Wavefront (.obj)
- X3D Extensible 3D (.x3d)
Blender can export the file types .fbx, .dae (Collada) and .obj that are suitable with Unity.
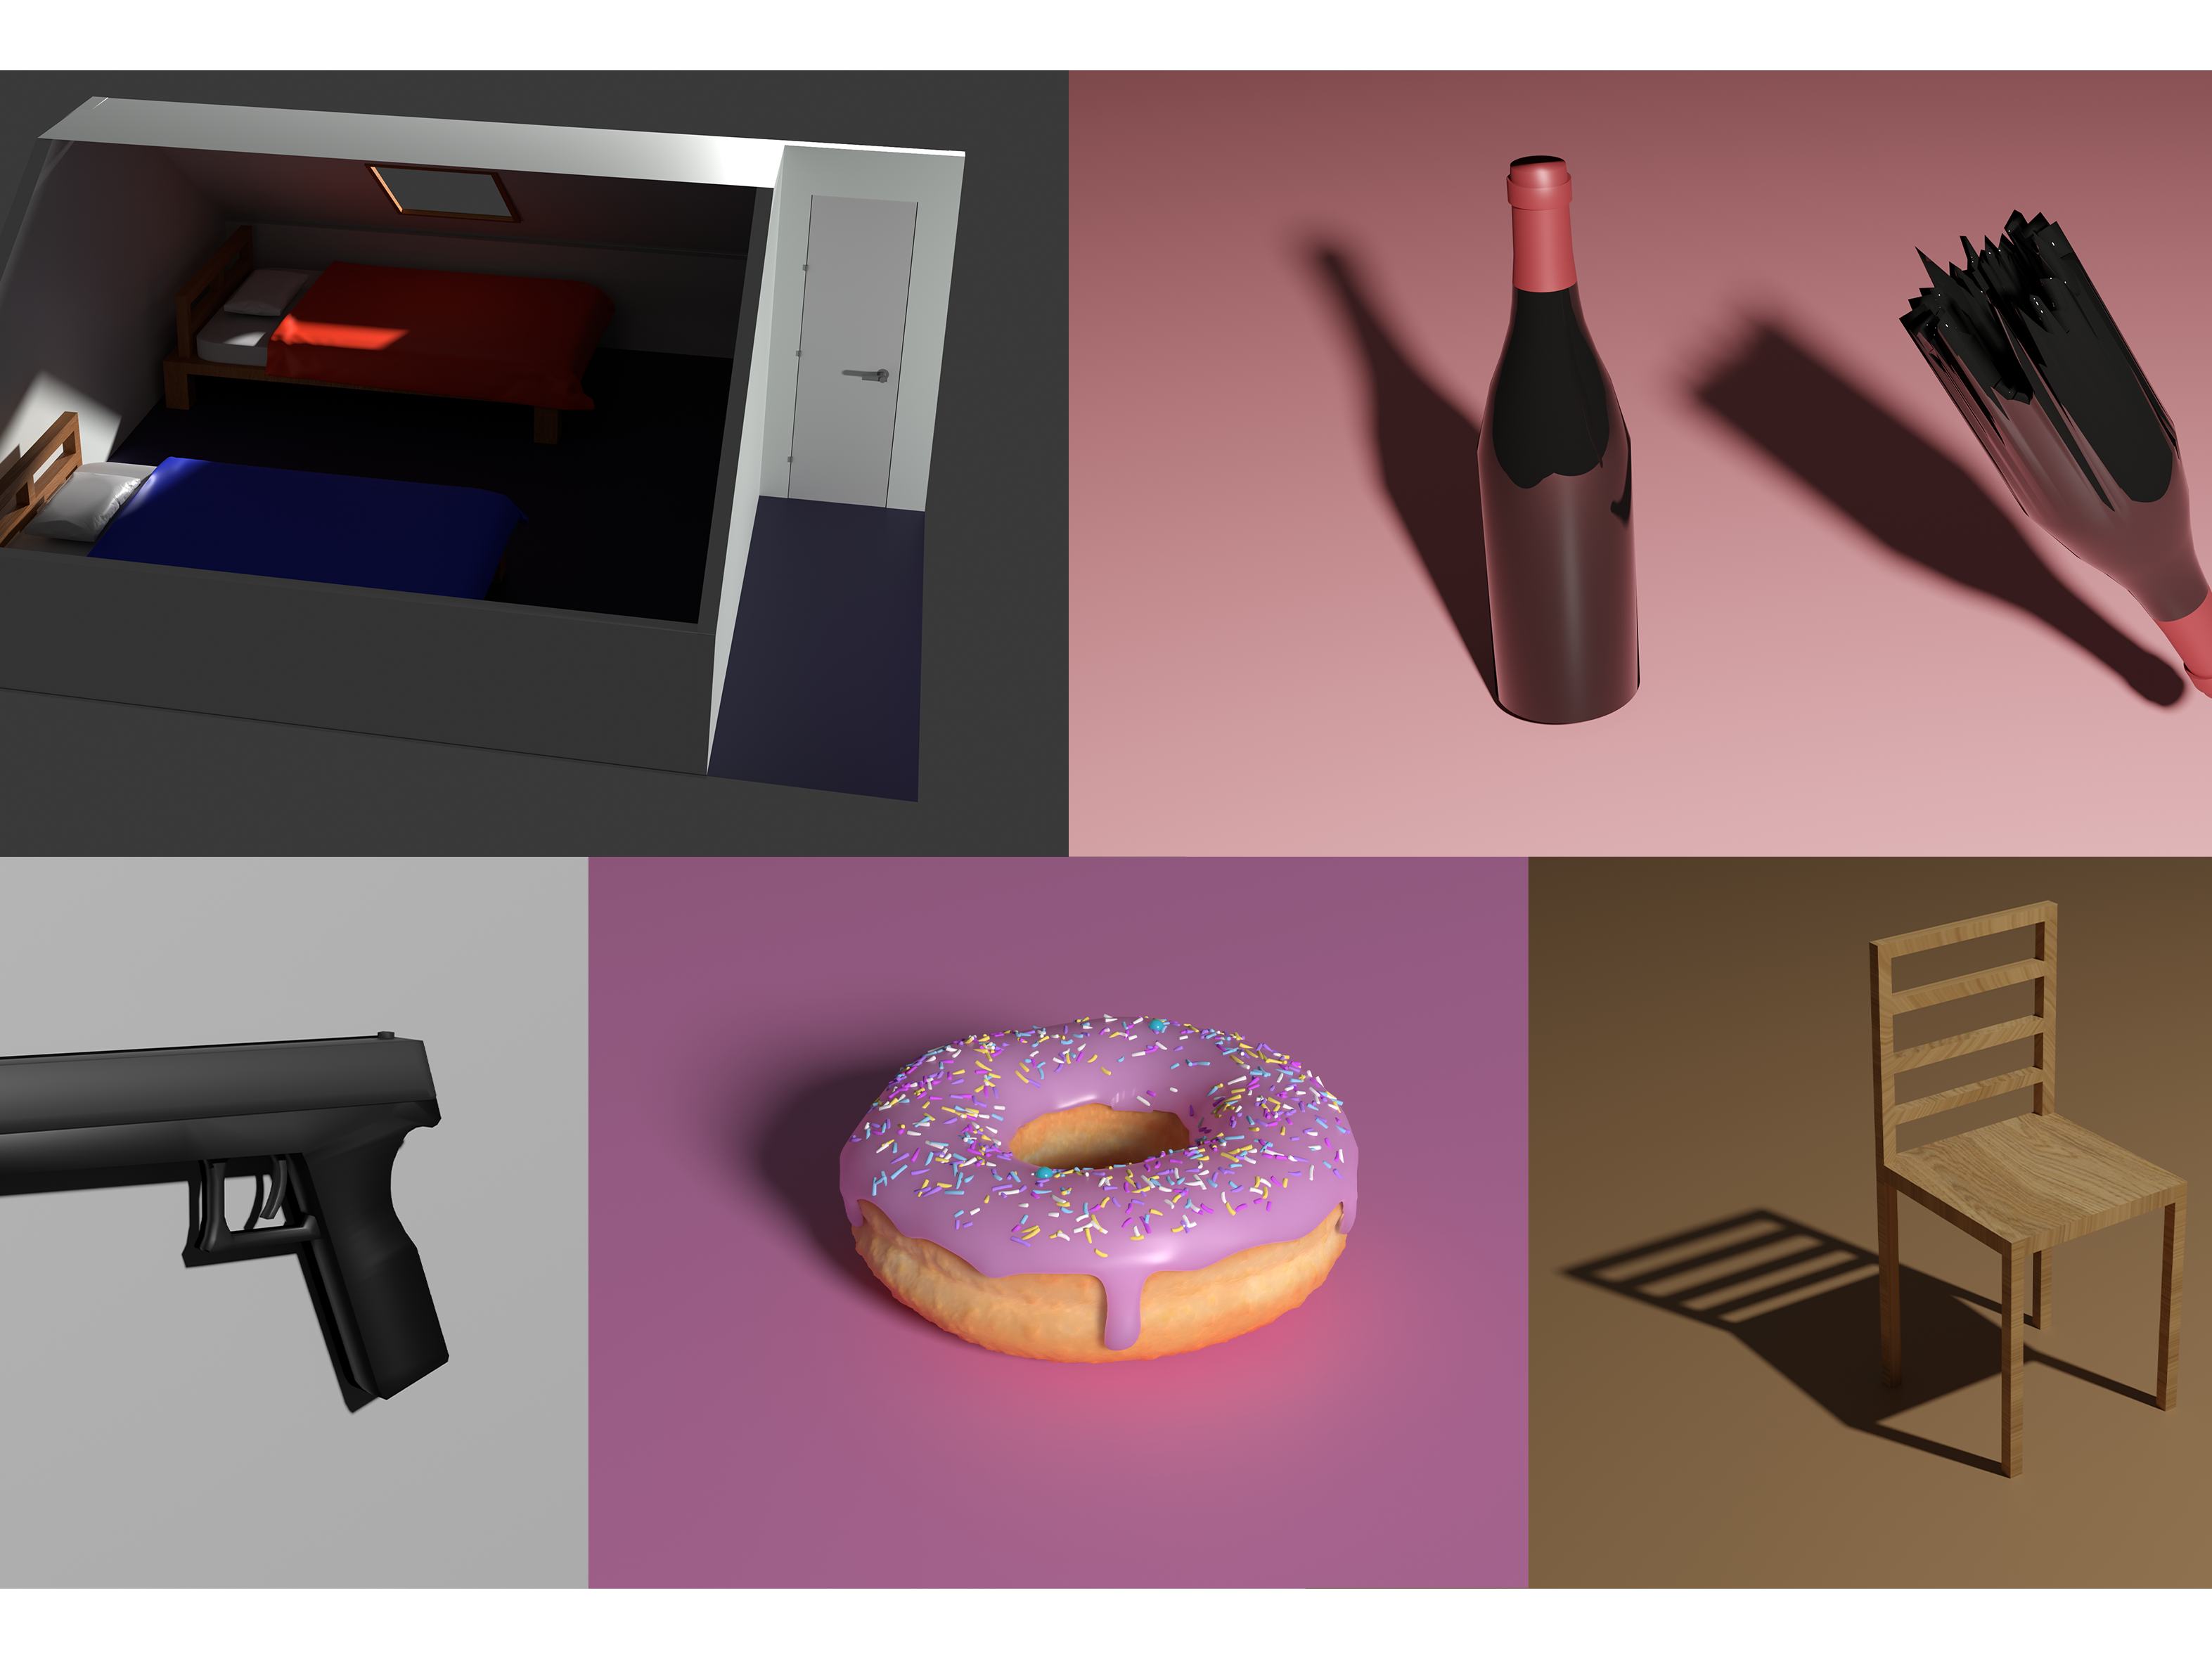
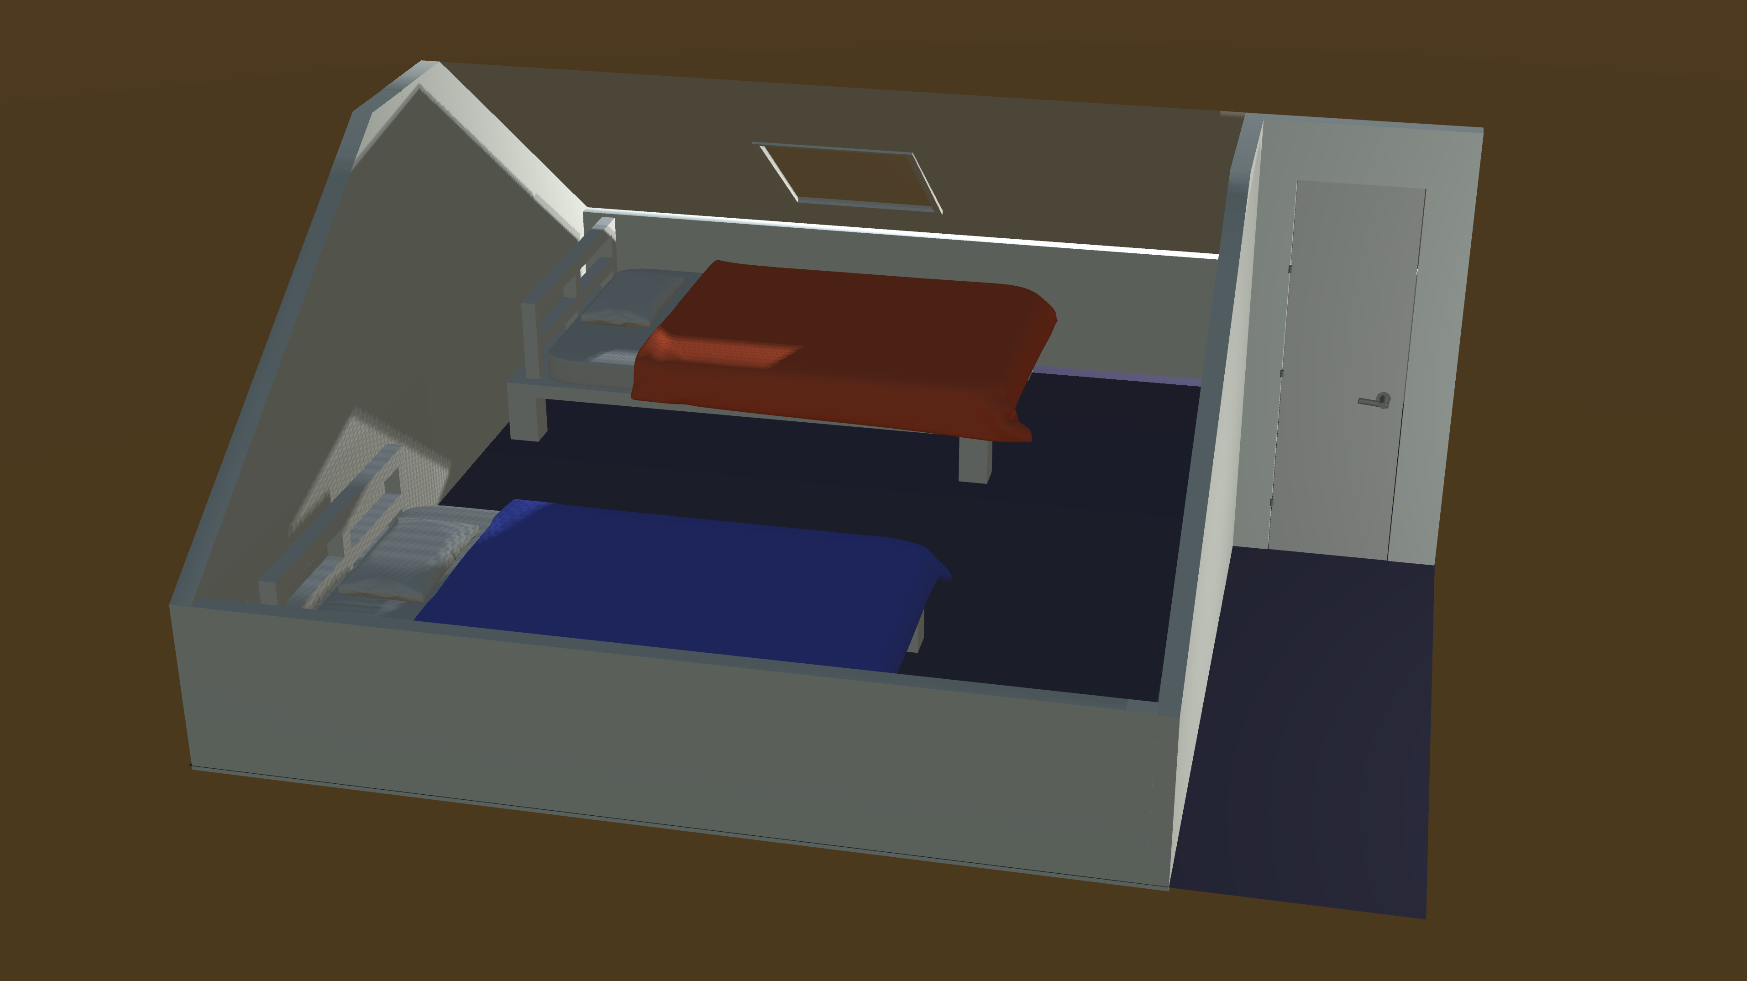
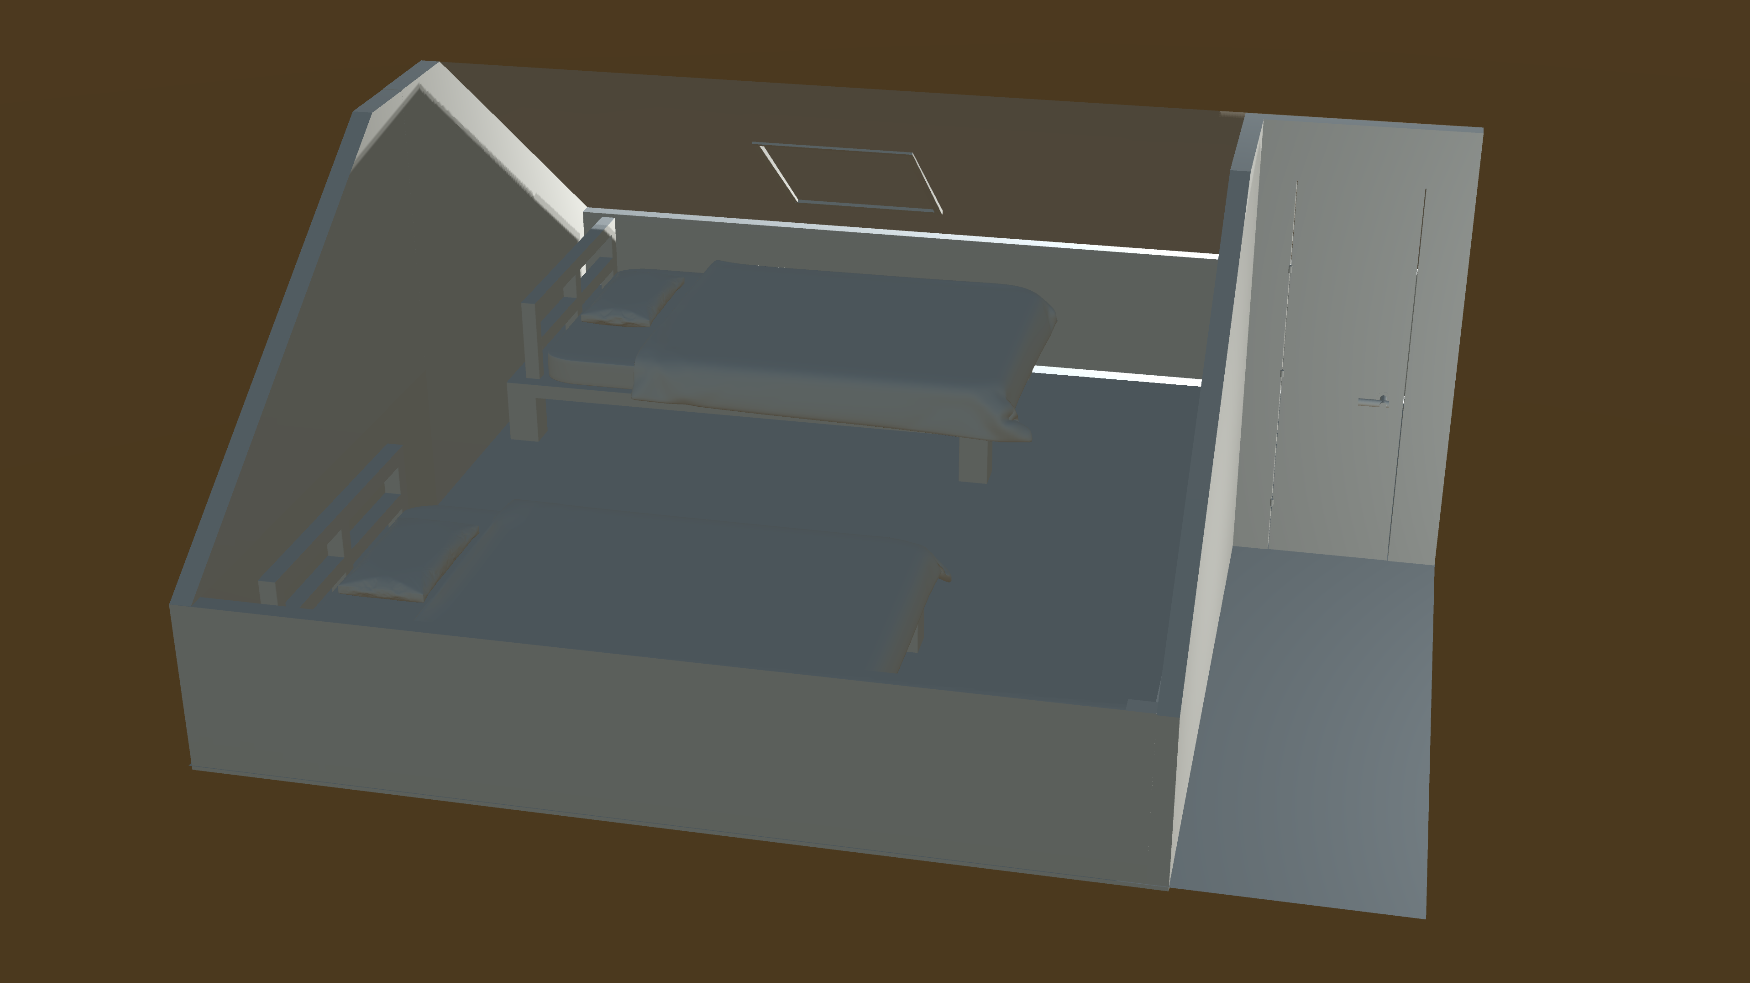
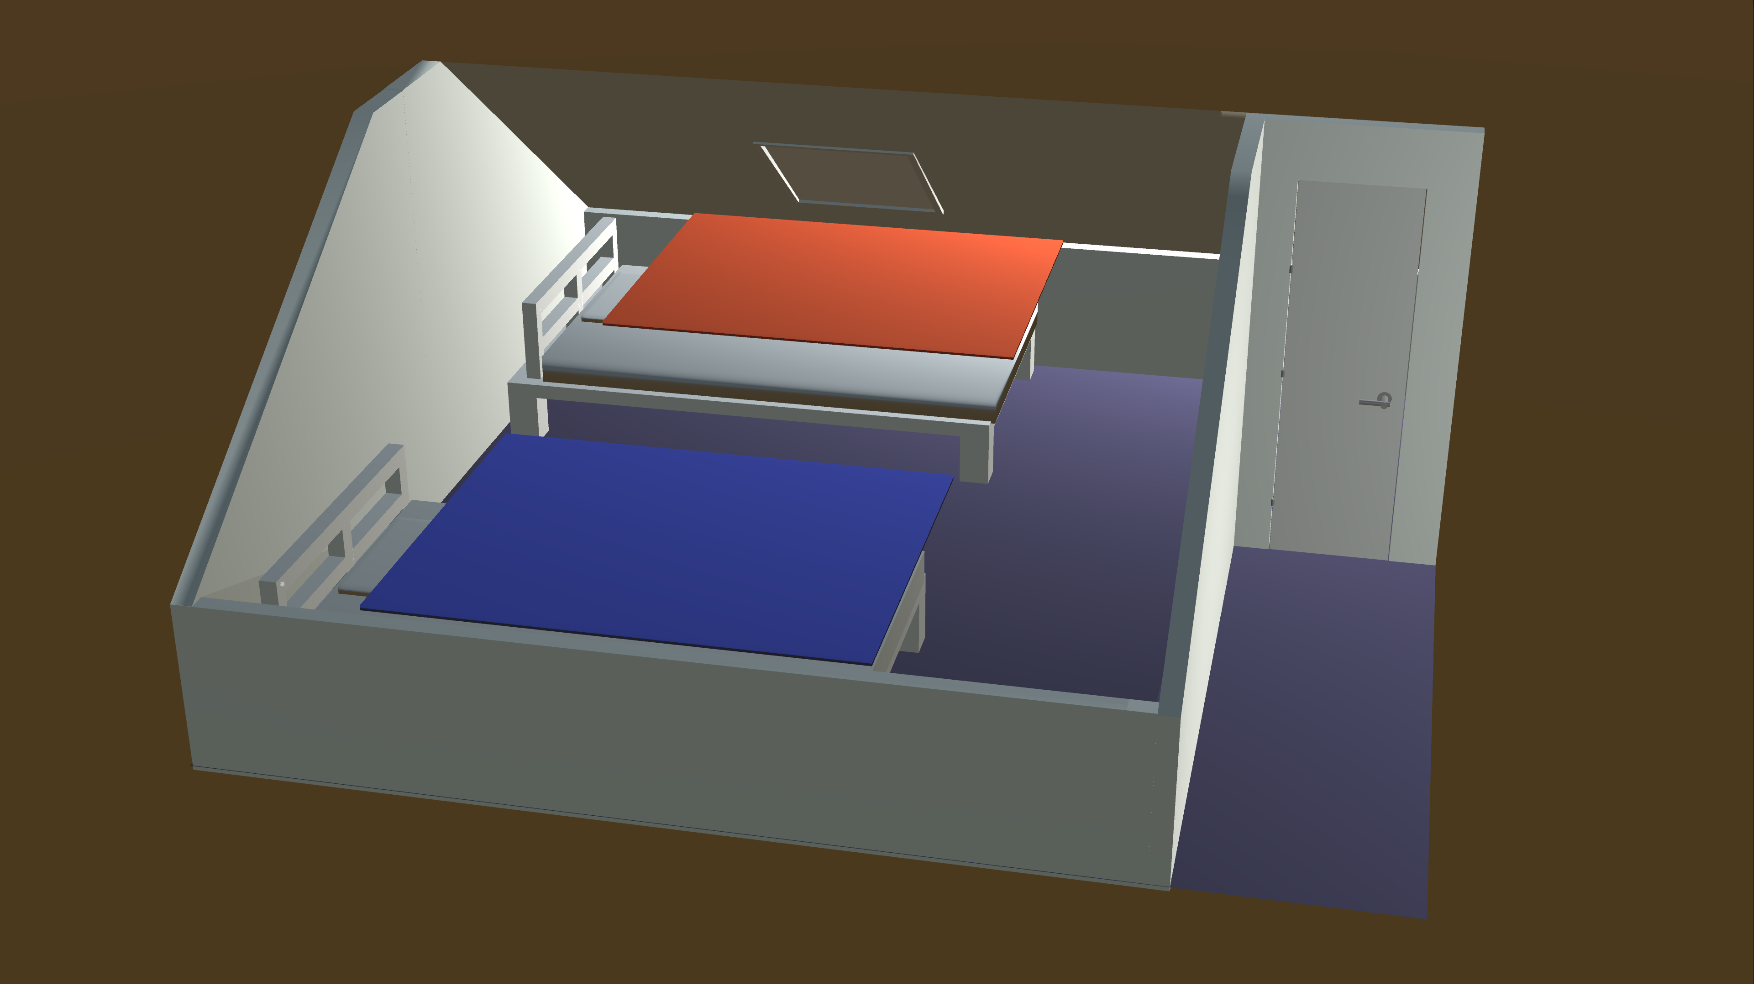
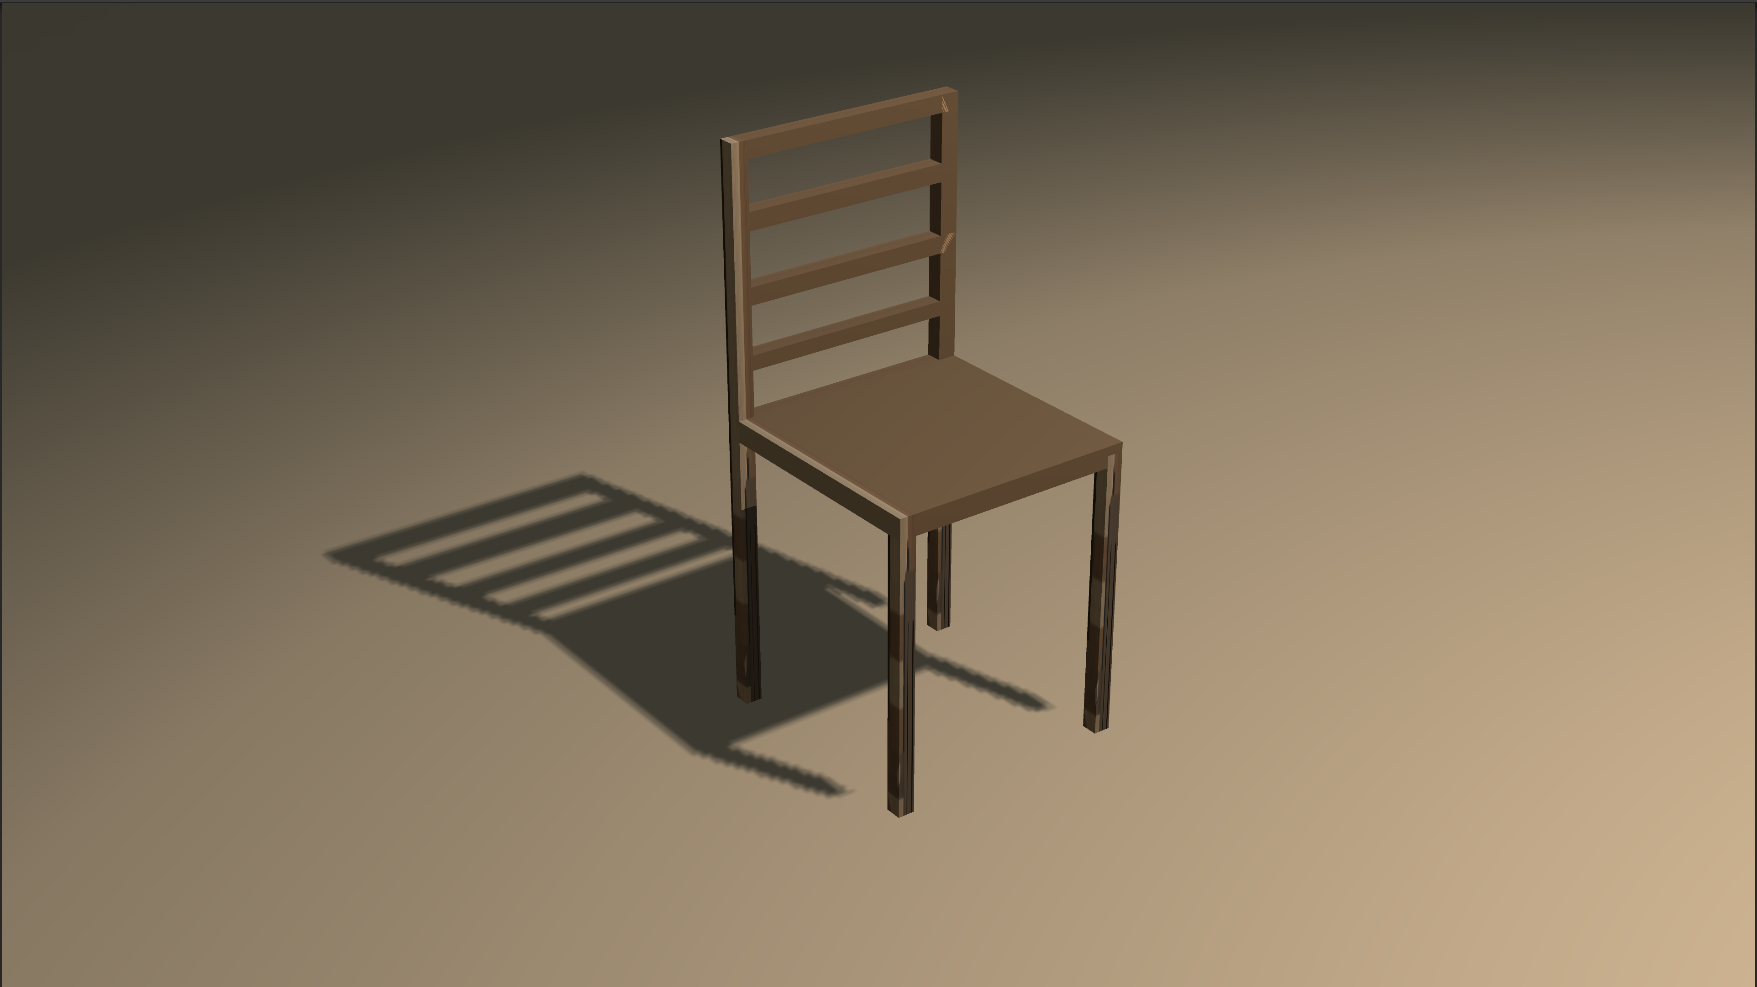
I tried to recreate my bedroom for the use of a placeholder. I will also this model to compare the different file formats. I created a new Unity 3D project and imported the three different model types of my bedroom 3D model. The pictures of the three models in Unity can be seen on the next page. I have made a screenshot of the camera and lighting setup of the Unity scene. I also implemented the .fbx and .obj model in this document. These 3D file formats are interactive in Word. After showing the images I will discuss the difference between the three models / file formats.
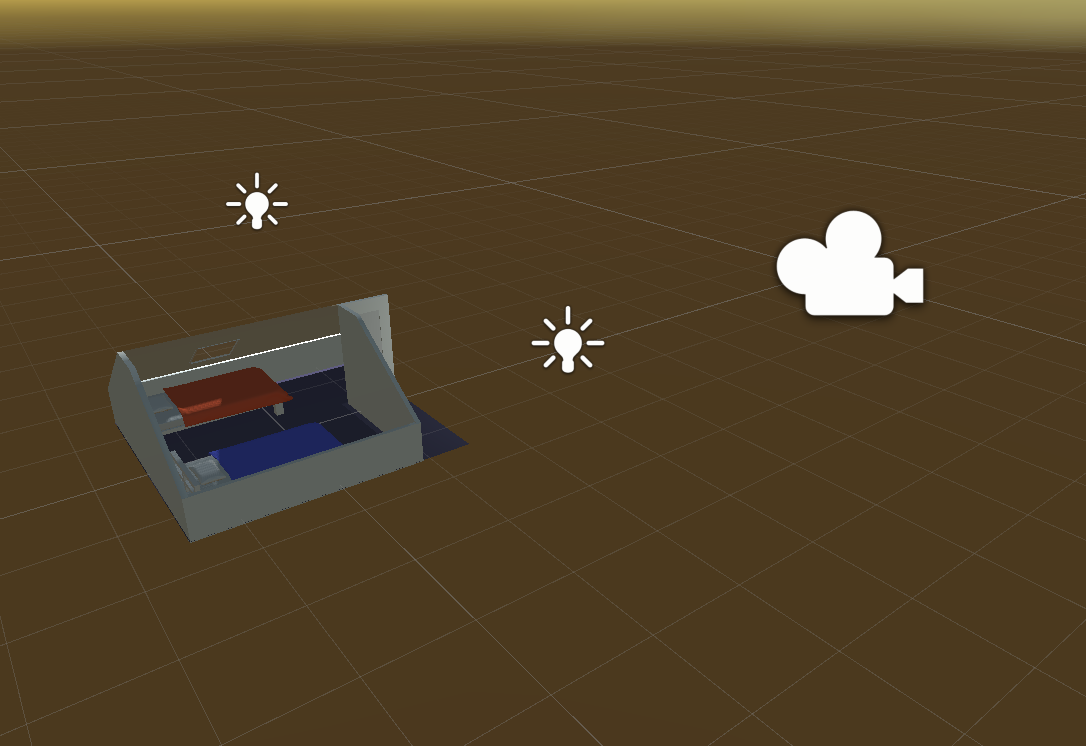
Setup of the scene in terms of camera and lighting (with the .fbx file as example)
.fbx render
.obj render
.dae render
Difference
The imported lighting in Unity is different, that's because Blender's light settings are different from Unity’s light settings. I tried to make the light look as close as possible to what it looked like in Blender. I then used that lighting setup for all three model types.
FBX
The .fbx file type exports a lot of data, such as models, joints, uv data, animations, skinning information multiple takes of animation in one file, curves and embedded texture files. As can be seen in the screenshot of the .fbx model in Unity, the model has the same colours as in Blender. But the shader of the wood that is used for the bed and window is not exported correctly. That is because shaders are different then materials from Unity. The file type includes the animation frame of the pillows and blankets from the beds. The lighting looks good, almost the same as in Blender. That is because the window texture is exported and imported correctly, creating a texture of glass that let light shine through. The file size of the .fbx model is 7,15 MB.
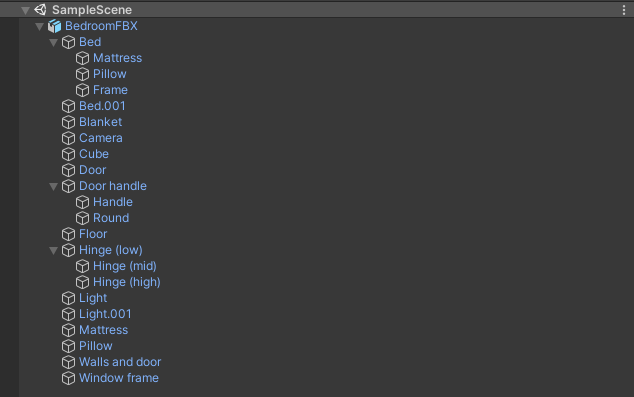
Hierarchy FBX file
OBJ
The .obj file format only exports uv and geometry (vertex, normal, etc.) data. As can be seen on the previous pages, the .obj model in Unity has no color. That has to due with the fact that the whole 3d model is being combined into one object during exporting. This can be seen in the screenshot of the hierarchy in Unity. Because the whole model is one object, only one colour can be applied on the whole model. The model types included the animations of the pillows and blankets. The lighting in this model is not good. That is because the glass of the window has become part of the whole model and therefore does not have the texture that allows the light to shine through. The file size of the .obj model is 20,5 MB.

Hierarchy OBJ file
DAE
The .dae file type exports motion data, geometry data and optionally skeletal structure, scene information, texture and material atlas. As can be seen in the screenshot, this model has the correct colours, lighting settings and materials. But, the correct shader for the wood texture on the bed and window frames are not there. Neither is the animation for the pillows and blankets. The .dae file type only exports the start of the animation, in this case, a flat cube. The file size of the .dae model is 2,83 MB.

Hierarchy DAE file
Conclusion
If we compare the three different models in Unity, the .fbx file is the best of the three. If we also compare the file sizes, .fbx is bigger than .dae, but smaller than .obj. FBX is also the standard file type that is used by most game engines.
To point a winner, for importing Blender models into Unity, FBX is the best option. It includes all the different pieces of the model, all the correct colours (except for shaders) and animations that are needed for a detailed model.
The other two file types are useful, but only for certain purposes:
If you only want to export mesh and UV's in your model, use OBJ.
If you want to exchange digital assets / models between a variety of graphic programs, use DAE.
Textures
Exporting from Blender
I created my own shader for the wood material on the chair model, bedframes and window frame in de bedroom. Unfortunately, these self-made textures are not exported with the model. The shader of the wood can be seen in the image below.
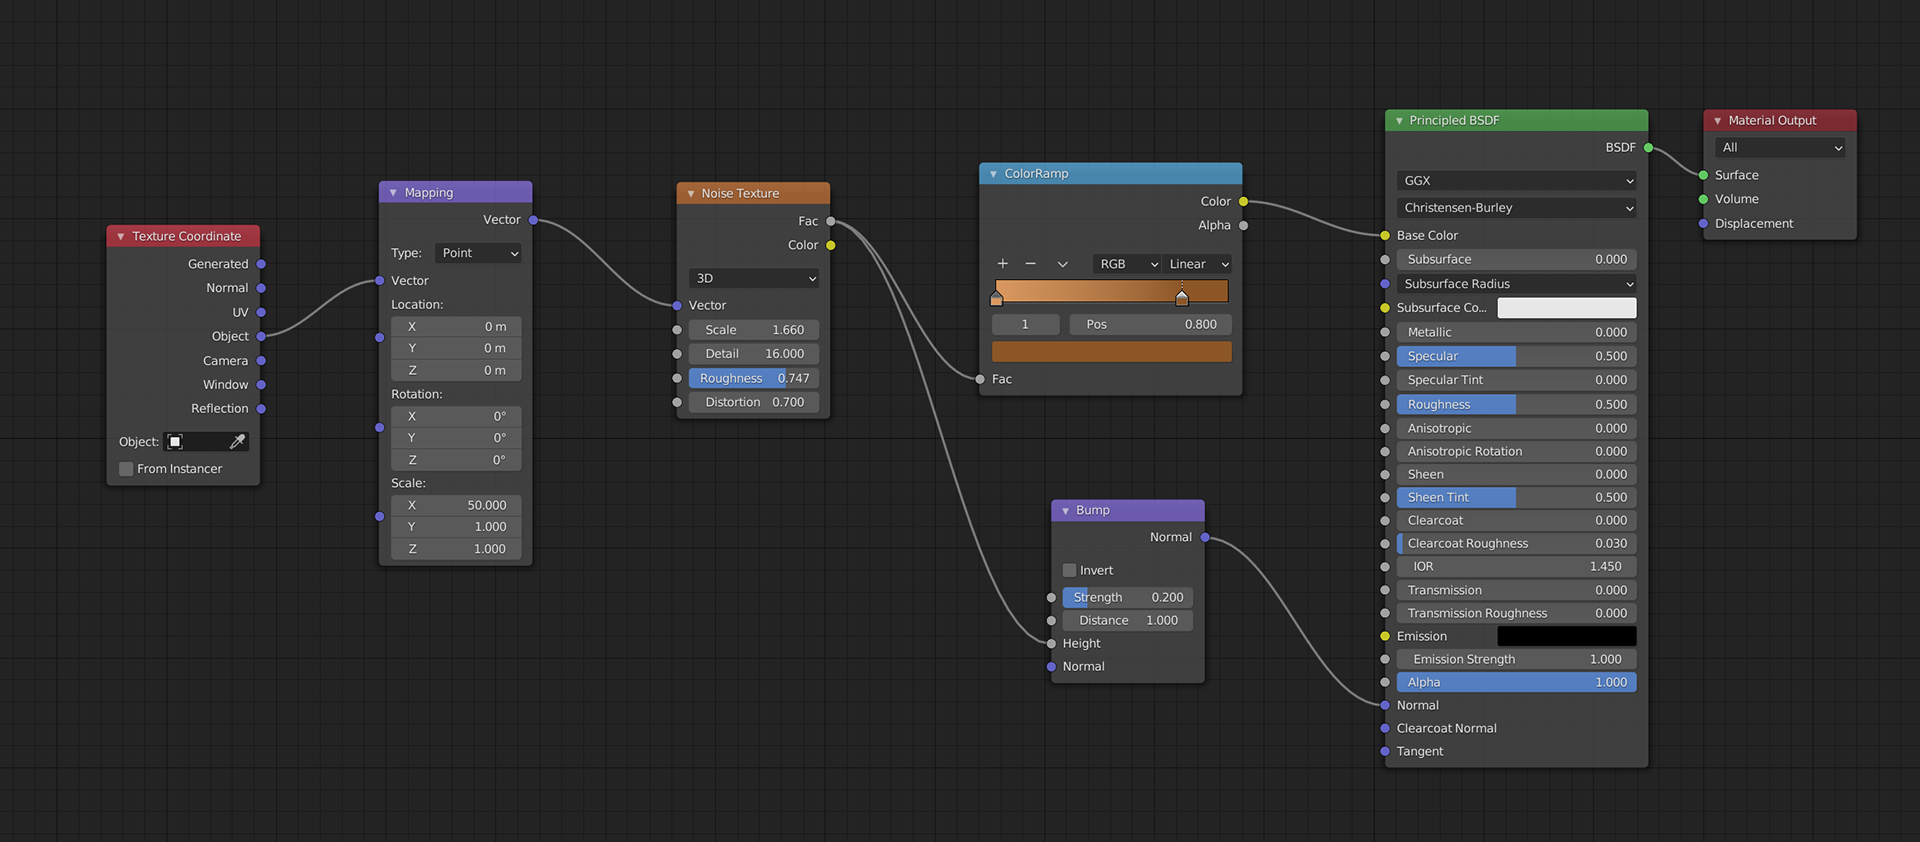
Wood shader texture
To export a shader, you need to use an image. This way, the image can be wrapped around the model itself. I created a new material and used a wood texture that I found on the internet. When I then exported the model, after turning on ‘Embed Textures’ in the export settings, the image was exported correctly onto the model. But then the next problem occurred, the image was not correctly placed on the chair. Some pieces were stretched out till one colour and some were turned the wrong way. This had to do with the UV wrapping. In Blender, you click on ‘UV Editing’ to go to the UV settings. Here, you select the different pieces of your model. On the left, you have the image with the texture you selected (in my case wood). You then need to scale, rotate and move the pieces of the image that are placed on the model to your own wishes. This takes quite some time, so make sure you are prepared to spend some time adjusting values like a zombie. An example of mapping UV can be seen in the screenshot below.
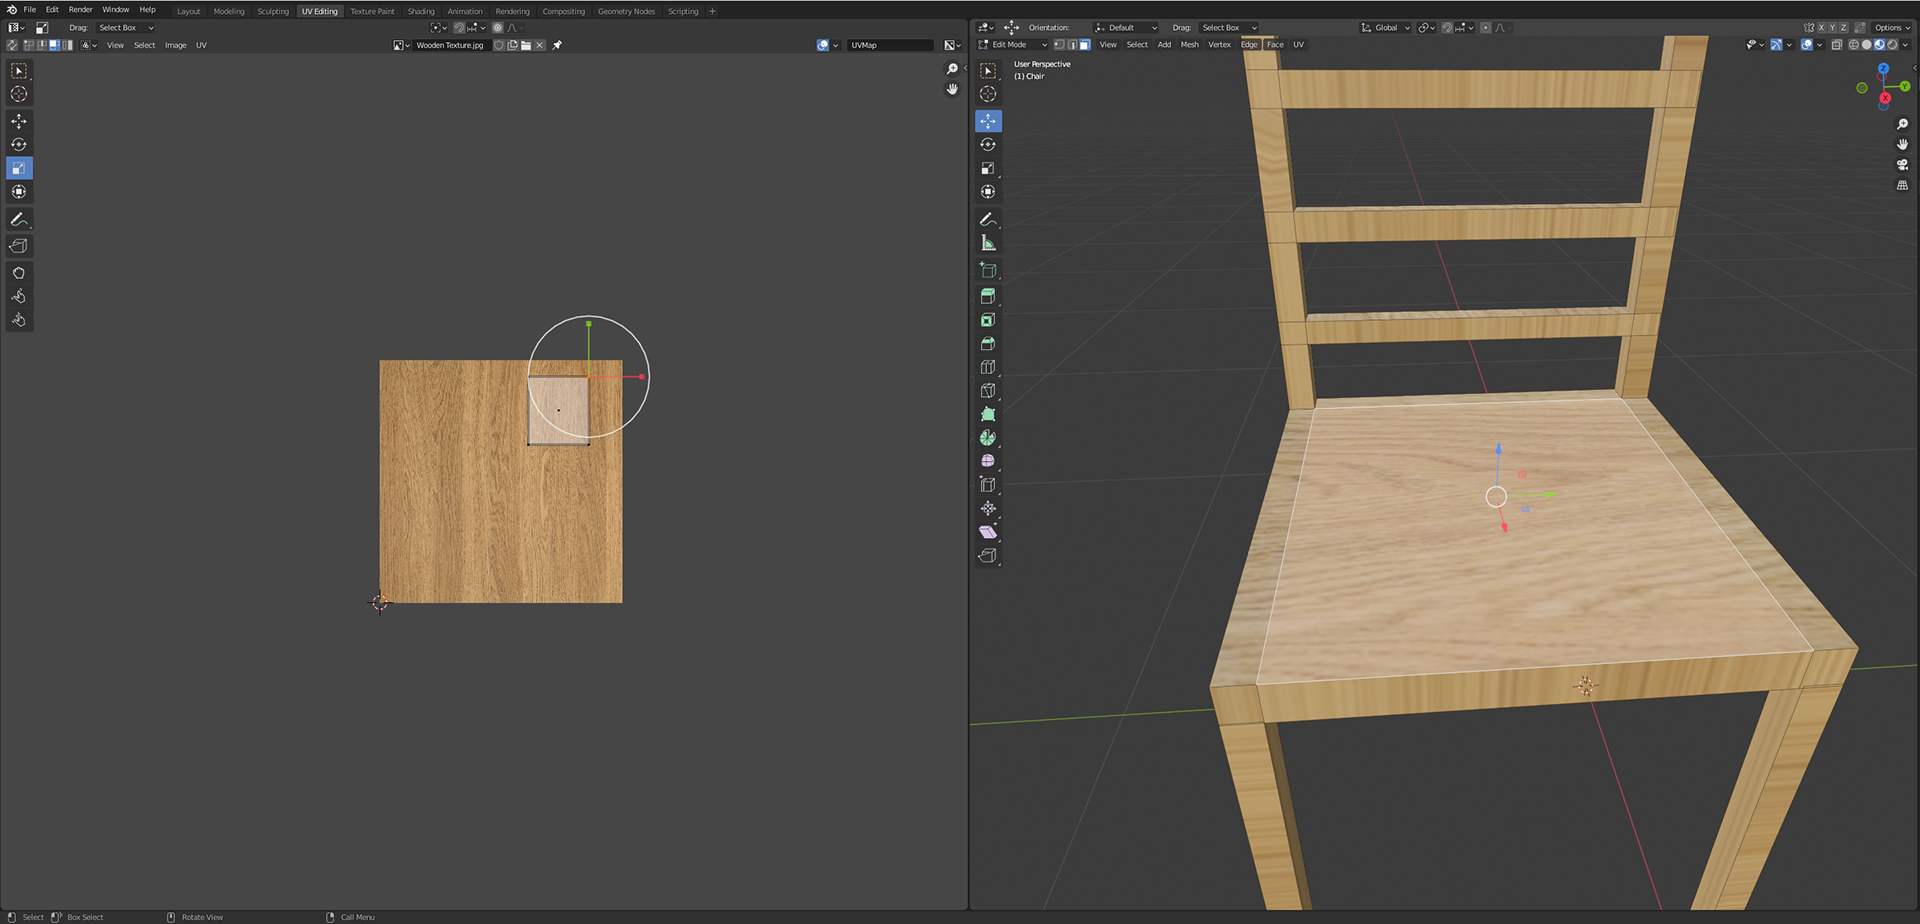
UV Editing
After doing all the UV, the model was exported with the correct textures. Now I only needed to import it into Unity.
Conclusion exporting textured materials from Blender
The most important thing that I learned here, is that textures on materials always need an image to be exported correctly with the model. You cannot use custom shaders like I did in the first place. You can use your own shaders if you want, but then you can only use them in Blender. You cannot export them to be used in another 3D program. That is quite a shame. UV(ing) needs to be done if you use an image as a texture. It takes quite some time to have the desired outcome. It would be better if we can export our own shaders, but there no support for that at the moment. So keep in mind that you have to use an image as a texture if you want to export a 3D model from Blender to a 3D file. An screenshot of how I used an image instead of my own texture can be seen below.
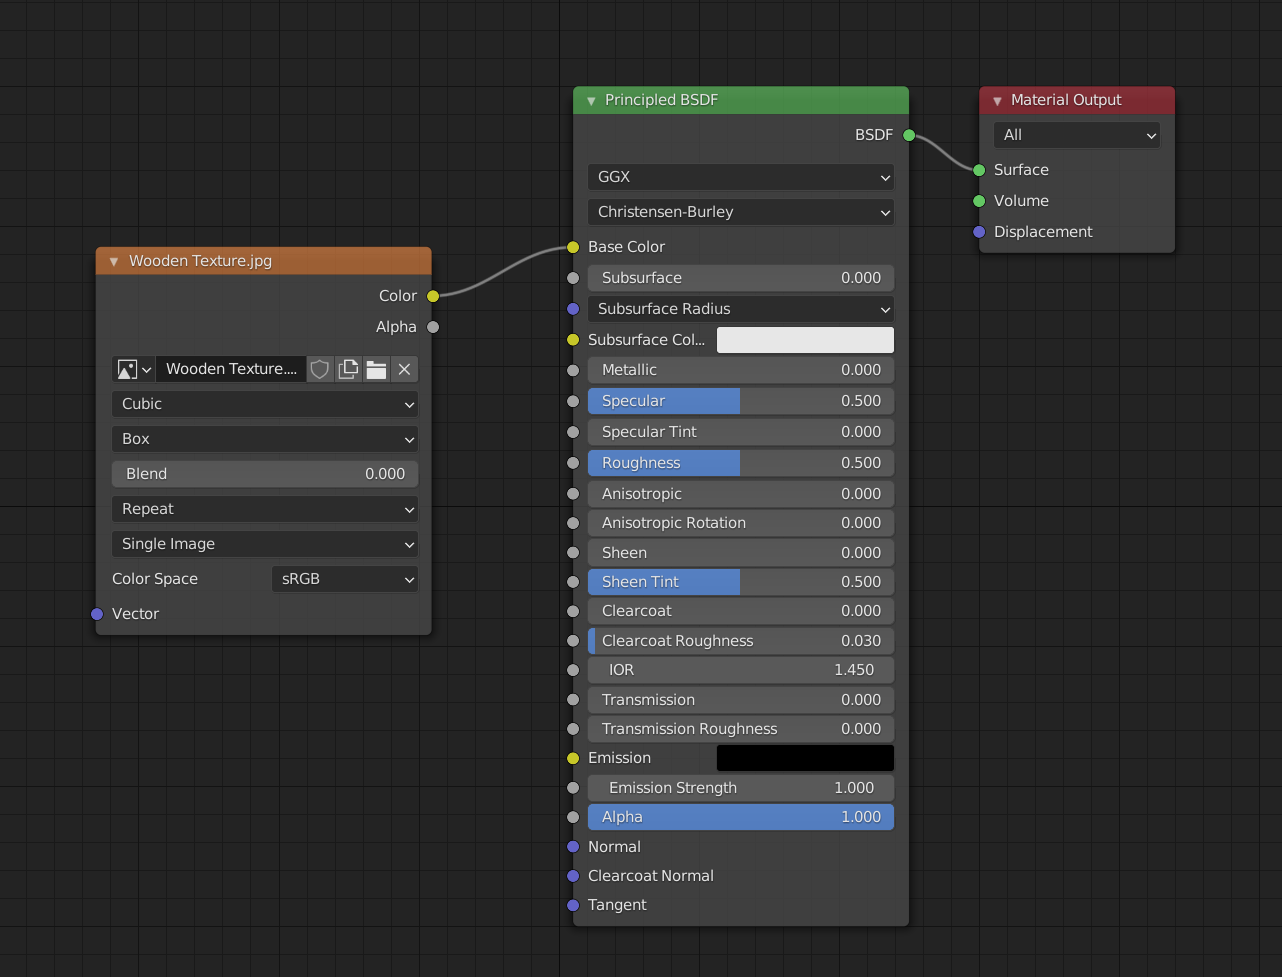
Image shader texture
Importing into Unity
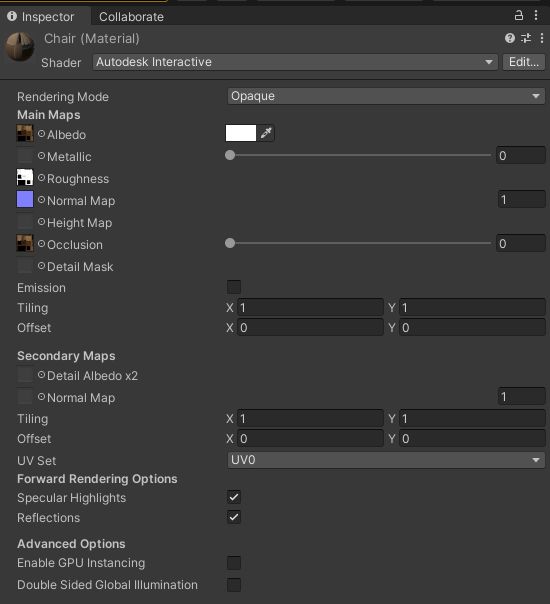
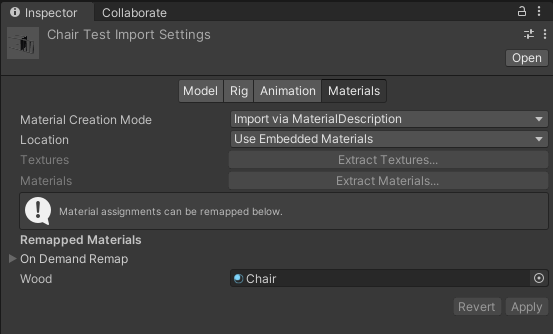
Importing models into Unity is easy, you just drag the .fbx, .obj or .dae file of you 3D model into Unity. In case of the .fbx and .dae, you will have the basic colors that you also used in Blender. One big disadvantage is that the textures are not imported. That is because textures in Blender are way different than textures in Unity. To use the textures you use in Blender, you need to bake the texture. You need a combined, normal and glossy bake. These are JPG files. You than import those files into Unity. You create a new material and drag the combined file into ‘Albedo’ and ‘Occlusion’, the glossy file into ‘Roughness’ and the normal file into ‘Normal’. Make sure that you changed the texture type of the normal file to ‘Normal map’. After you have done that, drag the material with the files into the material tab of your 3d model. Click on apply and the texture will be applied on the model. Unfortunately, the texture would not apply the way I wanted. I tried to find a solution for that problem. But it I couldn’t find anything.
Material Inspector
Model Inspector
Camera view after applying material
Conlusion importing textured materials into Unity
It is doable to import textures that you have used into Unity. It is a shame that you cannot use your own shaders from Blender, but there is nothing to do about that. The problem can can be circumvented by using other programs, such as SubstancePainter, to create and image for on your model. Baking the different types takes some time, that is due to the fact that Blender sometimes doesn’t show the baked image. You than need to save the current images as a new file, than the baked image will be shows. Applying the baked images onto a material in Unity is quite easy. You just drag and drop them. It’s a shame that I couldn’t get mine model to work correctly, but that has probably to do with how I created my model in Blender.
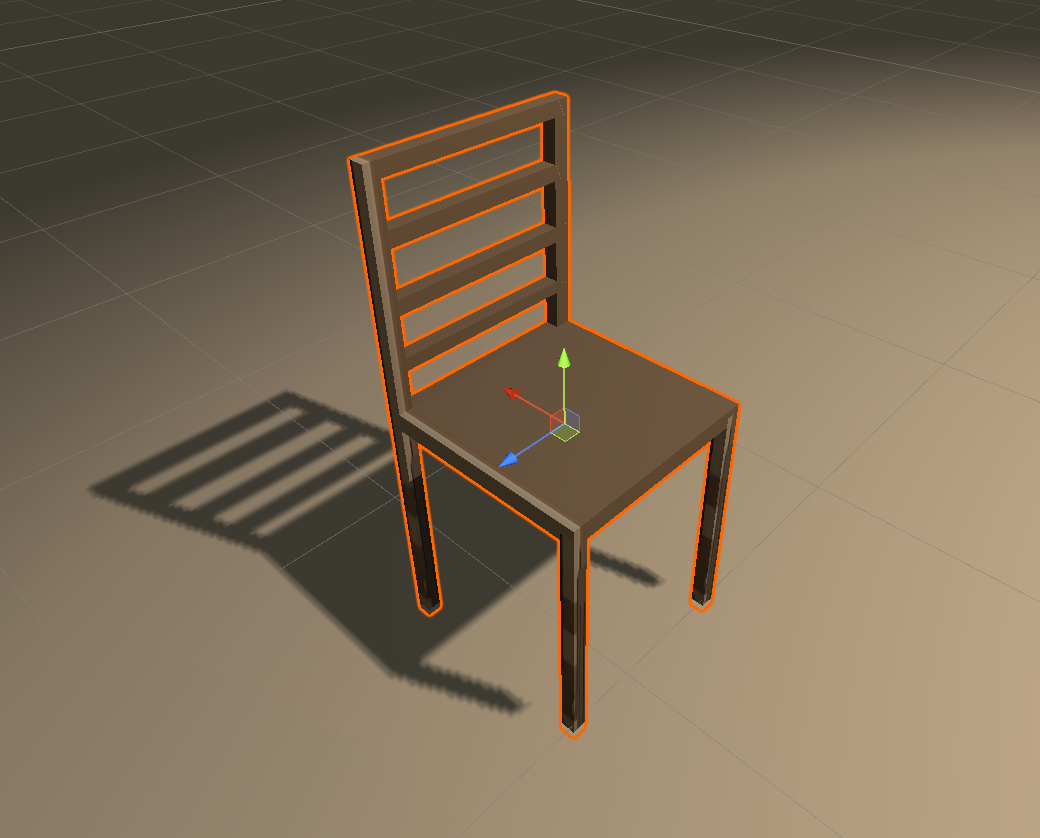
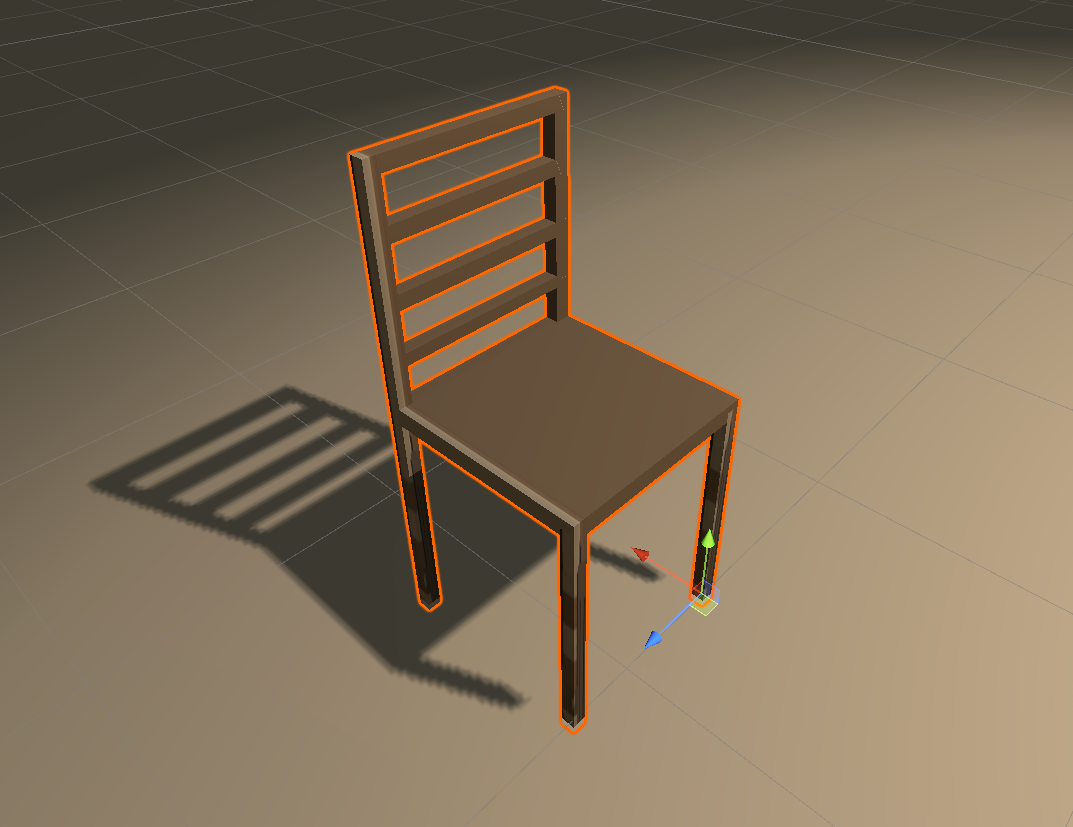
Centering of a model
While importing the 3D model of the chair, I noticed that the base point of the chair was located on the front right leg. This point is equal to the location of the 3d model in Blender. The disadvantage of not having a good center point is that if the seat is rotated about a certain axis, the seat will rotate about the front right point. The chair does not turn perfectly in a circle, but also moves from location. You can fix this by making the chair a child of an empty game object and getting the center point right. But it is better to tackle the problem at the source, in this case that is the location of the model in Blender. If the chair is perfectly in the middle of the three axes (x-, y- and z-point is 0 and located in the middle of the seat) in Blender, the center in Unity is also in the same place.
Exported with the wrong location